23
If the data cable is being routed through wall cavities, chased into
solid walls or surface mounted then appropriate trunking/conduit
MUST be used. Data cables MUST be fitted in such a way so that they
can later be removed for maintenance or servicing
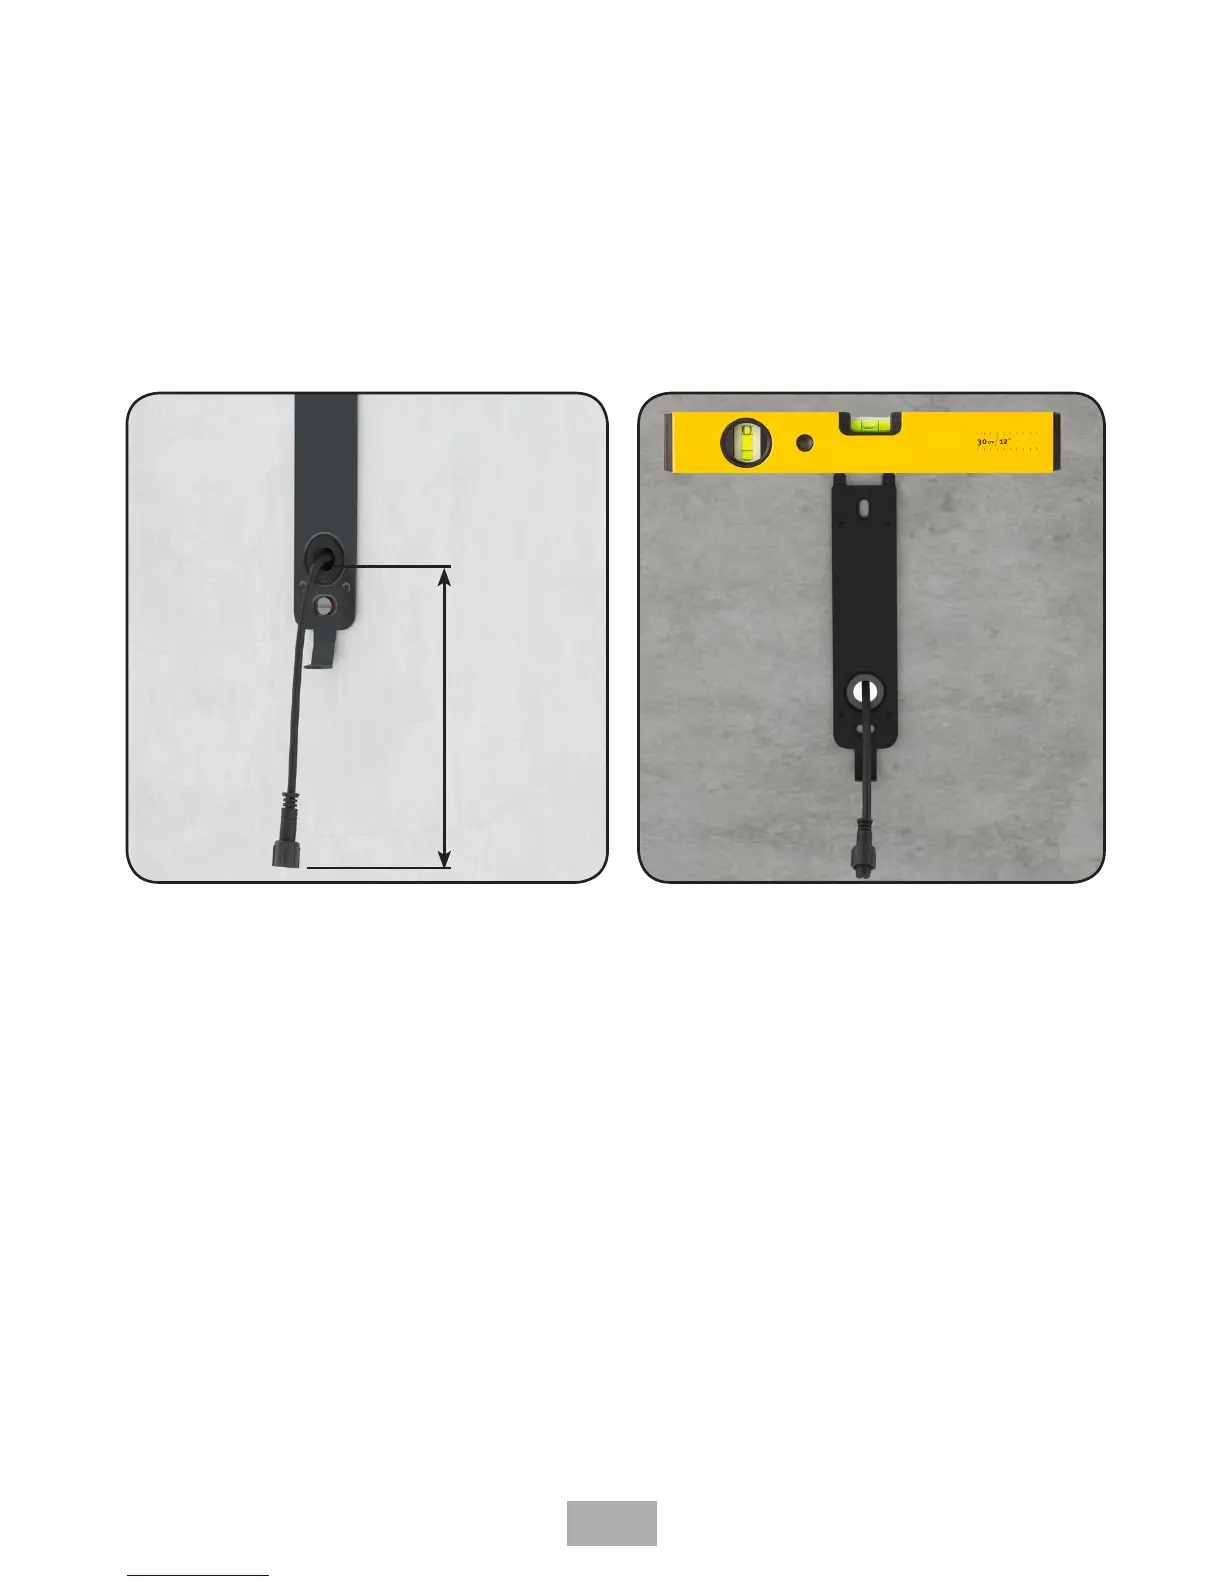
150mm
Fig. 15
Fixing bracket installation
With the Digital Mixer Processor Unit located and the data cable routed it is now time to fit
the Digital Controller.
Using the fixing bracket and a spirit level locate the bracket in the desired location,
remembering to consider your cable routing position (Fig. 16).
Hold the fixing bracket in position and mark the top and bottom screw fixing holes A (Fig
16). Remove the bracket from the wall then drill and plug the wall for the fixing positions A.
(An appropriate drill bit should be used. If the wall is brick, plasterboard or a soft building
block, appropriate wall plugs and screws should be fitted).
Secure the mounting bracket to the wall using the appropriate fixings.
For Wired Connectivity Only: Whilst securing the mounting bracket to the wall, the data
cable must be pulled through so that approx 150mm protrudes from the wall, see (Fig 15).
A
A
Fig. 16
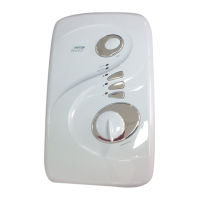
Digital controller
installation
 Loading...