26
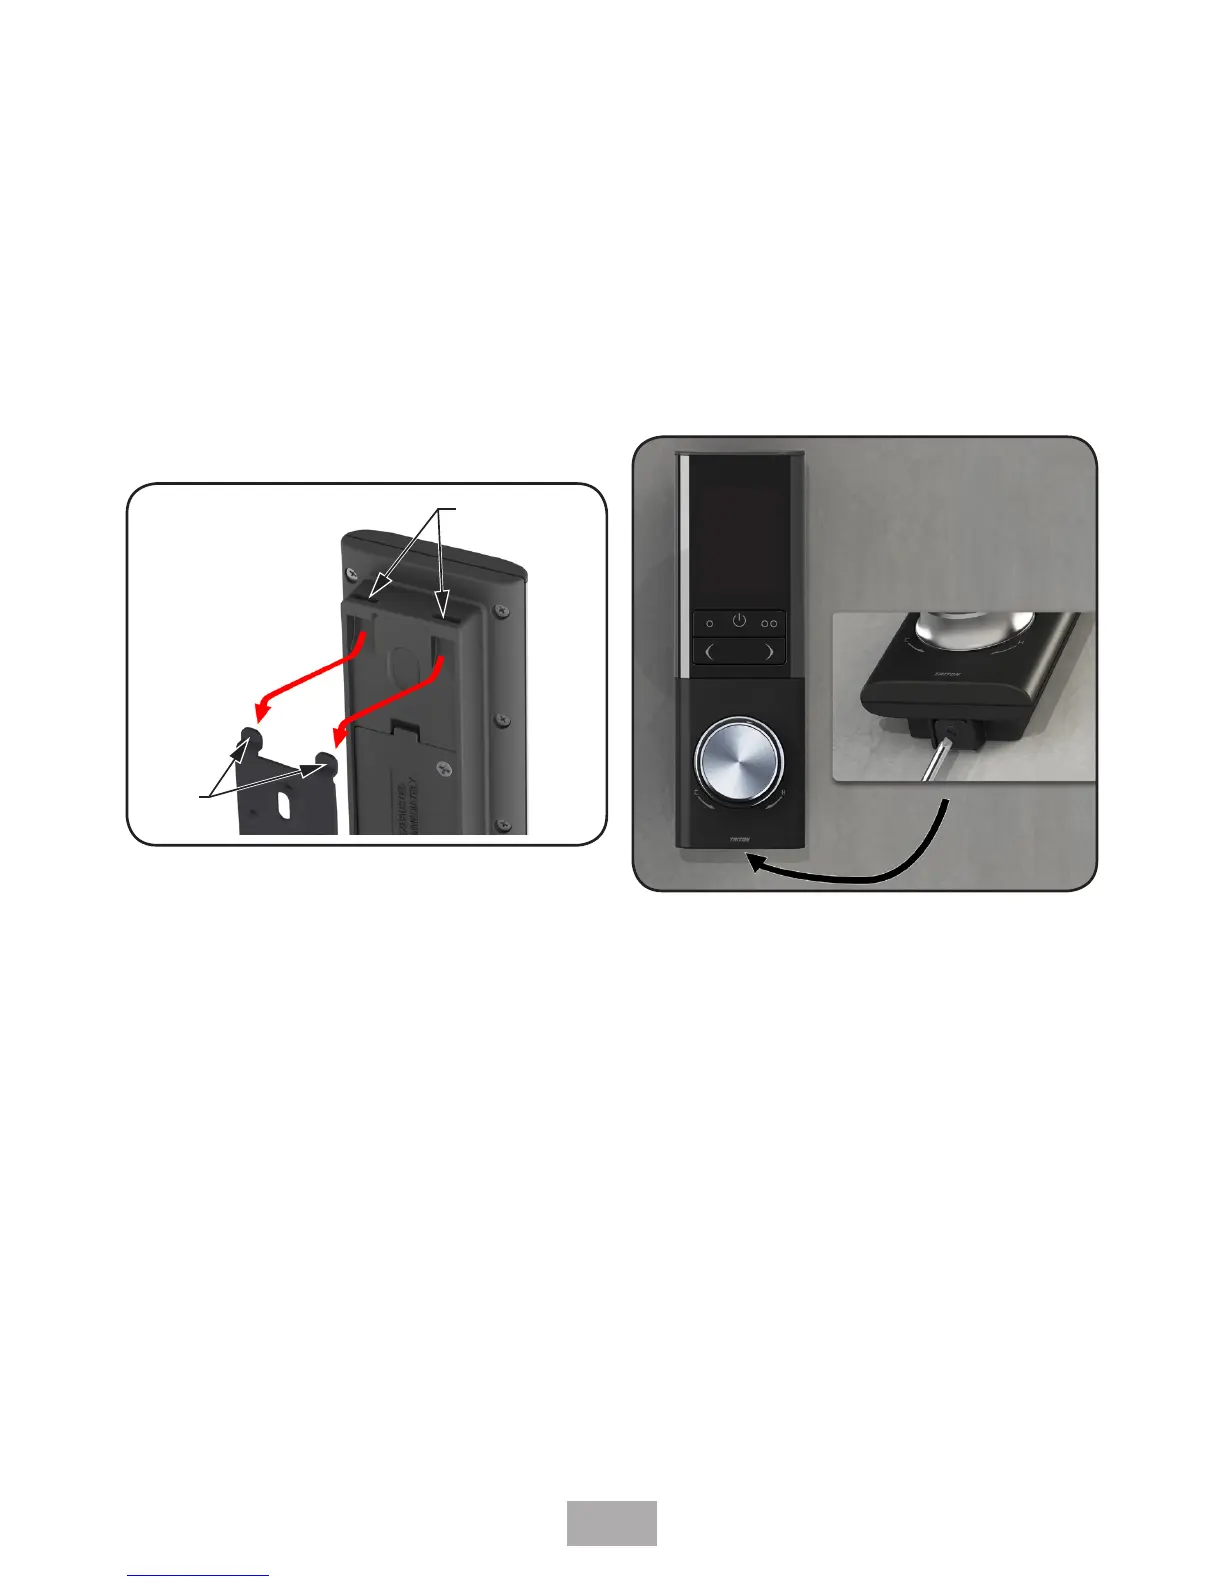
Fig. 24
DO NOT turn on the electricity supply to the Digital Mixer Shower
until commissioning
Digital Controller fitting (Wireless Connectivity Only)
Triton recommends that any drilling of holes to secure the wireless Digital Controller is NOT
undertaken until after commissioning, as the exact final location will need to be tested to
ensure that a good, consistent wireless signal is present between the Digital Controller and
Digital Mixer Processor unit.
The approximate position of the wireless Digital Control Panel should be no more than 10
metres from the Digital Mixer Processor unit.
Remove the Battery Compartment Cover on the rear of the Digital Controller by undoing
the two fixing screws (Fig 17).
Fit 3 x AA sized batteries (not supplied) into the Digital Controller as shown in Fig 25.
TRITON recommend the use of Lithium batteries to maximise
battery life of the Digital Controller.
Digital controller
installation
Offer the Digital Controller up to the Fixing Bracket. Whilst doing so push the excess Data
Cable/Data Cable Connection Lead through the hole within the fixing bracket, and back
into the wall cavity.
Fit Digital Controller cut-outs over the Bracket Fixing Lugs (Fig 23) and slide down into
place. Secure with the single screw at the bottom of the Digital Controller (Fig 24). Do not
over tighten the screw.
 Loading...