25
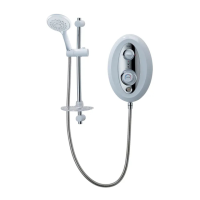
Replace the Battery Compartment Cover and secure in place using the two fixing screws
previously removed.
Ensure that the Battery Compartment Cover sits flush with the rear housing of the Digital
Controller and that both retaining screws are tight (Fig 20). Do not over tighten the
screws.
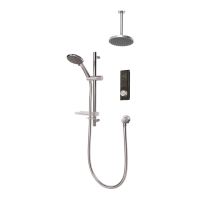
Connect the Data Cable Connector Lead from the Digital Controller to the Data Cable
protruding from the fixing bracket (Fig 21).
Fig. 20
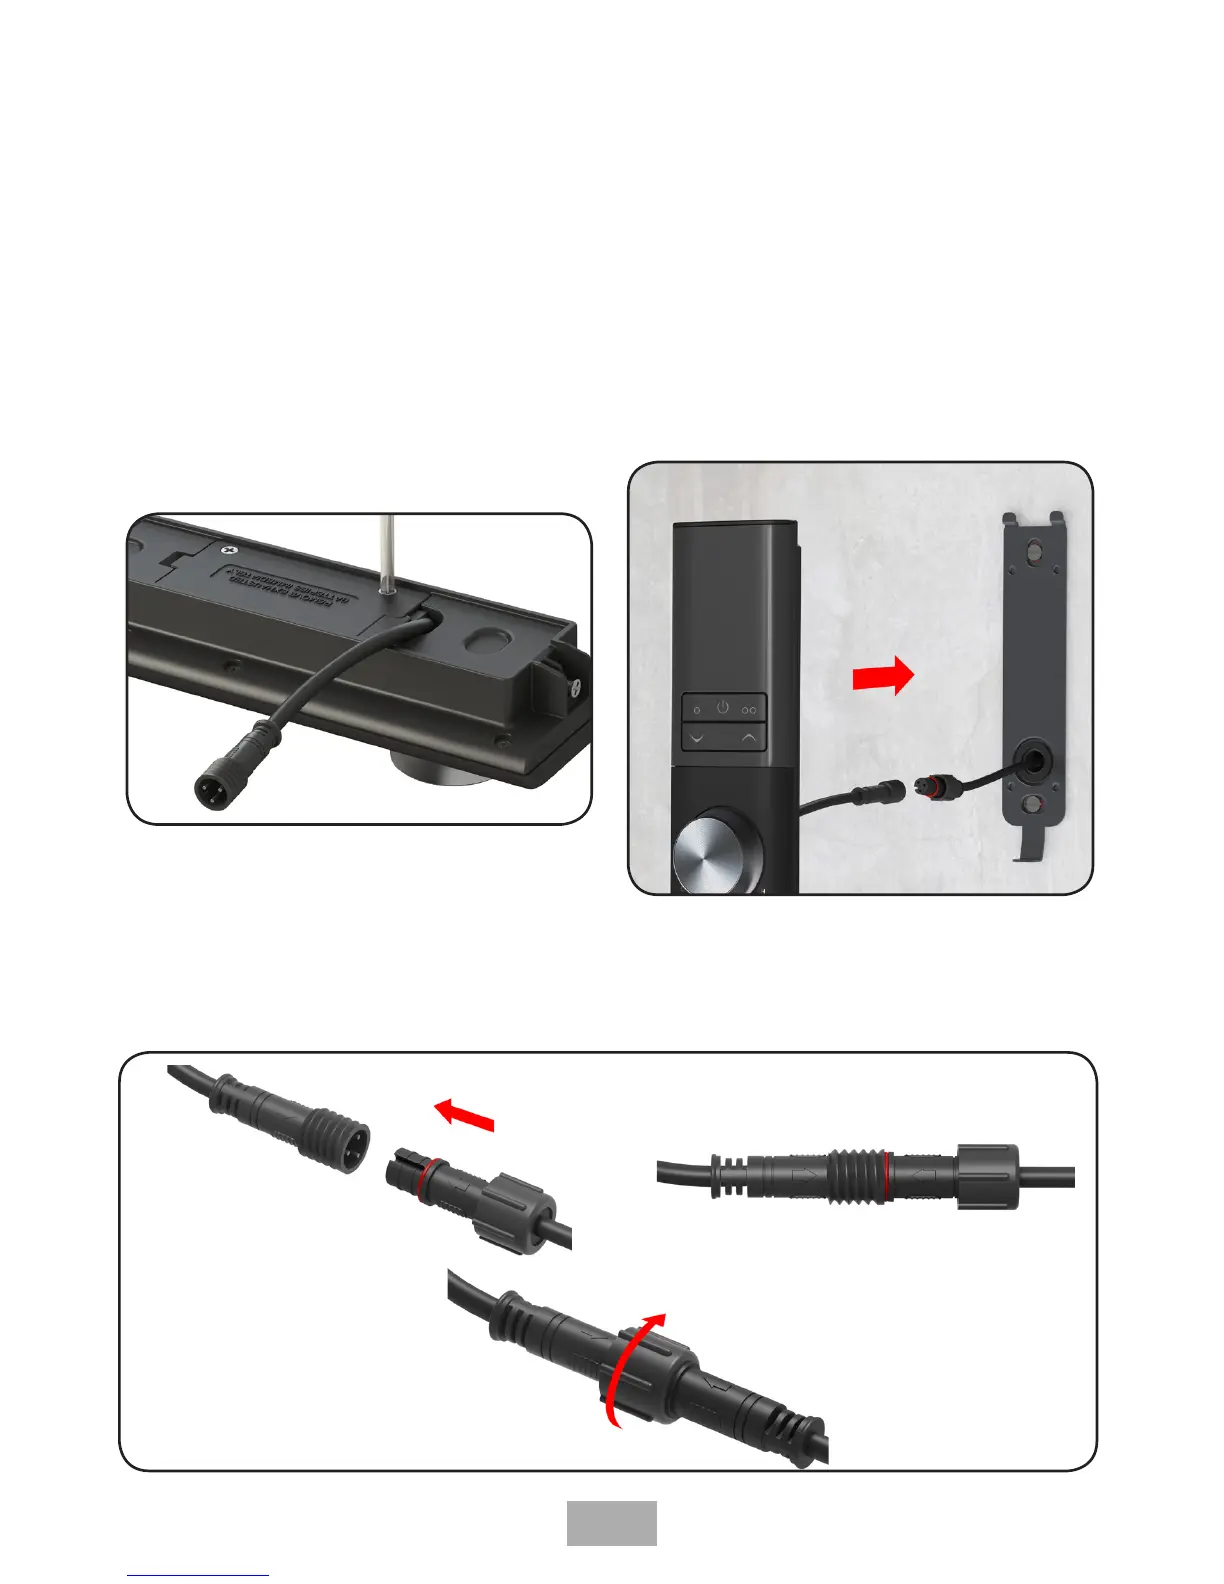
On the ends of both the Data Cable and Data Cable Connecting Lead are screw connectors,
which provide a water tight seal. To ensure that the connectors are correctly assembled and
sealed, ALIGN the two arrows on both connectors so that they point towards one another,
and follow the 3 steps in (Fig 22).
Fig. 21
1
2
3
Fig. 22
Digital controller
installation
 Loading...