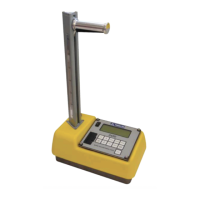
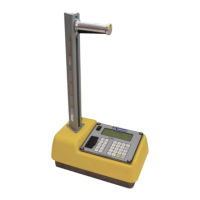
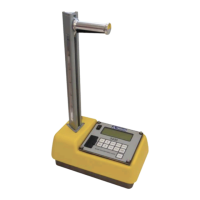
NOTE:
It is very important to drill the hole at least 2 inches
(5 cm) deeper than the measurement depth. The
EGauge source rod is approx. 2 inches longer than
the measurement depth, (the rod extends below the
source). If the hole isn’t deep enough the source rod
cannot be lowered properly into the hole resulting in
erroneous readings.
Figure 5. Drill Rod Positioning
5
5
.
.
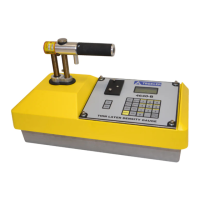
Remove the drill rod by pulling straight up and twisting the
extraction tool. Do not loosen the drill rod by tapping
from side to side with a hammer. This will distort the hole
or cause loose material to fall into the hole.
6
6
.
.
Ensure accurate placement of the gauge. Before removing
the scraper plate, mark the test area using the drill rod as
shown in Figure 6. Mark lines in the dirt along two
perpendicular sides of the scraper plate.
 Loading...