3.8 Replacing the Print head ASS’Y
1. Open the printer right side cover.
2. Turn the two print head pressure adjustment knobs counterclockwise to lowest index to
minimize the pressure applied to the print head.
3. Disengage print head release lever.
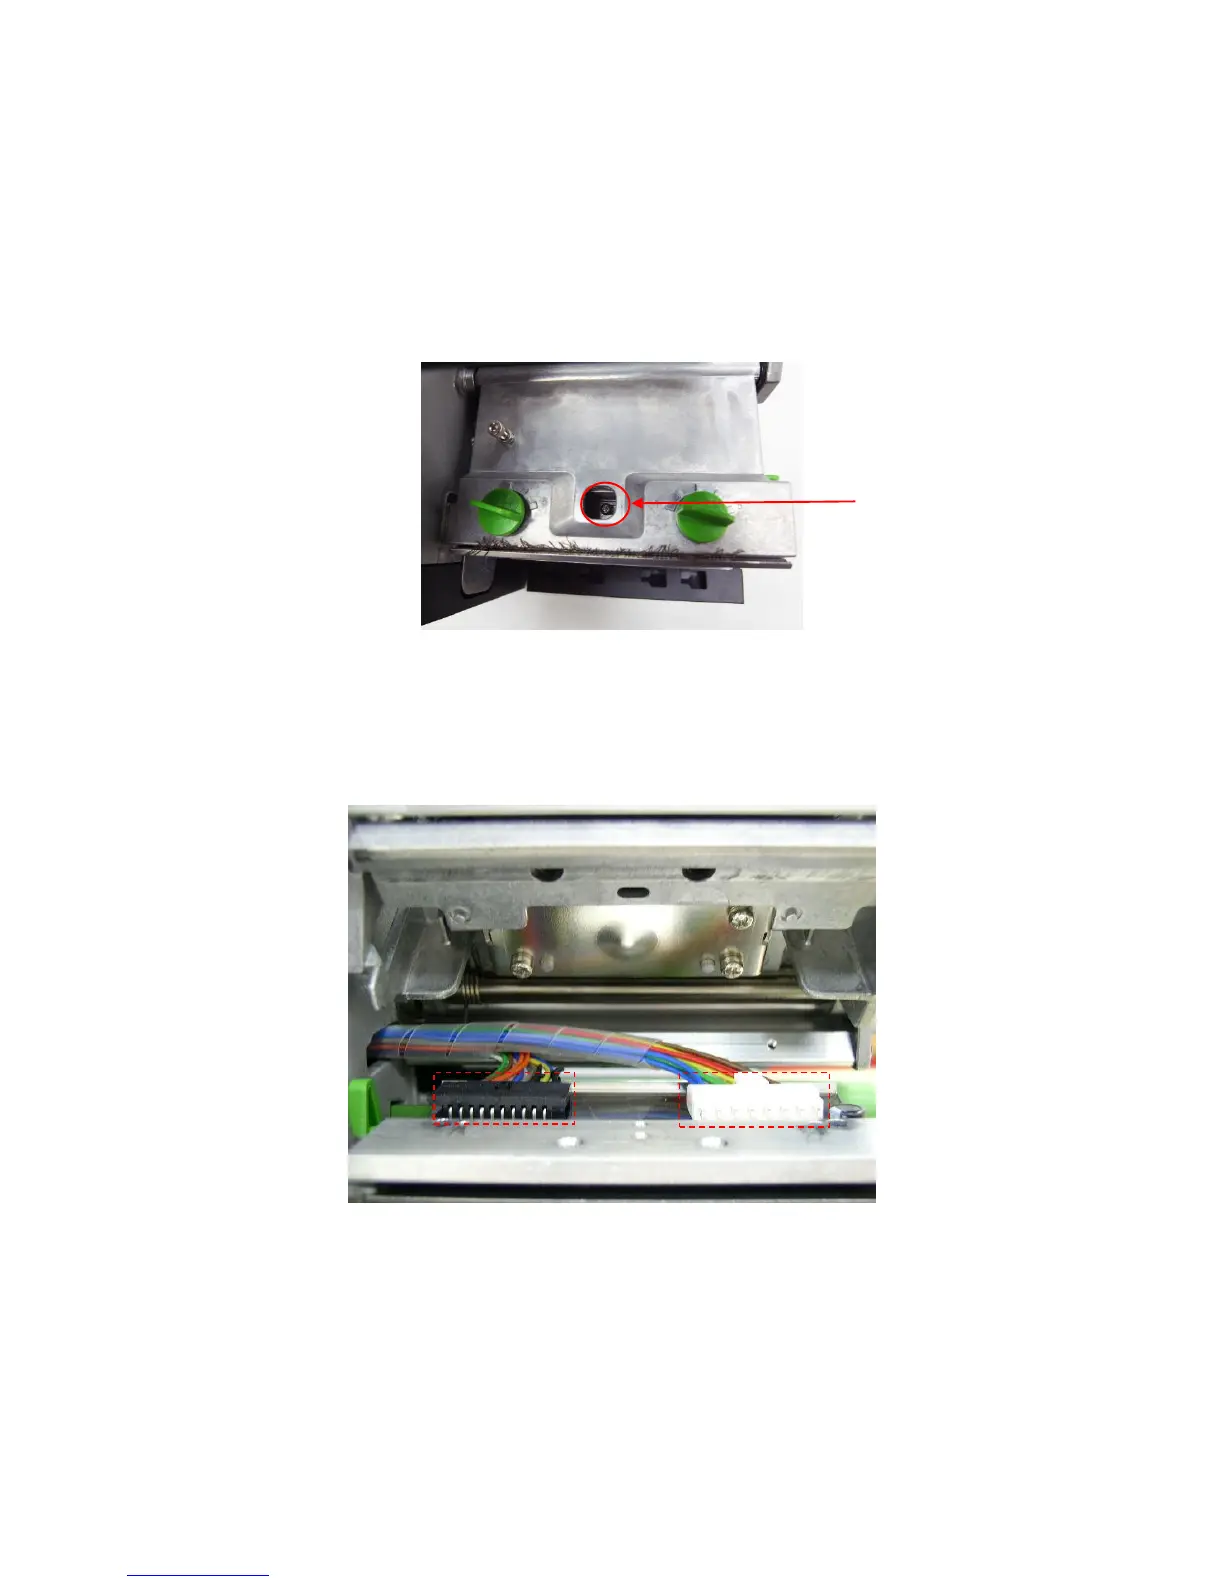
4. Remove the screw upon the print head mechanism.
5. Carefully disconnect connector from the print head ASS’Y. Please do not pull the cable to
right and left side alternatively in order to disconnect it from the print head connector.
Please use the flat screw driver to push at the key in the middle of the connector. When
the connector becomes loose from the print head connector, you can disconnect it.
6. Remove/Replace the print head ASS’Y.
7. Connect the print head cable and carefully slide assembly into the print mechanism. Make
sure the two locating protrusions on the print mechanism mounting plate snap into the
locating holes on the print head.
---- Locating protrusions
---- Locating holes
 Loading...