998-2300 Rev. H Page 33
Battery
Bracket
base
C3 base end
Battery
Bracket
locking
ring
Alignment
Strips
Battery
Bracket
base
C3 base end
Battery
Bracket
locking
ring
Alignment
Strips
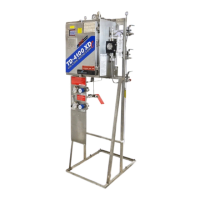
Appendix F: Installing the Battery Bracket
Introduction
The Battery Bracket (P/N: 2300-603)
for the C3 Submersible Fluorometer
was designed to provide support,
allowing a direct connection between
the battery and the C3 during self-
contained deployment, thus
eliminating the need for a cable
connection. The Battery Bracket also
provides balance and stability for the
C3 Submersible Fluorometer and
battery.
Installation
1) Use the extra plastic green
support line provided with the
Battery Bracket to remove the
installed plastic green support line
from the base cap of the C3
Submersible Fluorometer.
2) Pull the base cap off of the C3
Submersible Fluorometer.
3) Position the Battery Bracket with
the C3 so the alignment strips line
up with one another and the
bracket’s alignment pin fits into the
C3’s alignment hole.
4) Secure the connection by feeding
the Green Line through the holes
on the Battery Bracket’s base.
5) Slide the submersible battery pack
through the bracket towards the
male connector on the C3.
6) Mate the 8-pin male connector on
the C3 with the female connector
on the battery pack.
7) Secure the battery connection
using the Allen Hex Key provided
to tighten the Hex Screw located
on the bracket’s locking ring
around the battery.
C3 base
cap
Insert green line
provided to help
remove
installed green
line
Allen Hex
Screw for
locking ring
Fully mated
battery pack
Insert green line
provided to
secure the
connection