23
SLIMLINE RIDGE
SECTION 6
6
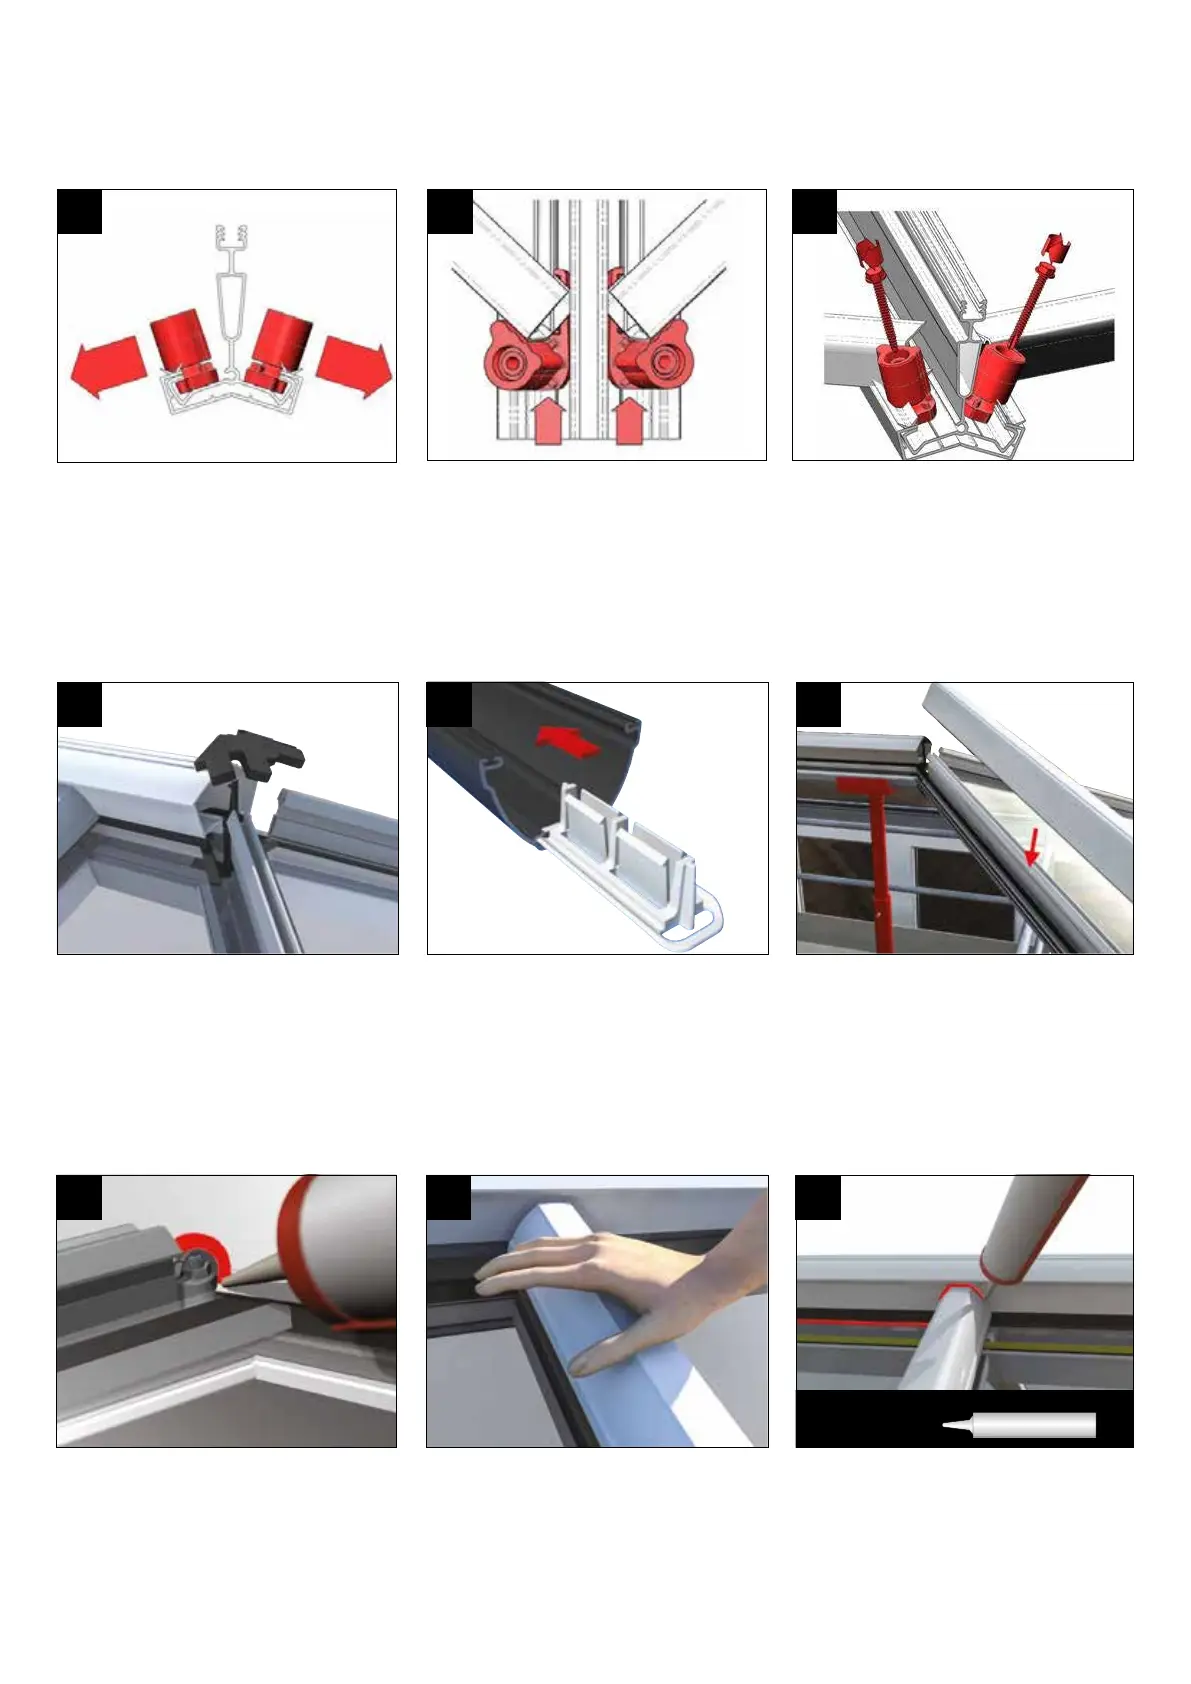
The glazing end stops tted earlier should be
pushed away from the centre of the bar and
tucked under the gasket side of the glazing
bar as shown. These are handed components,
ensure they are positioned on the correct sides
of the glazing bar.
8
Ensure that the glazing end stops have been
positioned correctly then screw down into the
glazing bar, using the xings provided. Now fully
peel away protective lm from glazing support at
eaves and ridge and press glazing down rmly.
7
Ensure that glazing stops are pushed up the
glazing bar and are rmly located against the
glazing end prole. Please note the glazing end
prole may be mitred in some cases.
ENSURE THE GLASS IS CLEAN AND DRY
BEFORE FITTING. Peel back protective
lm from weathering shield and position
(adhesive face down) on glass, locating
around the ridge and the hip bars. Press
down rmly.
Work your way around the roof and t glazing
bar top caps.
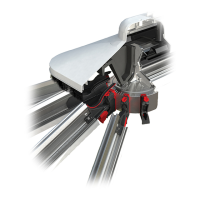
This stage should have been prepped in the
factory. If not take the aluminium top caps and
lay them onto a protected surface. Slide clips
into each bar - position down from ridge / eaves
at a max centre of 100mm and then at 500
centres (max) inbetween.
9 10 11
If using jack rafters, seal around the notched
hip bar top cap ready to receive the jack rafter
capping.
Seal along the ridge bae where it meets the
glazing and over any bar where it meets the
ridge.
Using the heel of your hand, push down on
the top cap to engage the clips, working from
ridge to eaves. Ensure the rubber gaskets are
full compressed for a watertight seal. NOTE: on
longer bars it may be necessary to use a soft
mallet and timber block
MS Polymer sealant only on
Self cleaning glass
MS Polymer
12 13 14
 Loading...