5
- Polycarbonate glazing
- Standard sealed units
ROOF VENT SASH
SECTION 2
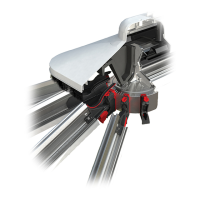
Unwrap the sash and pull two side sections out as shown above.
2
3a3
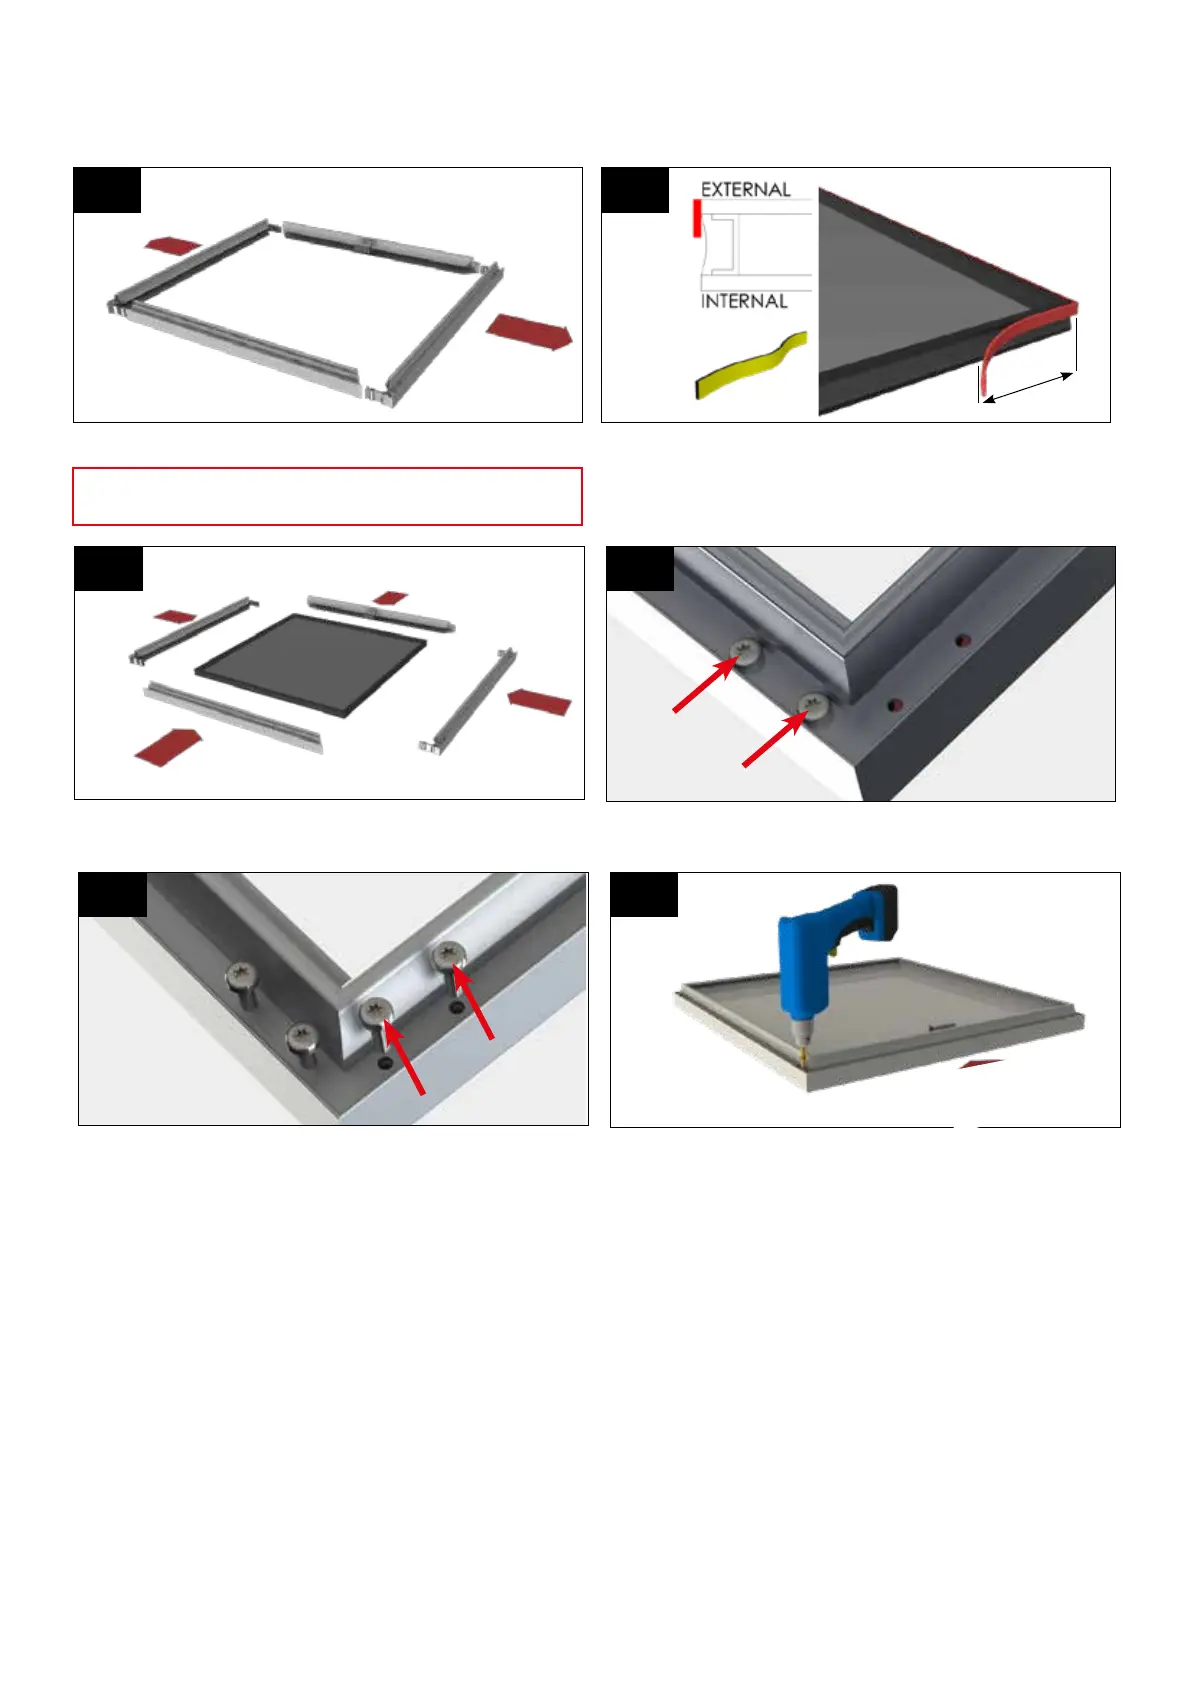
Apply length of foam tape directly to the lower edge of the outer pane
of the glass unit as shown. Start by applying the tape 70mm up the
side of the glass unit and continuing to wrap around the lower edge
oftheglassunit,nishing70mmuptheoppositeside.
If the pre-drilled holes appear out of alighment as shown above in red
simplyslackenothefactoryttedscrews.
Once tape has been applied, assemble the sash in the sequence
shown above and ensure the tape is directed against section 2.
1
70mm
1
3
2
4
Remove any protective handling tape around the perimeter of the
unit prior to installation.
43b
Finallyre-fastenthefactoryttedscrews.
NOTE:Iftheroofventisbeingttedat10°orunder,runacontinuous
bead of appropriate silicone around the full perimeter of the glass
unit.
The two sections can then be readjusted so they are in line and
square.Thenthenonfactoryttedscrewscanbexeddown.
 Loading...