45
2
3
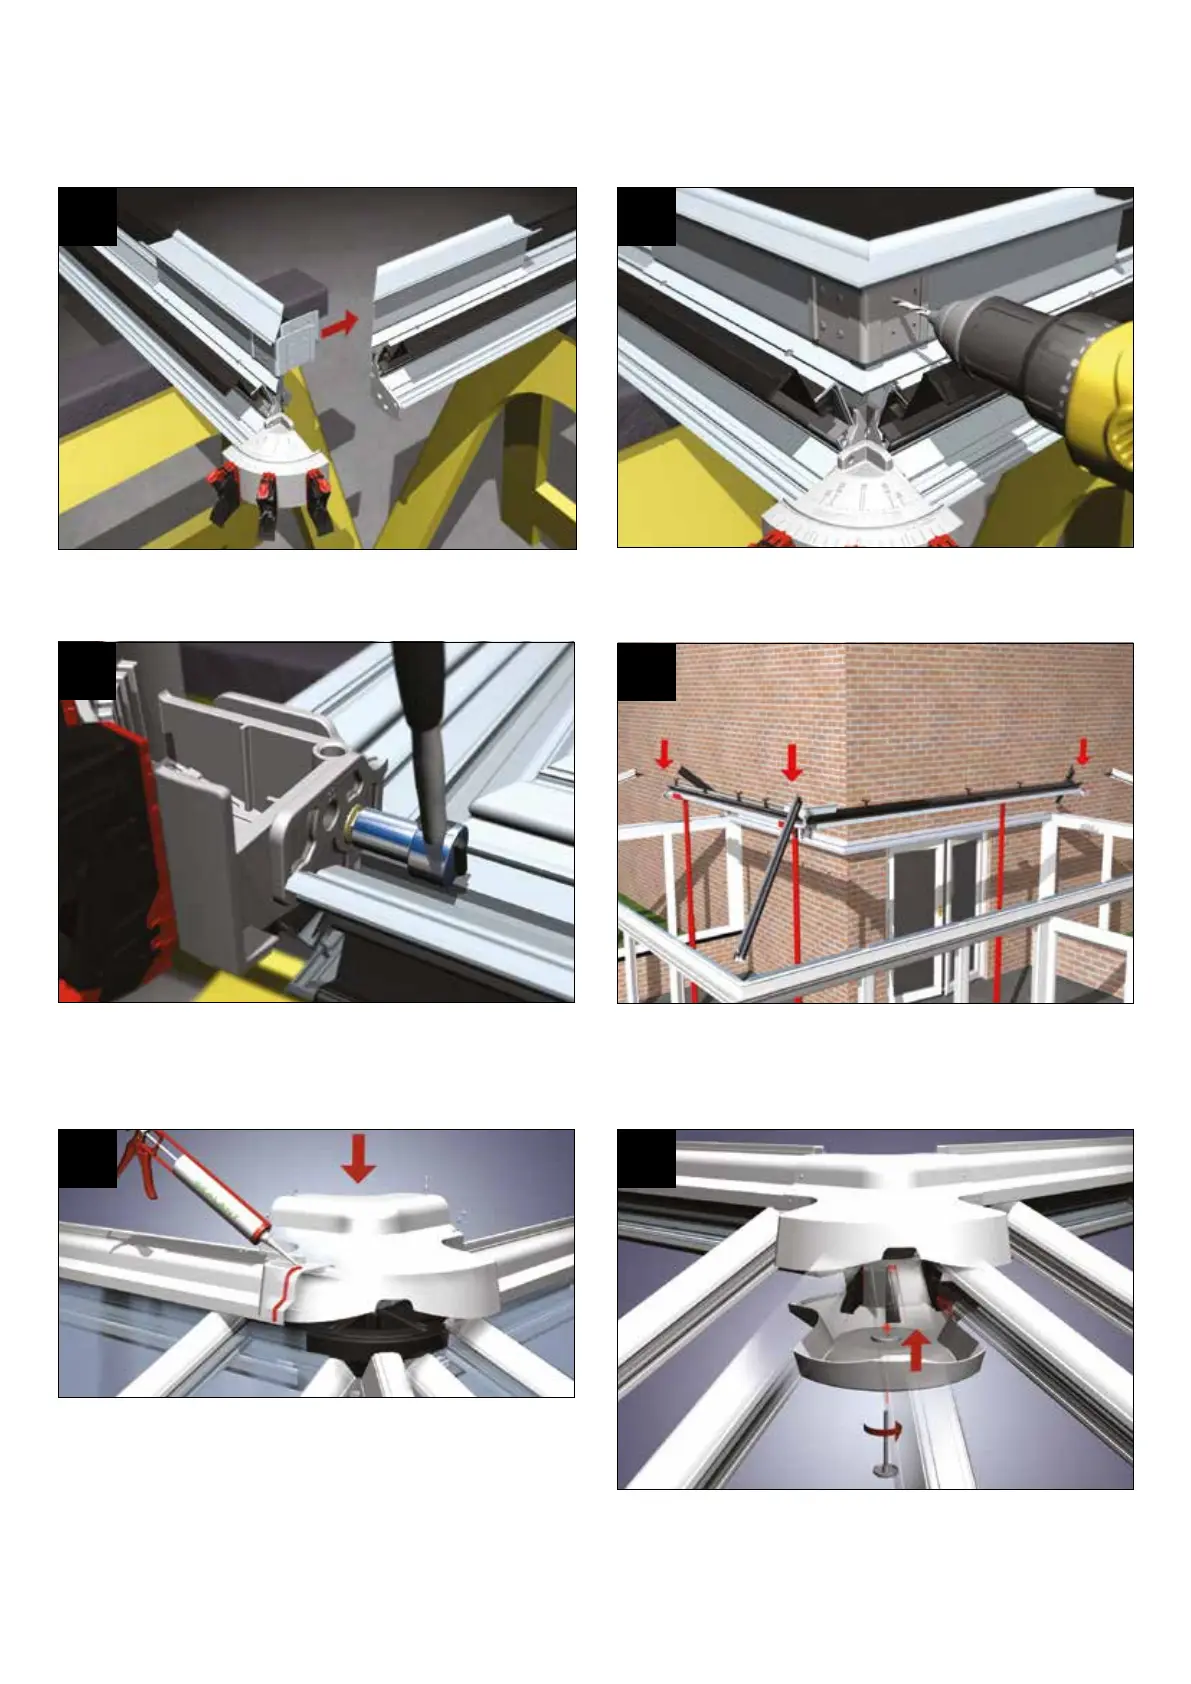
Lift separate sections of ridge body on to trestles. Slide twin cleats
into position.
1
4
5
Inthepre-preppedholes,usethexingsprovidedtoxthe
cleats.
Nowcarefullyliftandturnthe‘L’shapedridgeontoitsback.Using
a socket spanner secure the plate on one section of the ridge to
the ridge with the hub attached.
Temporary support/prop the ‘L’ shaped ridge. Oer up the hip
bars. Secure using steps 12-15 in the main installation guide. Build
remainder of the roof as section 4.
Now, as per main guide, seal around each glazing bar top cap
whereitmeetstheinnerwallofthe‘softtouch’weatheringshield.
Take the length of PVCu ridge top cap assemblies, seal the two
ends tobe joined. Mark and drill fornal rivet positions using a
5mmdrillbit. Apply plastic rivets.Oerthewhole assemblyinto
position, trimming may be required - see over page. The trimming
should be in the form of removing a strip across the whole width
or as shown above, notching around each bar. Secure ridge into
positionwith‘T’boltsasshowninsection4.
6
Nowttheinternalradiusendcappingusingthethreadedplastic
rose (trimming may be required - see over page).
L SHAPE RIDGES - FULL RIDGE TO FULL RIDGE
SECTION 22
 Loading...