16
Install Charging System - AC or Solar
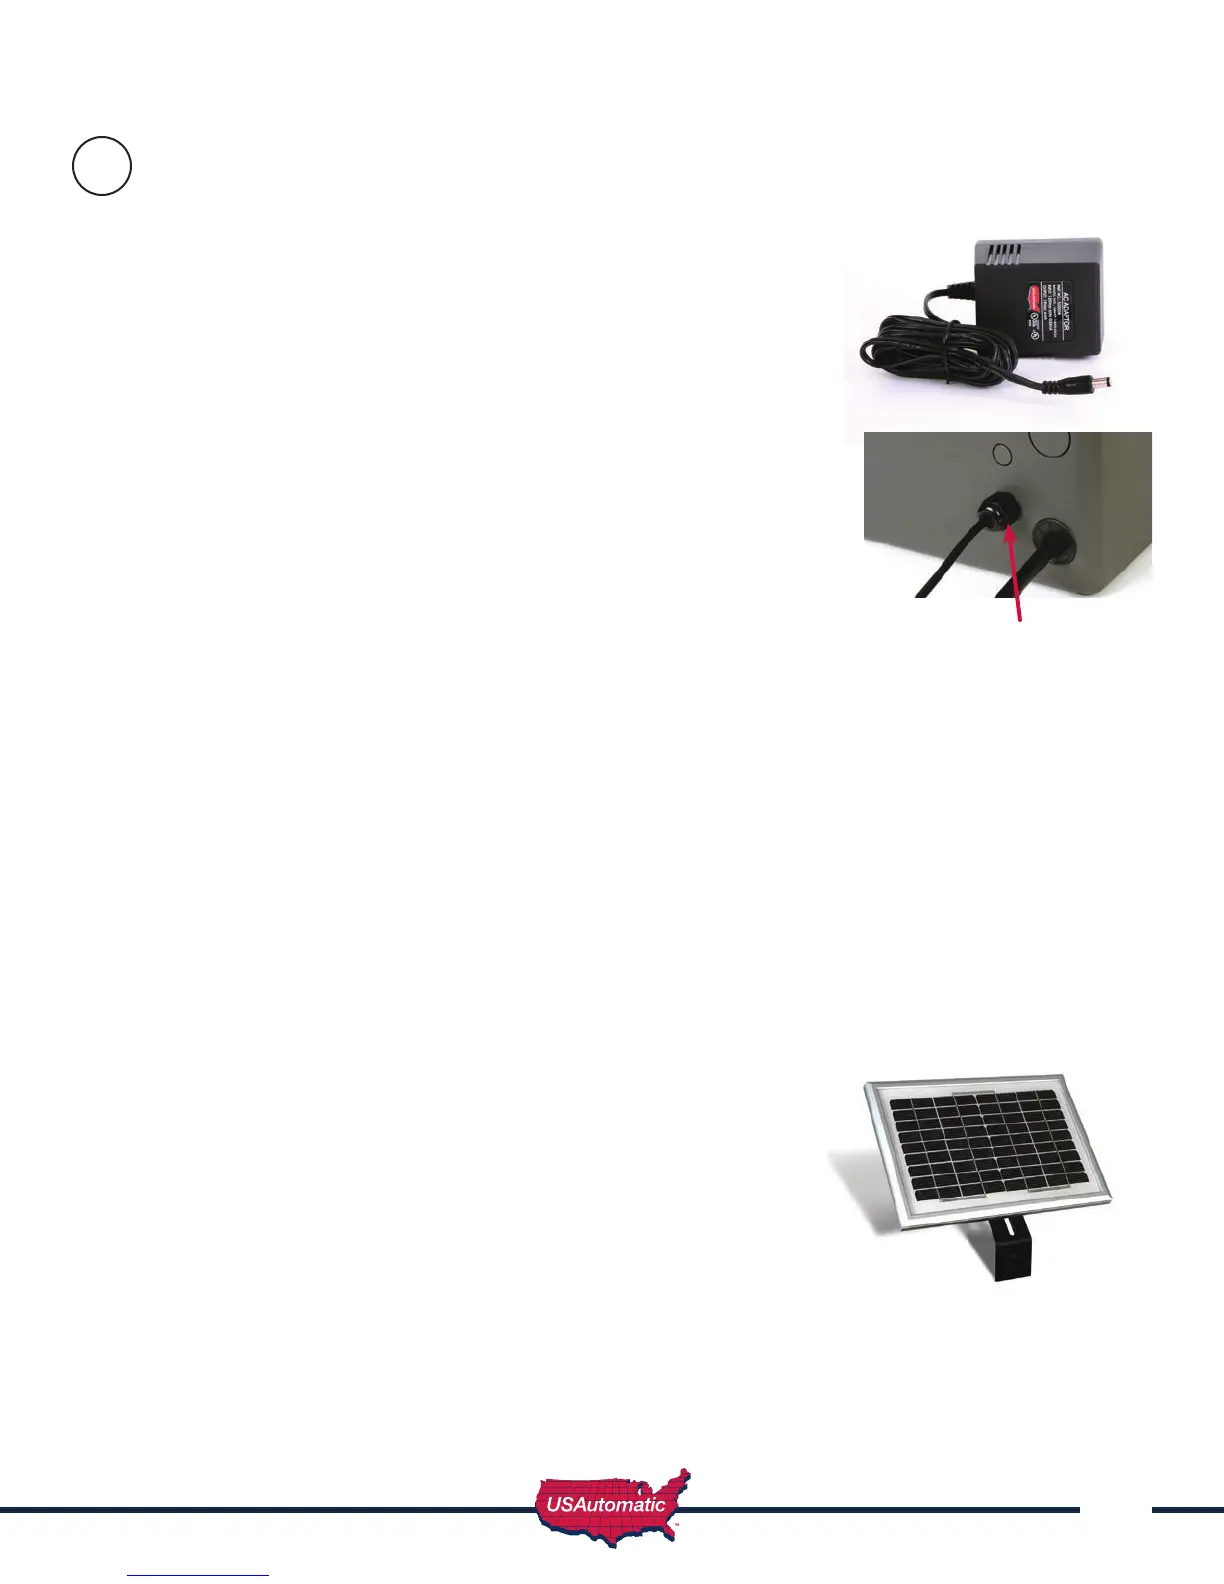
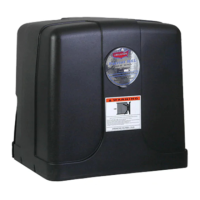
For AC Charge Option - Install Transformer
Supplied with opener
TheUSAutomatictransformer(PN520008)suppliedisalowvoltage
ULapprovedtransformerforthistypeofapplication.Thetransformeris
equippedwithaDCplugforeasyconnectiontothechargecontrollerand
caneasilyprovide575cyclesofoperationadaywithoutdecreasingthe
batterycharge.IntheeventACpowergoesouttheopenerwilloperate
forweeksonthebattery(ifcyclesperdayarebelow20)beforeneeding
service.Accessoriesconnectedtotheopenerarecritical.AlwaysuseSolar
Friendlyaccessoriestohelpavoidprematurebatteryfailureincasesof
poweroutages.TRANSFORMER MUST NOT GET WET.
1. Loosencableglandnutandroutethecablefromthechargedeviceinto
thecontrolbox(seegure).EnsurethatDCplugcanreachthecharge
controller“PowerIn”connector.
2. Tightencableglandnuttoholdcableinplace.
3. Connectthetransformertoanapprovedelectricalreceptacle.
NOTE: The 110 VAC receptacles should be installed by a qualied
electrician, per local building codes.
Ifreplacementbecomesnecessaryvisitwww.sentrygateopener.comtoorder,partnumber520008.
Failuretousethepropertransformercandamagethechargecontroller.
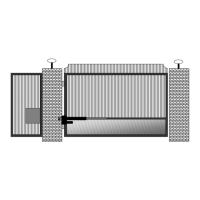
For Solar Charge Option - Install the Solar Panel
Optional Solar Panel Kit Part Number 520015 - not included
Thelocationofthesolarpaneliscriticalforproperbatterycharging.ThepanelneedstofaceaSouth
toSouthwestdirectionandbeinstalledattheangleofthesuppliedsolarpanelbracket.Forproper
operationthepanelmusthaveunobstructedsun.TheSolarPanelneedstobemountedsothatit
receivesfullsunlight.EvenasmallamountofshadeorblockagewillcausetheSolarPaneltocease
charging.SomethingastinyasangertipshadowwillaffecttheSolarPanel.
Optimizing Solar Panel Location
Thechargecontrollersensesthechargemethodinstalled(ACorSolar)
andchargesthebatteryattheoptimumchargerate.Thesolarpanel
outputsvoltageandcurrenttochargethebattery.Thisoutputvoltage
willvaryslightlyasthesunpassesoverthroughouttheday.Thecharge
controllercanbeusedtooptimizethisoutputvoltage.
• Tousethisfeatureidentifytimeofdayforthemaximumsolar
radiation(typicallyaround2pm).
• Facethepaneltowardthesunandobservethe“ExternalPower”
lightonthechargecontroller,adjustthepaneluntillightcomeson
andsecureinthatposition.
NOTE:Dependingonthetimeofyearandyourexactlocationtheoutputvoltagerequiredto
illuminate“ExternalPower”lightmaynotbepossible.Thisdoesnotindicateaproblem.Inthiscase
setpaneltofaceaSouthwestpositionandverify“SolarPower”lightison.Batteryisbeingcharged.
For additional information regarding Solar Charging, see Appendix A of this manual.
12
Cable Gland