16 Air/flue pipe installation manual 8000026412_01
5.2.3 Installing the wall duct
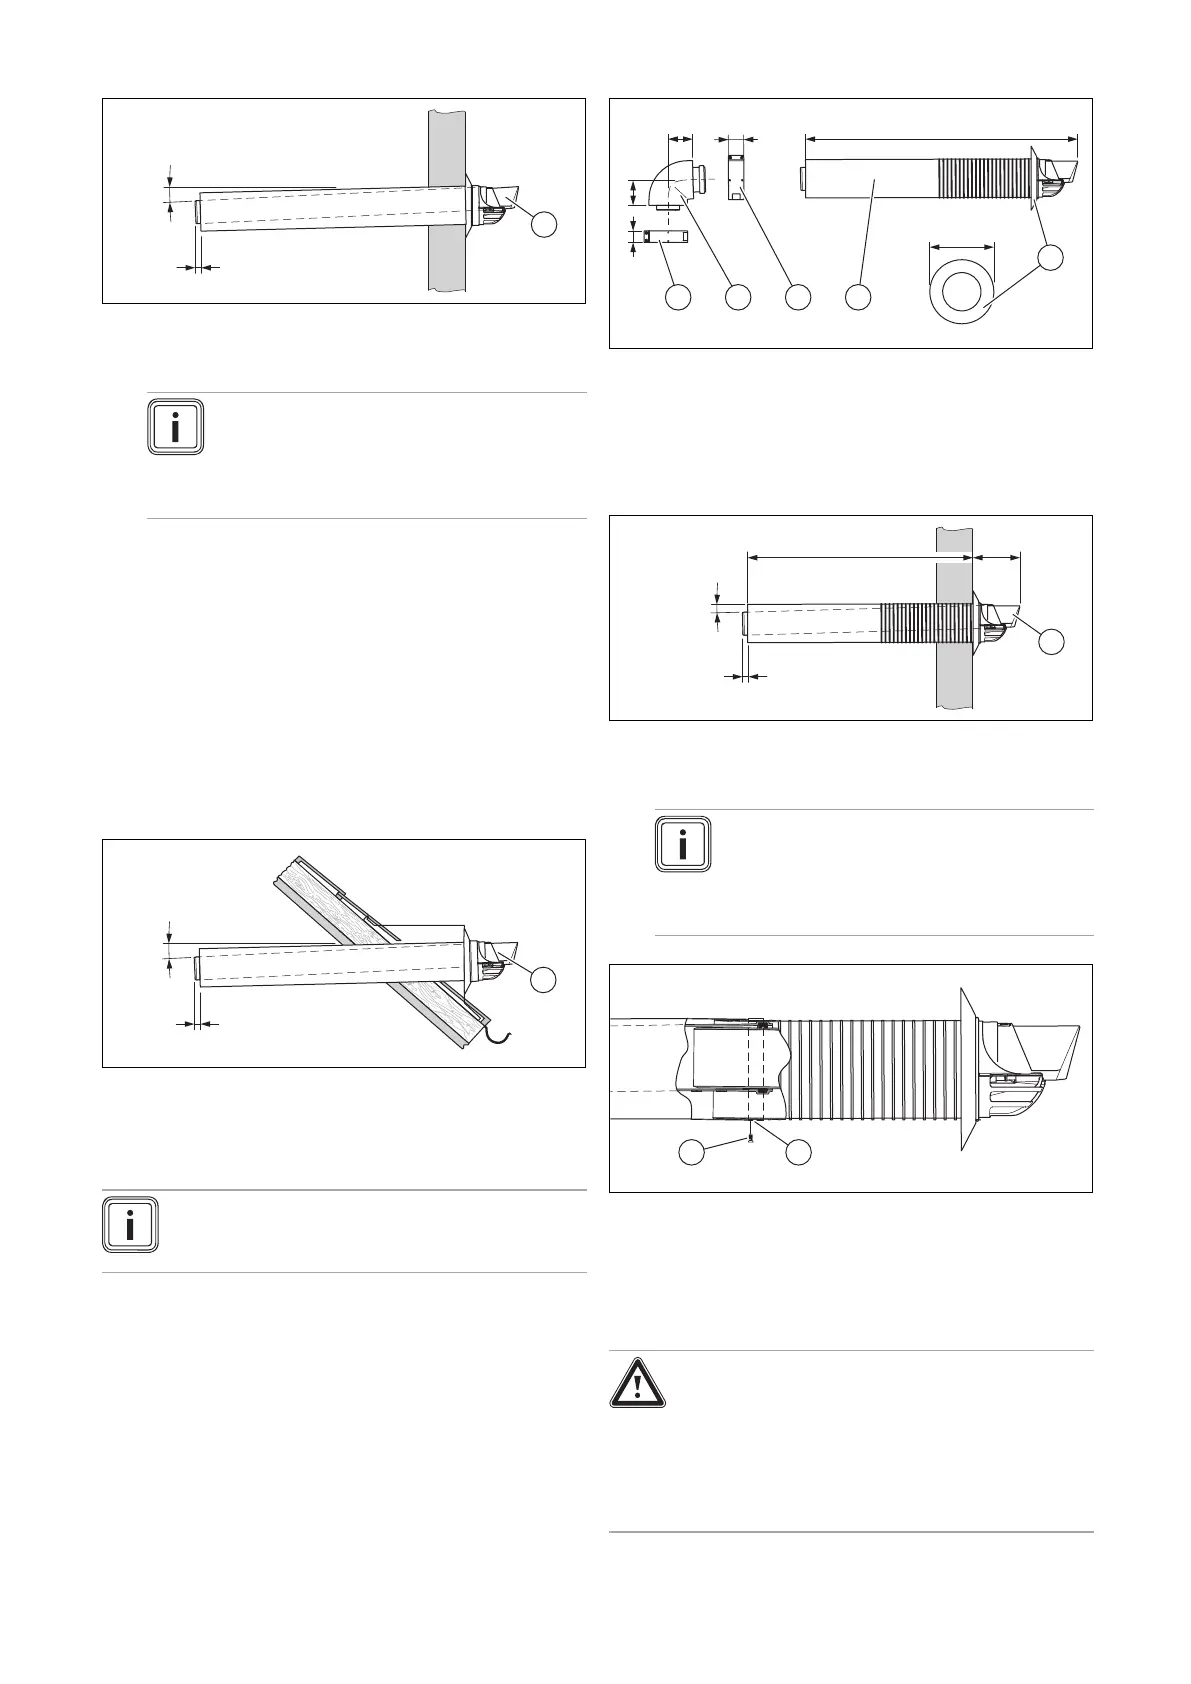
1. Drill a hole.
– Diameter: 125 mm
Note
If the wall duct can be accessed from the
exterior of the building, you can drill the hole
with a diameter of 110 mm and install the
wall duct with the collar from outside.
2. Slide the air/flue pipe (1) with the flexible collar through
the wall.
3. Pull the air/flue pipe back until the collar lies fully on the
external wall.
4. Secure the air/flue pipe with mortar and leave the mor-
tar to harden.
5. Install the collar on the inside of the wall.
6. Connect the wall/roof duct to the product using ex-
tensions, elbows and, if required, a sliding sleeve.
(→ Section 5.4)
5.2.4 Installing the roof duct
▶ Insert the air/flue pipe (1) into the dormer.
5.3 Horizontal telescopic wall/roof duct –
0020219518 – diameter 60/100 mm
Note
The telescopic wall/roof duct is only available in
black.
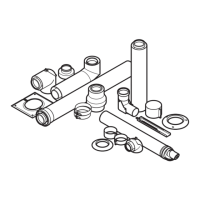
5.3.1 Scope of delivery
1 Collar, 100 diameter (2
pcs)
2 Horizontal telescopic
wall duct
3 40 mm clamp
4 87° elbow
5 30 mm clamp
5.3.2 Installing the wall duct
1. Drill a hole.
– Diameter: 125 mm
Note
If the wall duct can be accessed from the
exterior of the building, you can drill the hole
with a diameter of 110 mm and install the
wall duct with the collar from outside.
2. Determine the clearance to the external wall.
(→ Section 5.1.2.2)
3. Set the telescopic wall duct to the correct length.
– Note that the TOP symbol must point upwards on
both ends.
Danger!
Risk of poisoning due to escaping flue
gas.
Flue gas can escape if a flue pipe is dam-
aged.
▶ Only use the self-tapping screw provided.