30 Air/flue pipe installation manual 8000026412_01
– Note that the TOP symbol must point upwards on
both ends.
Danger!
Risk of poisoning due to escaping flue
gas.
Flue gas can escape if a flue pipe is dam-
aged.
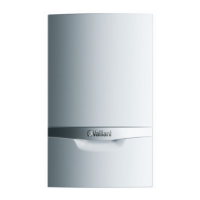
▶ Only use the self-tapping screw provided.
4. Secure the air pipes to each other by screwing the
overlapping air pipes together using the supplied self-
tapping screws on both sides (1).
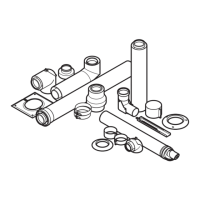
5. Install the collar (external) (2) on the wall duct.
6. Slide the air/flue pipe (1) with the flexible collar
(external) through the wall.
7. Pull the air/flue pipe back until the collar lies fully on the
external wall.
8. Align the wall duct in such a way that the label points
upwards.
9. Secure the air/flue pipe with mortar and leave the mor-
tar to harden.
10. Install the collar (internal) on the inside of the wall.
11. Connect the wall/roof duct to the product using ex-
tensions, elbows and, if required, a sliding sleeve.
(→ Section 5.12)
5.11.3 Installing the roof duct
▶ Install the roof duct in the dormer in the same way as the
wall duct (→ Section 5.11.2).
For information on preparing the installation, see
(→ Section 5.1.2.1).
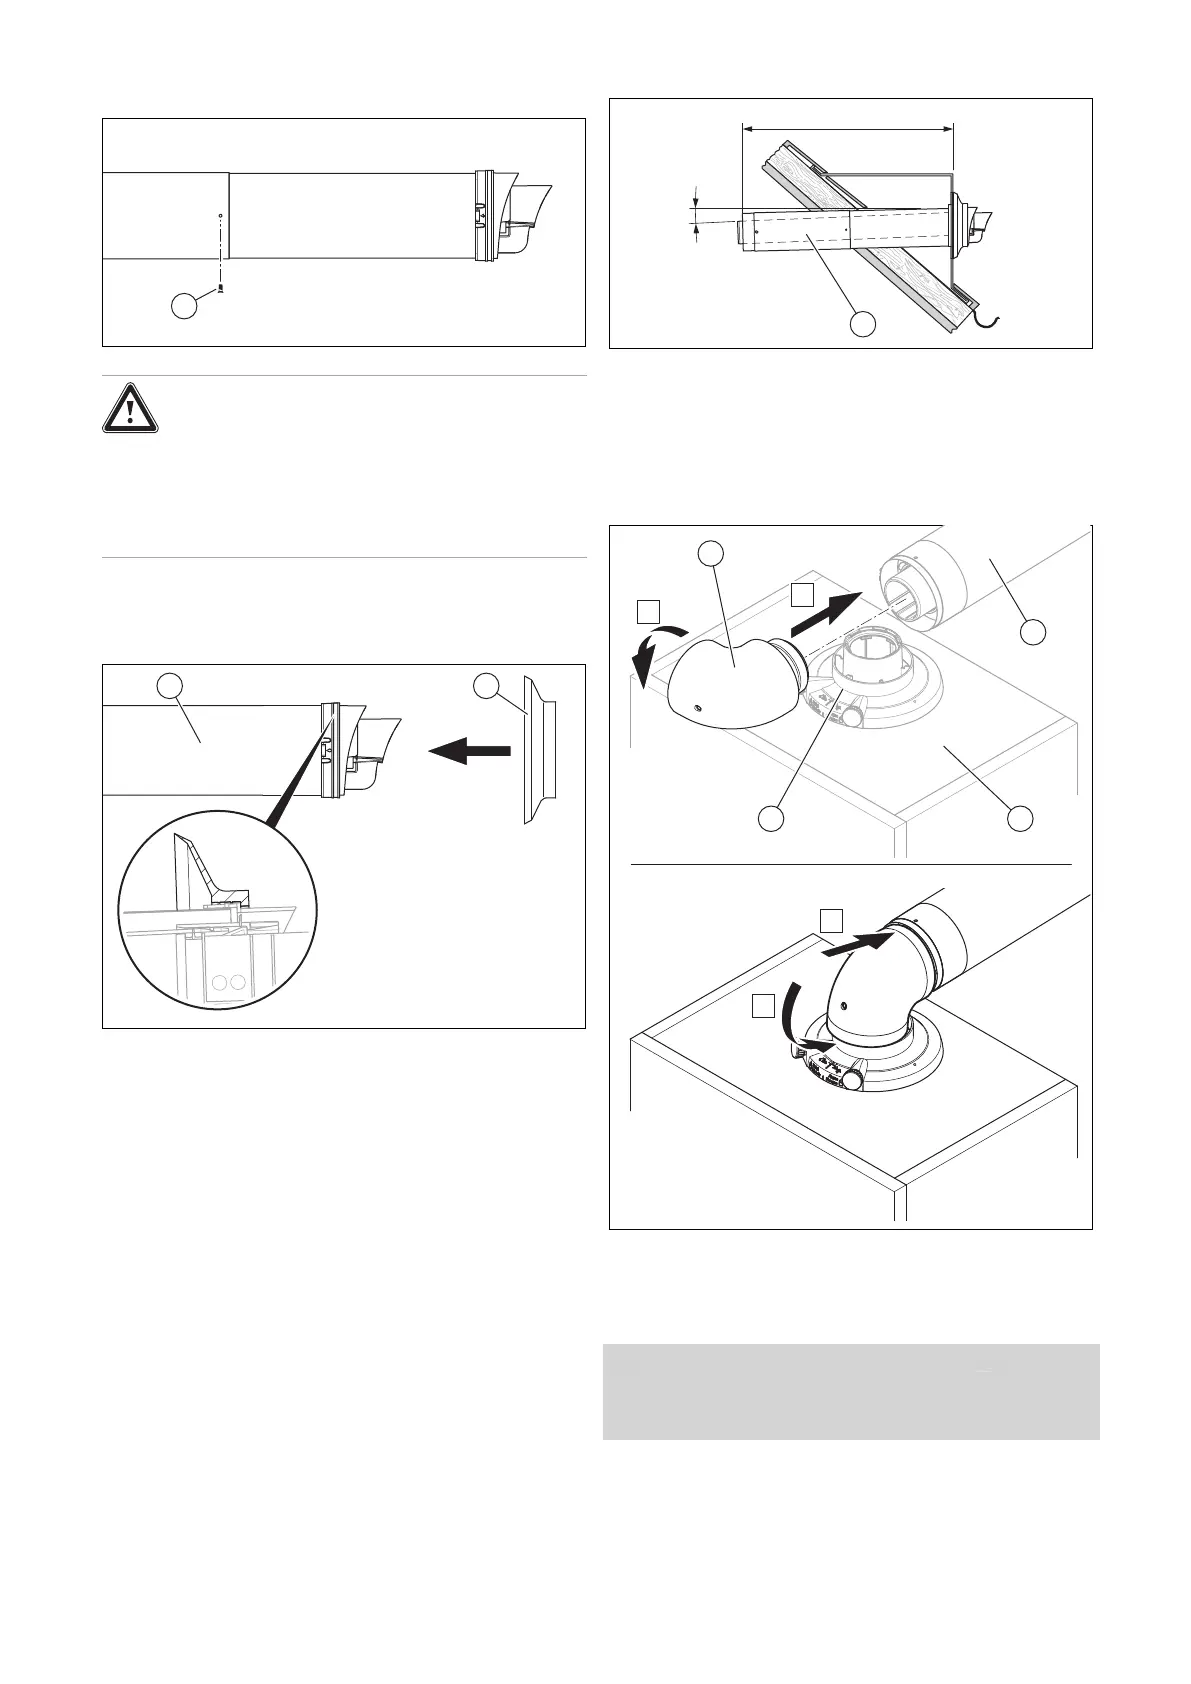
5.12 Connecting the product
1. Install the product (3) – see the installation instructions
for the product.
2. If required, replace the connector (4) for the air/flue
pipe, see the installation instructions for the product.
Condition: Wall/roof duct with extension
▶ Install the extensions. (→ Section 5.19.2)
▶ Install the elbows (→ Section 5.19.3).
3. Slide the connection elbow twisted (1) to the side by
90° into the horizontal air/flue pipe (2).
4. Twist the connection elbow by 90° downwards.
5. Slide the connection elbow into the connector for the
air/flue pipe.