8000026412_01 Air/flue pipe installation manual 29
5.10.3 Installing the wall duct
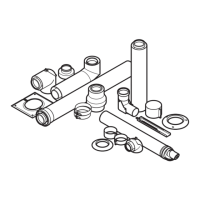
1. Drill a hole.
– Diameter: 125 mm
Note
If the wall duct can be accessed from the
exterior of the building, you can drill the hole
with a diameter of 110 mm and install the
wall duct with the collar from outside.
2. Install the collar (outside) on the wall duct.
3. Label the upper side on the air pipe.
4. Slide the air/flue pipe with the flexible collar through the
wall.
5. Pull the air/flue pipe back until the collar lies fully on the
external wall.
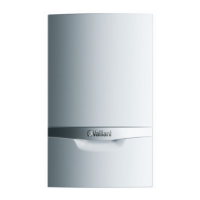
6. Align the wall duct in such a way that the label points
upwards.
7. Secure the air/flue pipe with mortar and leave the mor-
tar to harden.
8. Install the collar (internal) on the inside of the wall.
9. Connect the wall/roof duct to the product using ex-
tensions, elbows and, if required, a sliding sleeve.
(→ Section 5.12)
5.10.4 Installing the roof duct
▶ Install the roof duct in the dormer in the same way as the
wall duct (→ Section 5.10.3).
For information on preparing the installation, see
(→ Section 5.1.2.1).
5.11 Horizontal telescopic wall/roof duct –
0010039333 – diameter 60/100 mm
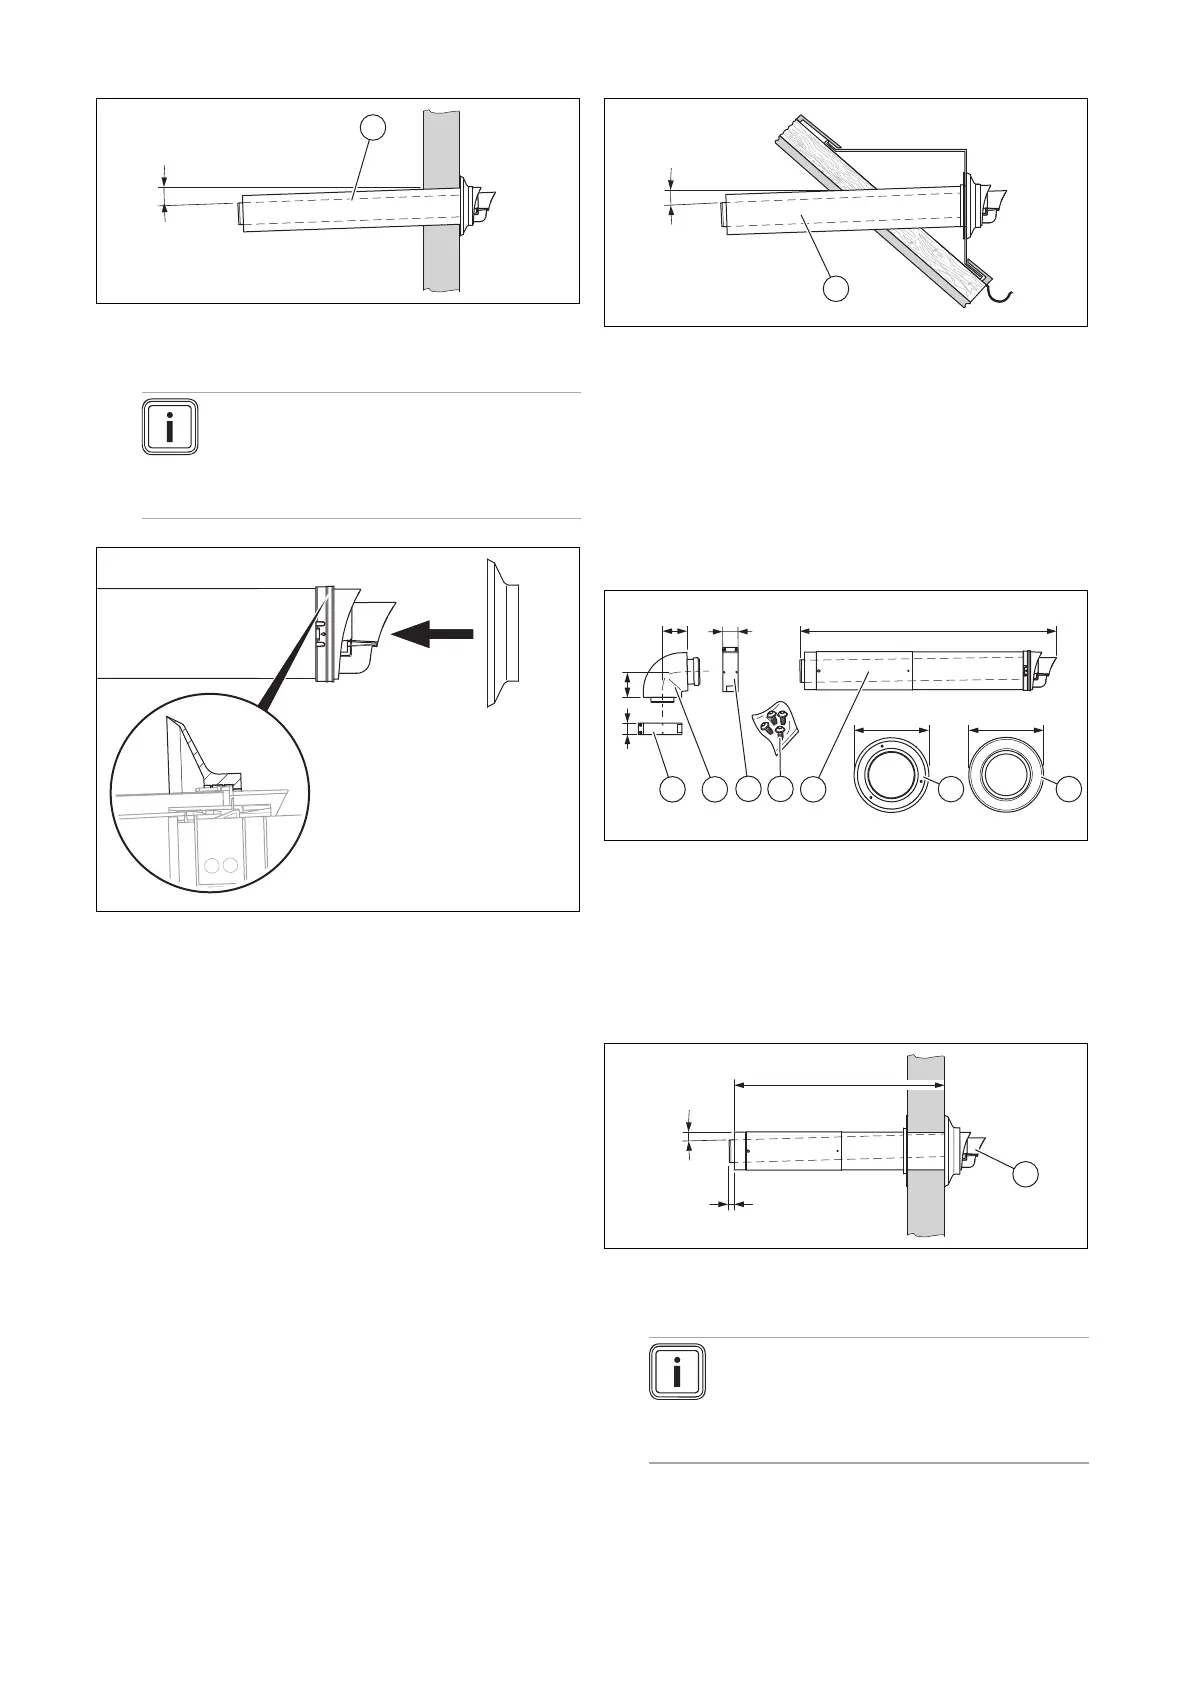
5.11.1 Scope of delivery
65
Ø165Ø165
65
30
40
498-713
12
3
5
67
4
1 Collar (outside) 100 dia-
meter
2 Collar (inside) 100 dia-
meter
3 Horizontal telescopic
wall duct
4 Locking screws
5 40 mm clamp
6 87° elbow
7 30 mm clamp
5.11.2 Installing the wall duct
1. Drill a hole.
– Diameter: 125 mm
Note
If the wall duct can be accessed from the
exterior of the building, you can drill the hole
with a diameter of 110 mm and install the
wall duct with the collar from outside.
2. Determine the clearance to the external wall.
(→ Section 5.1.2.2)
3. Set the telescopic wall duct to the correct length.