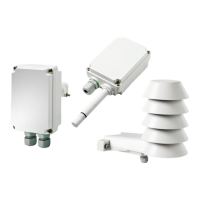
HMS110/112 Installation
• Medium size crosshead screwdriver (Pozidriv)
• Small slotted screwdriver for screw terminals
• Tools for cutting and stripping wires
• 19 mm open-end wrench for tightening the cable gland
Additional tools for pole installation:
• Zip ties for securing the cable to the pole
Additional tools for wall installation:
• Drill and bits
• Screws (2 pcs, Ø < 5.5 mm) and wall plugs
• Cable clips for securing the cable to the wall
1. Open the six screws that hold the transmitter cover.
2. Route the power and signal cable through the cable gland, and connect the wires to the
screw terminals according to the wiring instructions:
• Wiring Devices with Analog Output (page 14)
• Wiring Devices with Modbus Output (page 16)
For the arrangement of the screw terminals, see Component Board (page 12).
3. Adjust the length of cable between the cable gland and the terminal blocks. Make the
cable short enough to close the cover without leaving a cable loop in the transmitter.
4. Disconnect the wired screw terminal blocks by pulling them o from the component
board.
9
ENGLISH

 Loading...