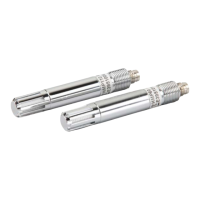
7.2 Changing the probe filter
• New compatible filter
• Clean lint-free gloves
Sensors are easily damaged when the filter is not in place. Handle
the probe head carefully.
CAUTION!
HMP9 and TMP1 probe models do not have a removable filter.
1. Put on clean gloves before touching the filter.
2. Turn the filter counter-clockwise to loosen it.
3. Remove the filter from the probe head. Be careful not to touch the sensors with the filter.
4. Install a new filter on the probe head. Tighten the filter properly (recommended force
5 Nm).
7.3
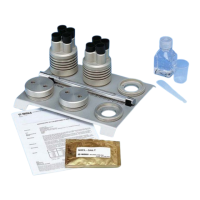
Replacing the HUMICAP R2 sensor
• New HUMICAPâ R2 sensor
• New compatible filter
• Clean lint-free gloves
• 11.3 %RH and 75.5 %RH humidity references (using Vaisala HMK15 Humidity
Calibrator)
• Computer with Microsoft Windowsâ operating system and Vaisala Insight
software installed
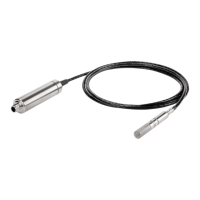
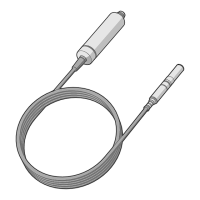
• Indigo USB adapter (item code USB2) or USB connection cable (item code
242659)
Follow this procedure to replace a HUMICAPâ R2 humidity sensor it has been damaged, or
normal adjustment is not sucient to restore the humidity measurement accuracy. It is
recommended that you replace the filter at the same time. The procedure includes a special 2-
point adjustment of humidity measurement using Insight PC software. This adjustment must
be done every time after the HUMICAPâ R2 sensor has been replaced.
HMP Series with MMP8 and TMP1 User Guide M212022EN-F
50