1. Place the fixing brackets around the pole and attach the mounting plate to the brackets
using 4 mounting nuts.
Make sure that the arrow in the mounting plate points upwards.
2. Open the 2 hex screws on the cover of the transmitter using a 4-mm hex key.
3. Open the transmitter cover.
4. Attach the transmitter to the mounting plate using 2 × 14-mm screws and a 5-mm hex key.
Place nylon washers under the screws to protect the surface of the transmitter.
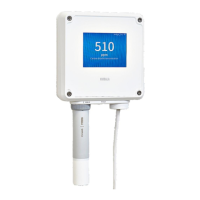
3.3 Wiring
Make sure that you prepare and connect only de-energized wires.WARNING!
• Hex key (4 mm) for opening the transmitter cover
• Open-ended spanners of sizes 17 mm, 19 mm, 22 mm and 24 mm
• Flat head screwdriver
• Cable glands as required by your application (available from Vaisala)
• Cables as required by your application (probe connection cables and power
cables are available from Vaisala)
3.3.1 Power supply terminals and lead-through − PELV option
ANALOG OUTPUTS
RELAY 1RELAY 2
+
+
+
+
+
+
+
+
+
CH1
CH2
CH3
CH4
RS-485
PROBE
24 VOUT
ANALOG
INPUT
NO COM NC NO COM NC
1
2
M20×1.5
VS
+
Power supply input wiring is required only
for transmitters powered with protective
extra low voltage (PELV) or AC (mains)
power.
For the M20×1.5 cable gland ordered
together with the transmitter from Vaisala,
the cable diameter is 5.0 … 8.0 mm
(0.20 … 0.31 in). Tightening torque for the
cable gland is 8 Nm.
Chapter 3 – Installation
23

 Loading...