Vertiv | Liebert® DM | User Manual 30
Mechanical Installation
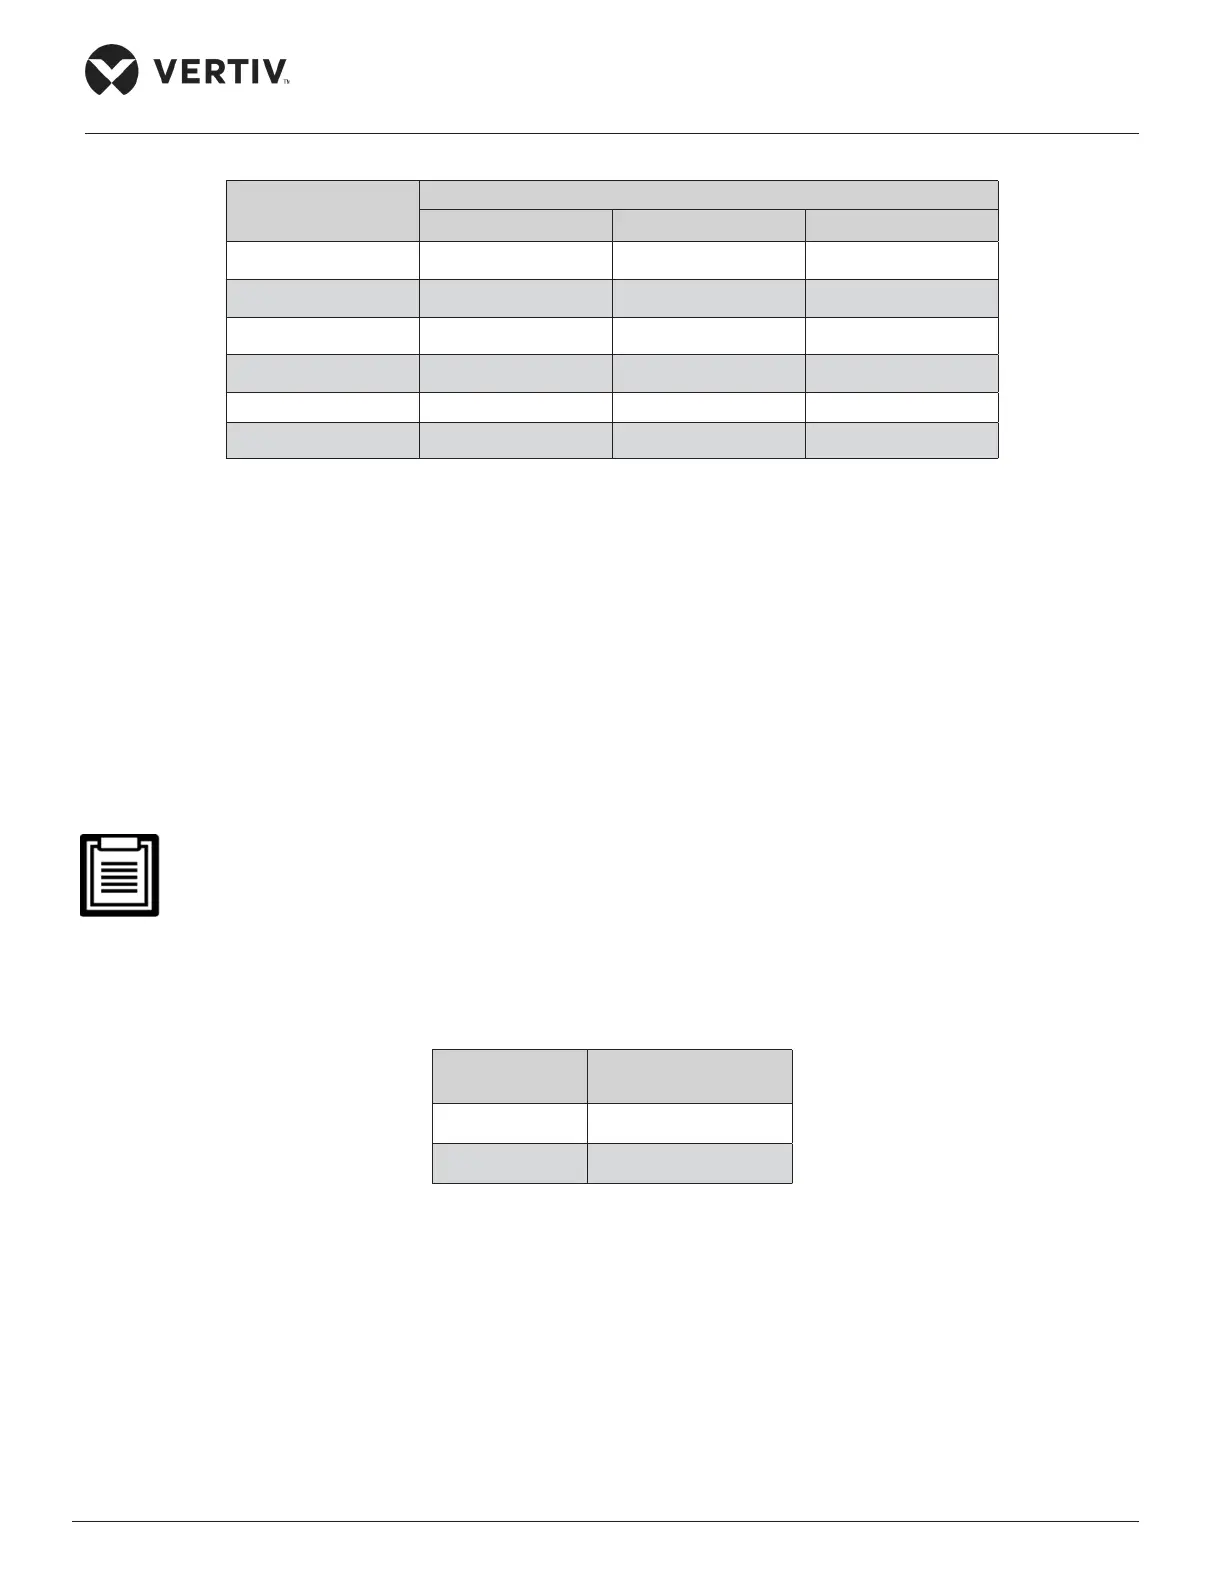
Table 2-7 Equivalent Length of Each Local Component
Liquid Pipe OD
(inch)
Equivalent Length (m)
90° Elbow 45° Elbow T-type Three Way
3/8 0.21 0.10 0.76
1/2 0.24 0.12 0.76
5/8 0.27 0.15 0.76
3/4 0.30 0.18 0.76
7/8 0.44 0.24 1.10
1-1/8 0.56 0.30 1.40
2.6.4. Quick Thread Connector Installation Notes
Refer the following procedure when connecting the quick thread connector
1. Remove the dust-proof caps.
2. Clean the coupling seats and threaded surface of the connector with a clean cloth carefully.
3. Lubricate the male thread with lubricant oil.
4. Thread the coupling halves together by hand to ensure that the threads mate properly.
5. Tighten the coupling body’s hexagon nut and union valve until a definite resistance is felt.
6. Use a marking pen to draw a line* lengthwise from the coupling union nut to the bulkhead.
7. Tighten the nuts and apply additional quarter turn with two wrenches.
• *Misalignment of the lines shows how much the coupling has been tightened.
• Care must be taken while performing this operation to avoid any damage to the connector threading.
• Two wrenches must be used to cooperate with each other during connection, because one wrench can
damage the coupling copper lines easily.
The recommended torque values are listed in Table 2-8.
Table 2-8 Recommended Torque Value
Coupling Size
inch
Torque Value
(N.m)
5/8 7 to 8
3/4, 7/8 25 to 32
2.6.5. Piping Connection Requirements
Refer to Figure 2-2 and Figure 2-3; the required piping connections are as follows:
• Refrigerant piping between the indoor and the outdoor units (discharge and liquid piping).
• Drain piping connections of the indoor unit.
In case of Humidifier is configured with the unit: The water supply piping to the humidifier connection is required.
 Loading...