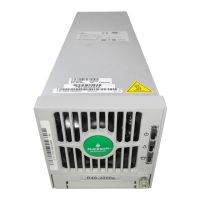
NetSure
™
Control Unit (NCU)
User Manual, UM1M830BNA
Spec. No: 1M830BNA, 1M830DNA Code: UM1M830BNA
Model No: M830B, M830D Revision M, May 12, 2017
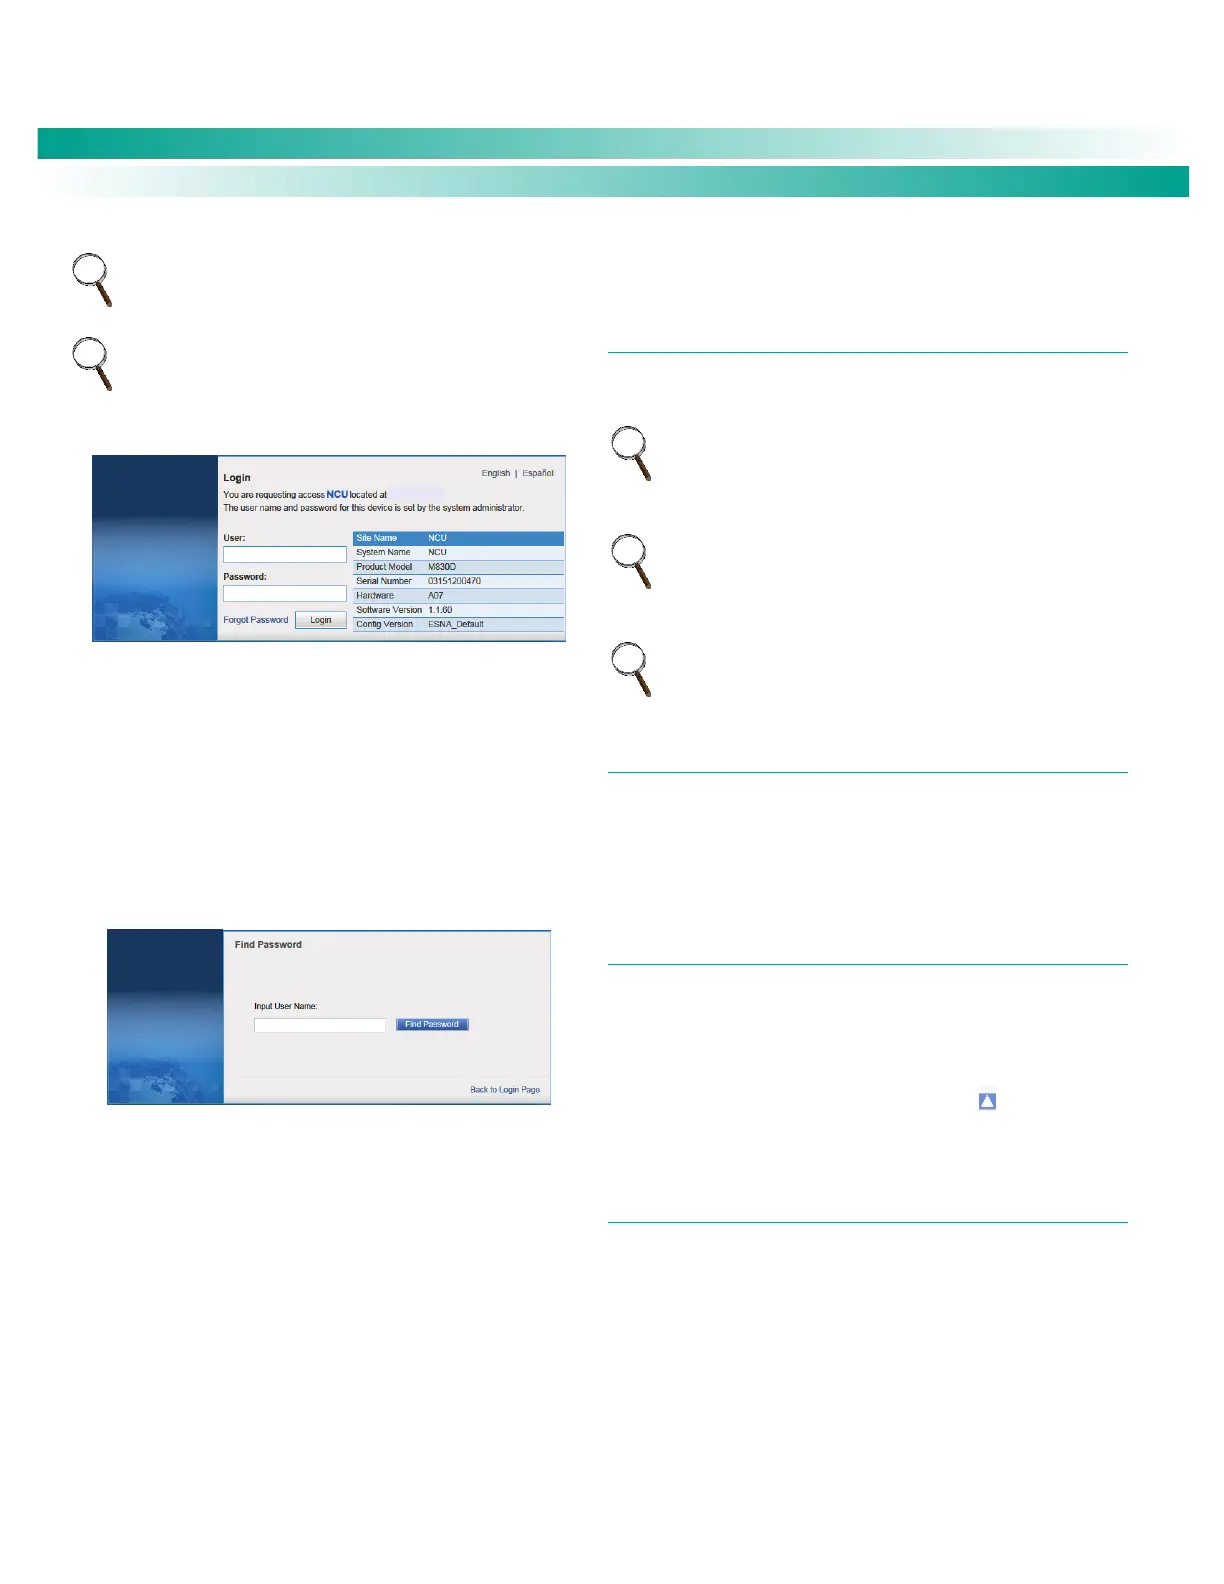
NOTE: By default, the “User Name” is "admin" and the
“Password” is “640275”. The password can be changed if
necessary (see “Users Tab” on page 145).
NOTE: Before entering a User Name and password, you can
select a local language that the Web Interface menus use from
those listed in the top right corner of the login window. See
“Language Tab” on page 150.
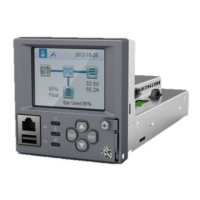
3. After entering a valid User Name and Password and
clicking LOGIN, the Web Interface "HOMEPAGE" window
opens. Refer to “Web Interface Screens” on page 93.
You can program a “Forgot Password” feature. Once
programmed, if you forgot your password, click Forgot Password in
the login screen. A "Find Password" window opens. Enter your
User Name and click Find Password. The controller sends the
password to the email address programmed for this User Name.
To set up the “Forgot Password” feature, you must have a
User set up with an email address and you must set up
the Alarm Reporting SMTP section. To program the User,
in the Web Interface, go to Advanced Settings Menu /
Users Tab / select the User / enter a valid email address
for this User / repeat for all Users (see “Users Tab” on
page 145). To program the Alarm Reporting SMTP
section, in the Web Interface, go to Advanced Settings
Menu / Alarm Report Tab / SMTP Section / enter at a
minimum the following parameters: “Email To” address,
Server IP (IPV4 Server address), Server Port, “Email From”
address. If email authentication is required, then the
SMTP Account and SMTP Password needs to be
configured as well. (See “Alarm Report Tab” on page
166.)
Common Tasks Performed via the Local Keypad
and/or Web Interface
PROCEDURES
Refer also to “Local Display Menus” on page 70 and “Web Interface
Screens” on page 93 for menu item descriptions.
NOTE: Ensure current configuration is backed up prior to
changing settings (see “Backing Up the NCU Configuration” on
page 29). Create new backup files after every successful
update for your records and in case of controller failure.
NOTE: If you add or remove hardware from the system (except
rectifiers, solar converters, or converters), update the inventory
via the “Auto Config” menu item (see “Updating the NCU
Controller’s Device Inventory” on page 29).
NOTE: Some settings are restricted by other settings. Refer to
Figure 10 for setting restrictions.
Start Wizard
For initial startup, perform the Start Wizard from the local keypad
and display to enter basic programmable parameters in one
session. Refer to “Start Wizard Sub-Menu (accessed from Settings
Menu)” on page 80 and “Start Wizard Now” on page 91.
Viewing Alarms
Local Menu Navigation:
Main Menu / Alarm Icon / ENT.
Web Menu Navigation:
Active alarms are listed in the lower right window pane. If the
window pane is collapsed, click the "arrow" icon to expand the
alarm list.
Viewing System Status
Local Menu Navigation:
Main Menu / Input Power Icon / ENT.
Main Menu / Module Icon / ENT.
Main Menu / DC Icon / ENT.
Main Menu / Battery Icon / ENT.
Web Menu Navigation:
System status is displayed in the right window pane of the Home
page. Select the Power System tab and use the interactive links to
view the various device group status pages. See “Device Group
Status Pages” starting on page 98.