Manual VIPA System 300V Chapter 6 Deployment CPU 31x with TCP/IP
HB130E - CPU - Rev. 11/50 6-49
The project engineering of the CP happens via WinNCS. It is divided into 3
parts:
• basic CP configuration
• Configuration of the connection blocks
• transfer of configuration data into the CP
The following text describes the steps of the WinNCS project engineering.
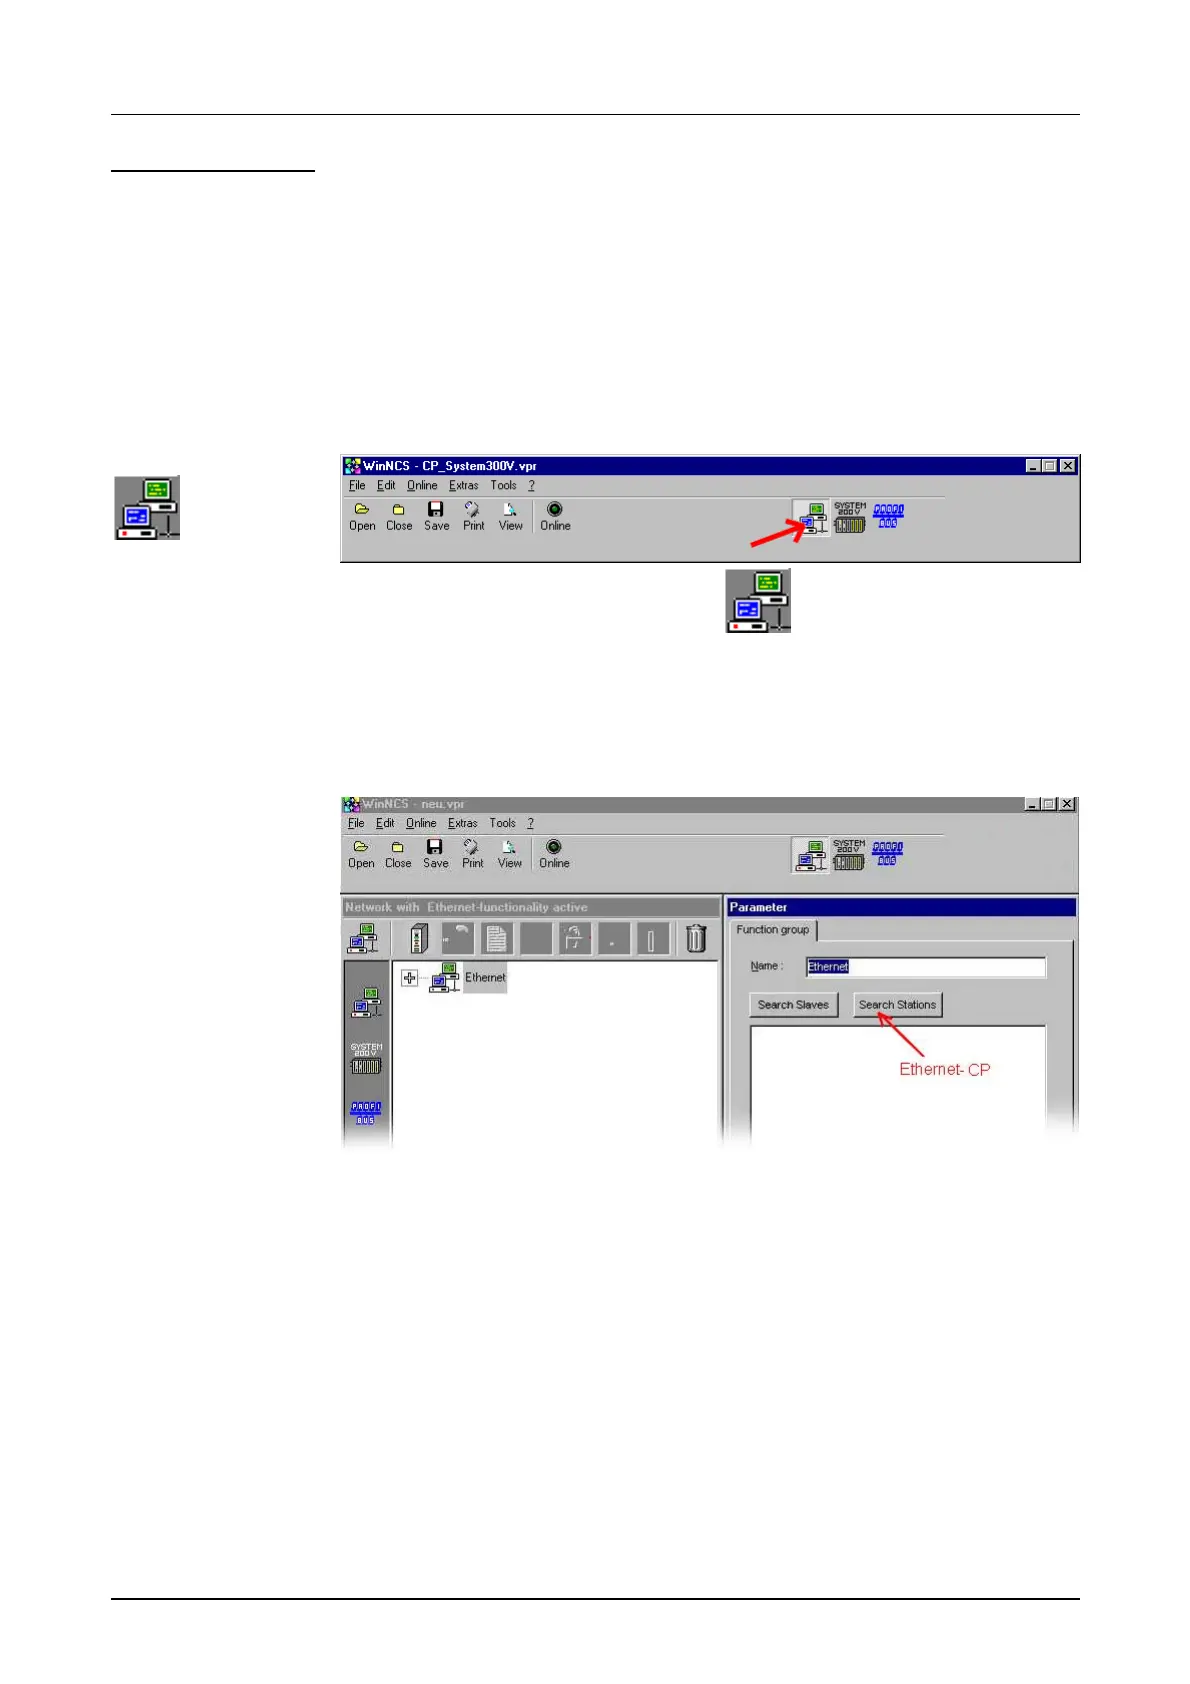
Start WinNCS.
Activate the functionality "Ethernet" via
.
Create a new project with the function group "Ethernet" via Project >
Project set-up/open.
Click in "Parameter"-window on [Search stations] → The available VIPA
CPs are listed by their IP address.
If your target CP is inside your IP circle, the CP can online be projected.
Otherwise you have to change the IP address by using [Change IP]. After
that click to [Search stations]. Please regard! If you change the IP Address
of the CP by using [Change IP], the configuration inside the CP is cleared.
Via double click on the wanted station, the according project is imported
and monitored in the "network" window for further parameterization.
Configuration
under WinNCS
Functionality
Ethernet
Search CP
 Loading...