Chapter 6 Deployment CPU 31x with TCP/IP Manual VIPA System 300V
6-62 HB130E - CPU - Rev. 11/50
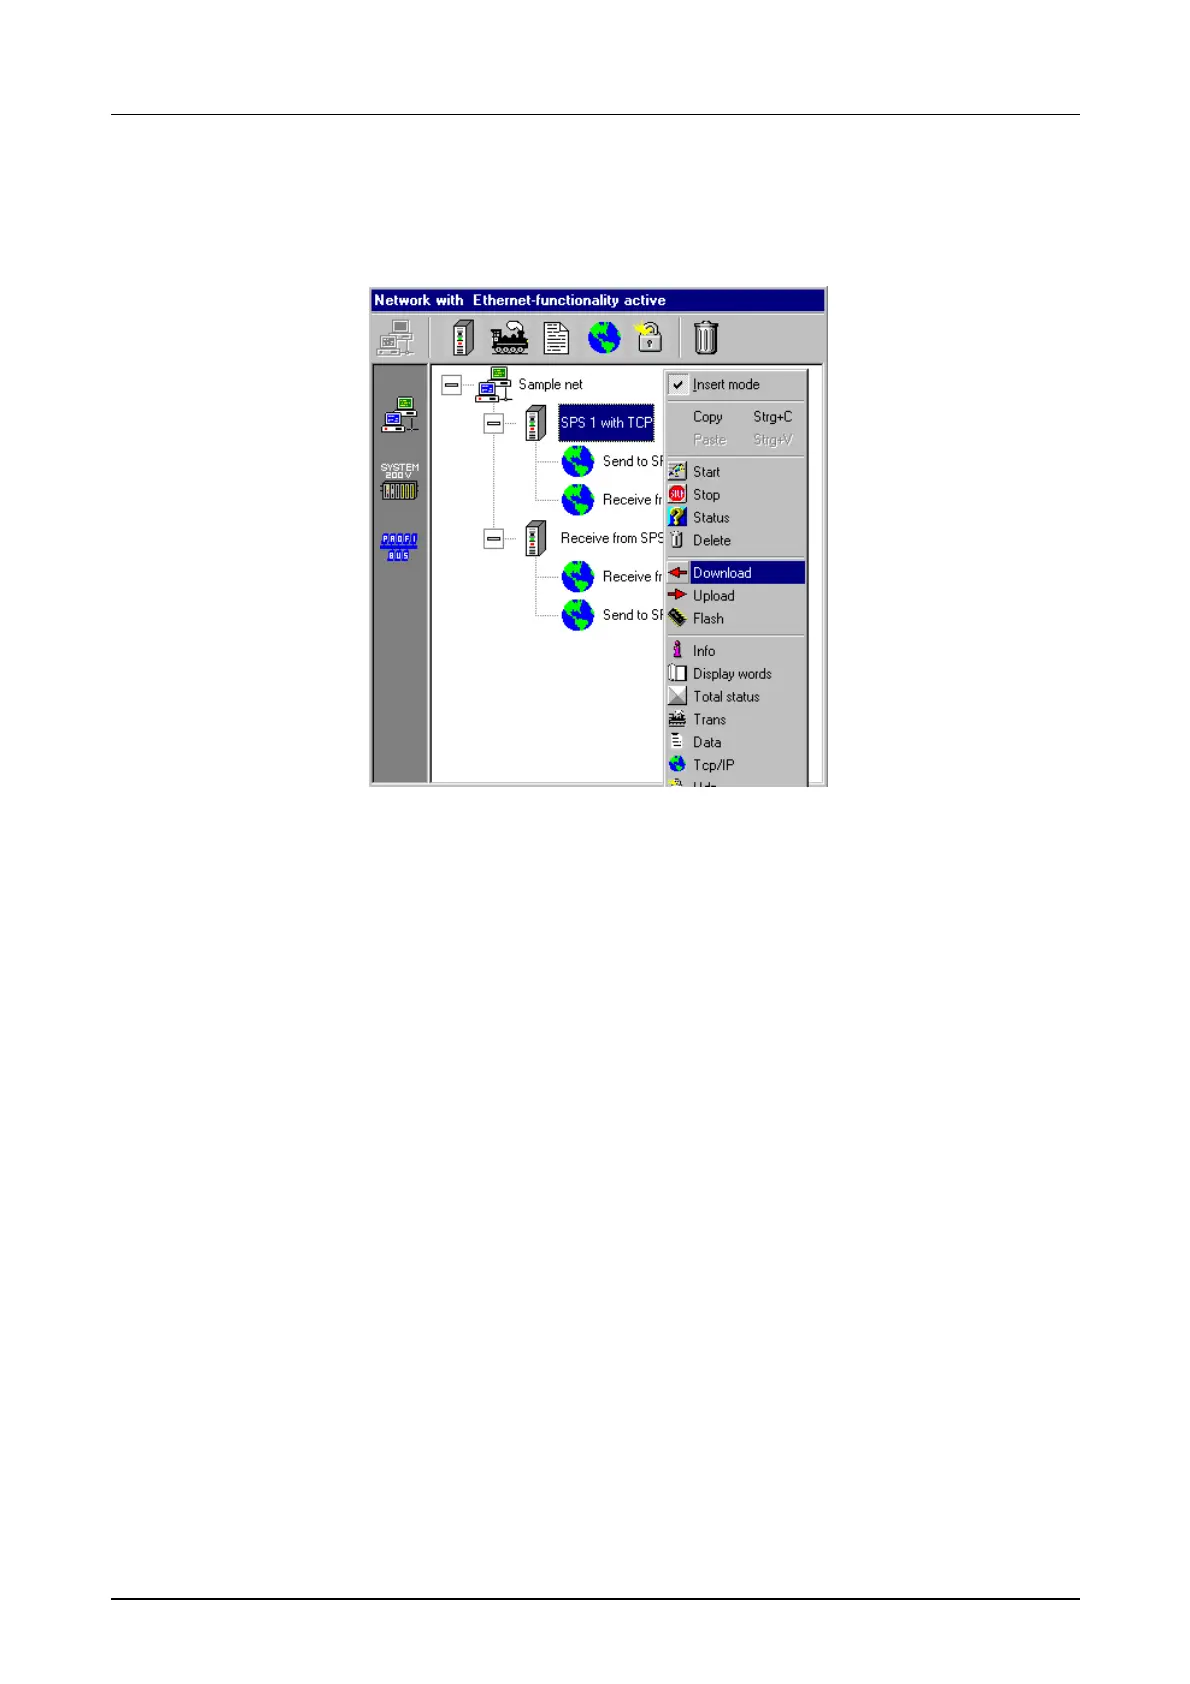
• Click on the first station in the Network-window. Click the right mouse
button and choose the "Download" command → the project is now
transferred into the Flash-ROM of the first CP.
• Switch your 1. CPU off and on again. → After the start-up, the 2. CP is
included in the network with the configured IP address.
• Now connect the 1. CP with your network and start the CP.
• Click in "Parameter"-window on [Search stations]
• Otherwise you have to change the IP address by using [Change IP].
After that click to [Search stations].
• Via double click on the wanted CP, the CP gets online. Set the CP into
software STOP.
• Click in the Network-window of WinNCS on the 2. station. Use the right
mouse button and choose the command "Download". → your project is
now transferred into the Flash-ROM of the 2. CP.
• Switch your 2. CPU off and on again. → After the start-up, the 2. CP is
included in the network with the configured IP address.
If no error occurs, both CPs are switching automatically in RUN after
PowerON.
The configuration of the CP section is now ready. The following page
describes the programming of the PLC section.