©
2005
Directed Electronics, Inc. all rights reserved
43
Ultrasonic Sensor Adjustment
Enter Ultrasonic Sensor Adjustment Mode
1. Press and hold and buttons for 6-seconds.
2. The siren will emit one long chirp and LCD remote will emit 1 long beep when the buttons on
the remote are released (or 1 vibrate, or 1 long beep with vibrate) to indicate entry into ultra-
sonic adjustment mode.
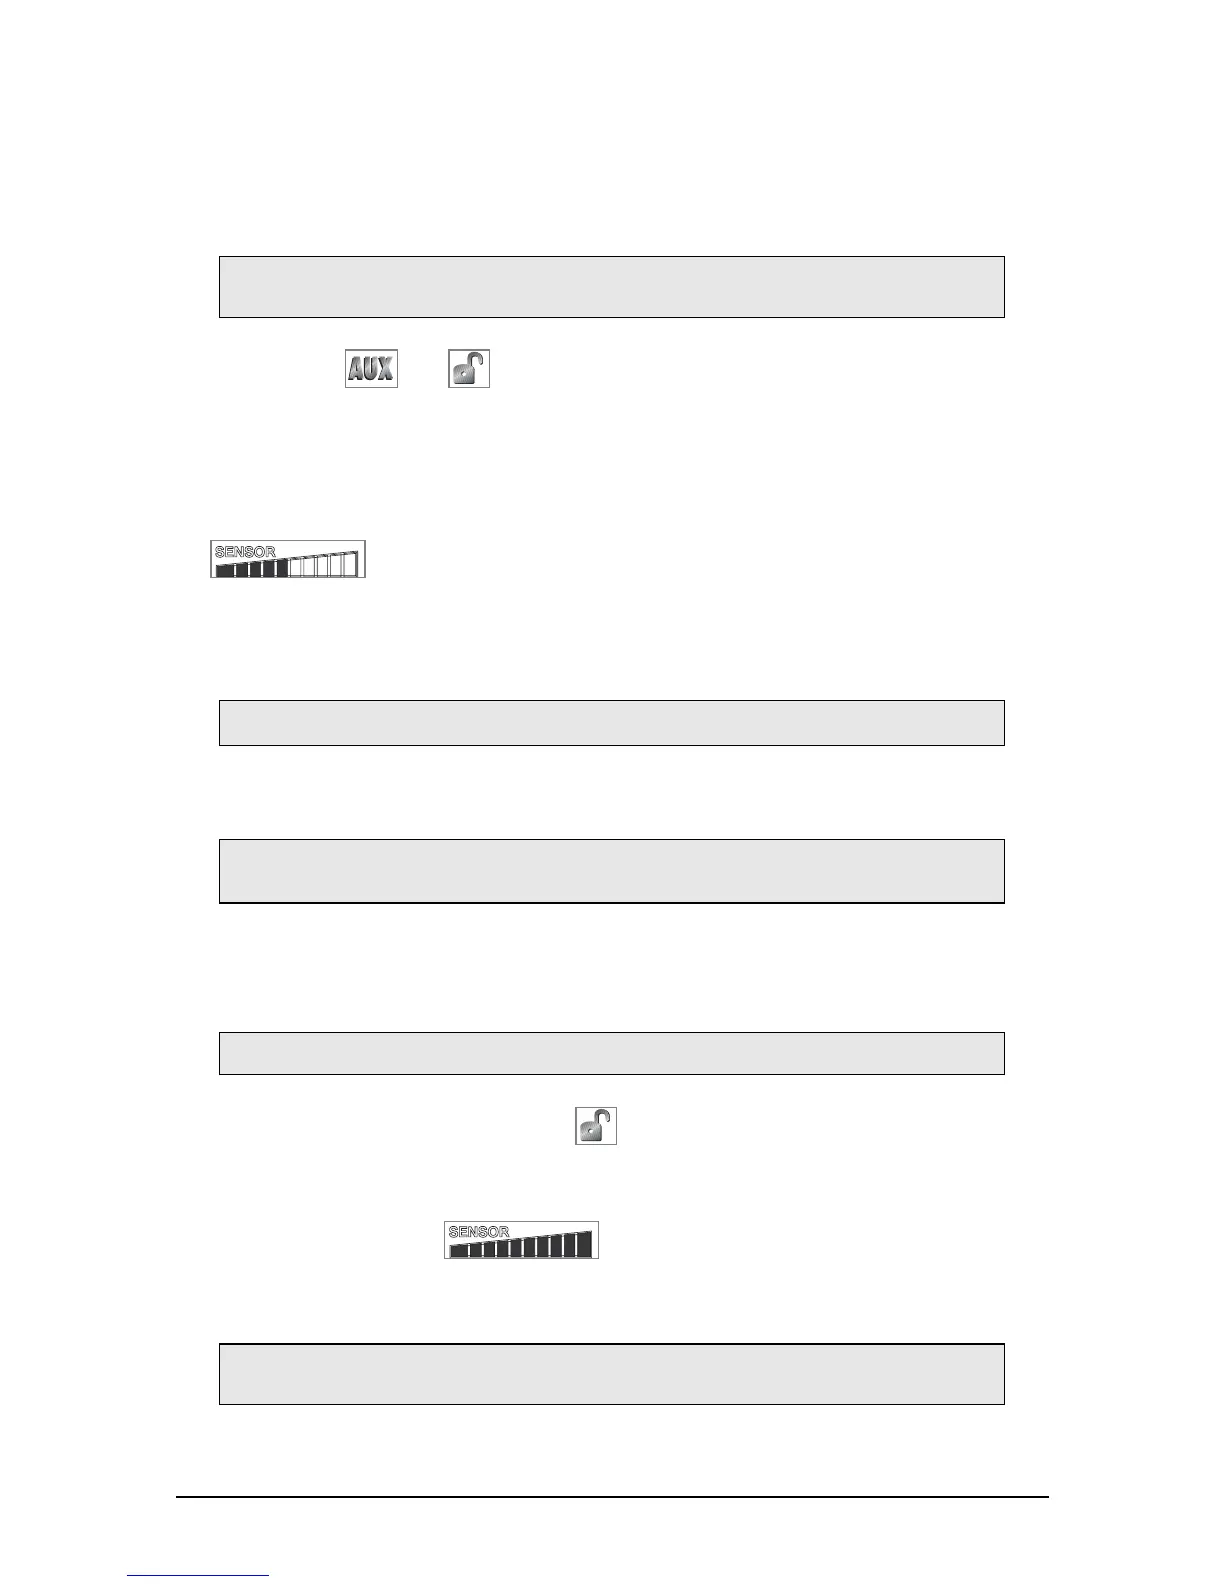
3.
The word “SENSOR” on the LCD transmitter above the adjustment indicator bar
will flash for the duration of adjustment mode. The sensor bar indicator will
display the current sensor sensitivity setting. Increased sensitivity is indicated as the bar fills to
the right.
4. The in-vehicle LED will illuminate continuously for the duration of adjustment mode.
Adjusting the Ultrasonic Sensor Setting
1.
IInnccrreeaassee SSeennssiittiivviittyy
—Press and release the button to increase sensor sensitivity by one step.
The LCD transmitter beeps 2-times for each step increased in adjustment (and/or 1 vibrate if
programmed). When the sensor adjustment reaches maximum sensitivity when the indicator bar is
filled completely to the right . There are 21 levels of adjustment, during sensor
adjustment these levels are displayed on the indicator bar as listed below.
nnoottee::
When arm and disarm are programmed to a single button, then the AUX button
is used to increase the sensitivity of the sensor.
nnoottee::
When adjusting the Ultrasonic sensor, ensure that the vehicle’s doors are closed.
nnoottee::
When the sensor adjustment mode is entered, all other timers and operations are
bypassed until adjustment mode is exited.
nnoottee::
The LCD transmitter will also have the zone 2 icon and the alarm icon indicating.
nnoottee::
The system must be disarmed, and doors and other protected entries (zones 1 and
6) must be closed, and ignition (zone 5) must be off.
 Loading...