INSTRUCTION FOR USE ENGLISH
16
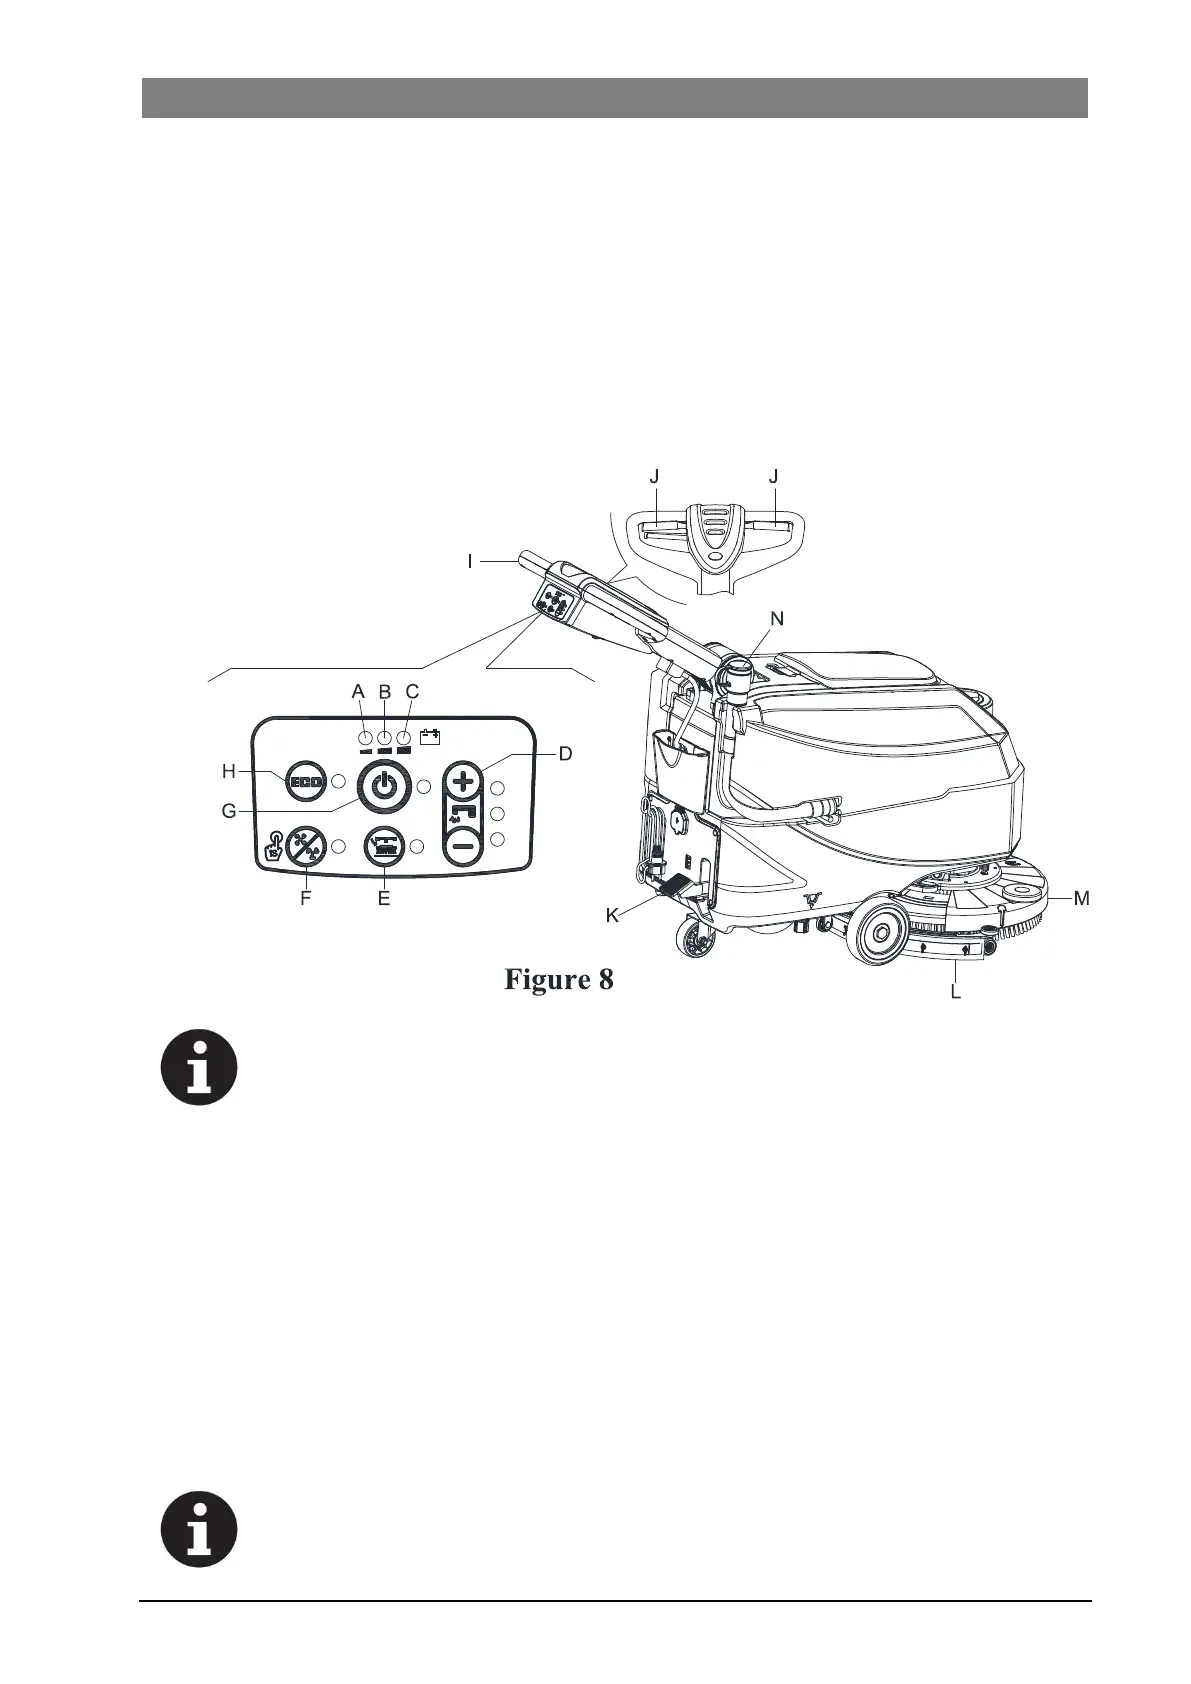
MACHINE START AND STOP
Starting the machine
1. Prepare the machine as shown in the previous paragraph.
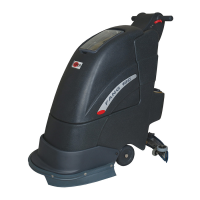
2. Push the machine to the area to be cleaned, by pushing it with the hands on the handlebar (I, Figure 8).
3. Lower the brush/pad-holder deck (M, Figure 8) and the squeegee (L) by lifting the pedal (K).
4. Press the start switch (G, Figure 8). Check that the green warning light (C) turns on (charged battery). If the
yellow (B) or red warning light (A) turns on, Shutoff the power switch (G, Figure 8) and charge the batteries
(see the procedure in Maintenance chapter).
5. Press the washing water flow control switches (D, Figure 8) as necessary, depending on the type of cleaning
to be performed.
6. Start cleaning by pushing the machine with the hands on the handlebar (I) and pressing the safety switch
lever (J).
To move the machine forward, press either the left or right safety switch lever (J, Figure 8)
or both.
7. If necessary, press the handlebar adjusting lever (3, Figure 1) to adjusting the handlebar height.
Stopping the machine
8. Stop the machine by using the handlebar (I).
9. Stop the brushes and the vacuum system by pressing the switch (G). The vacuum system stops after a few
seconds.
10. Lift the brush/pad-holder deck(M) and the squeegee (L) by pressing the pedal (K).
11. Make sure that the machine cannot move independently.
MACHINE OPERATION (SCRUBBING AND DRYING)
1. Start the machine as shown in previous paragraphs.
2. While keeping both hands on the handlebar press the safety switch lever (J, Figure 8), then maneuvre the
machine and start scrubbing/drying the floor.
NOTE
For correct scrubbing/drying of floors at the sides of the walls, it is Suggested to go near the
walls with the right side of the machine (A and B, Figure 9) as shown in the figure.