Vitrek V4 – Electrical Safety Tester USER MANUAL
61
4. Repeat step 3 for “3000V”. If desired, you can repeat from step 2 with the other frequency (50 or 60 Hz).
5. After calibration of 4 sets voltage is finished, the LCD monitor will go back to the original display. Press
the left & right arrow keys to select the next calibration procedure.
STEP2: DC withstanding voltage- voltage adjustment procedure (STEP2:DCV)
1. The calibrations of “DC withstanding voltage- voltage adjustment procedure” and “AC withstanding
voltage- voltage adjustment procedure” are similar. Switch the high voltage meter to “DCV” and press
“START” key to calibrate “DC 600V” , “DC 3000V”, “DC 6100V” in sequence. (error deviation is ±2V).
Wait for 3 seconds and press EDIT/SAVE key finally.
2. After calibration of 2 sets voltage are finished, the LCD monitor will go back the orginal display. Press left
& right arrow key to select the next calibration procedure-“AC withstanding voltage- current
adjustment procedure”.
STEP3: AC withstanding voltage- current adjustment procedure (STEP3:ACI)
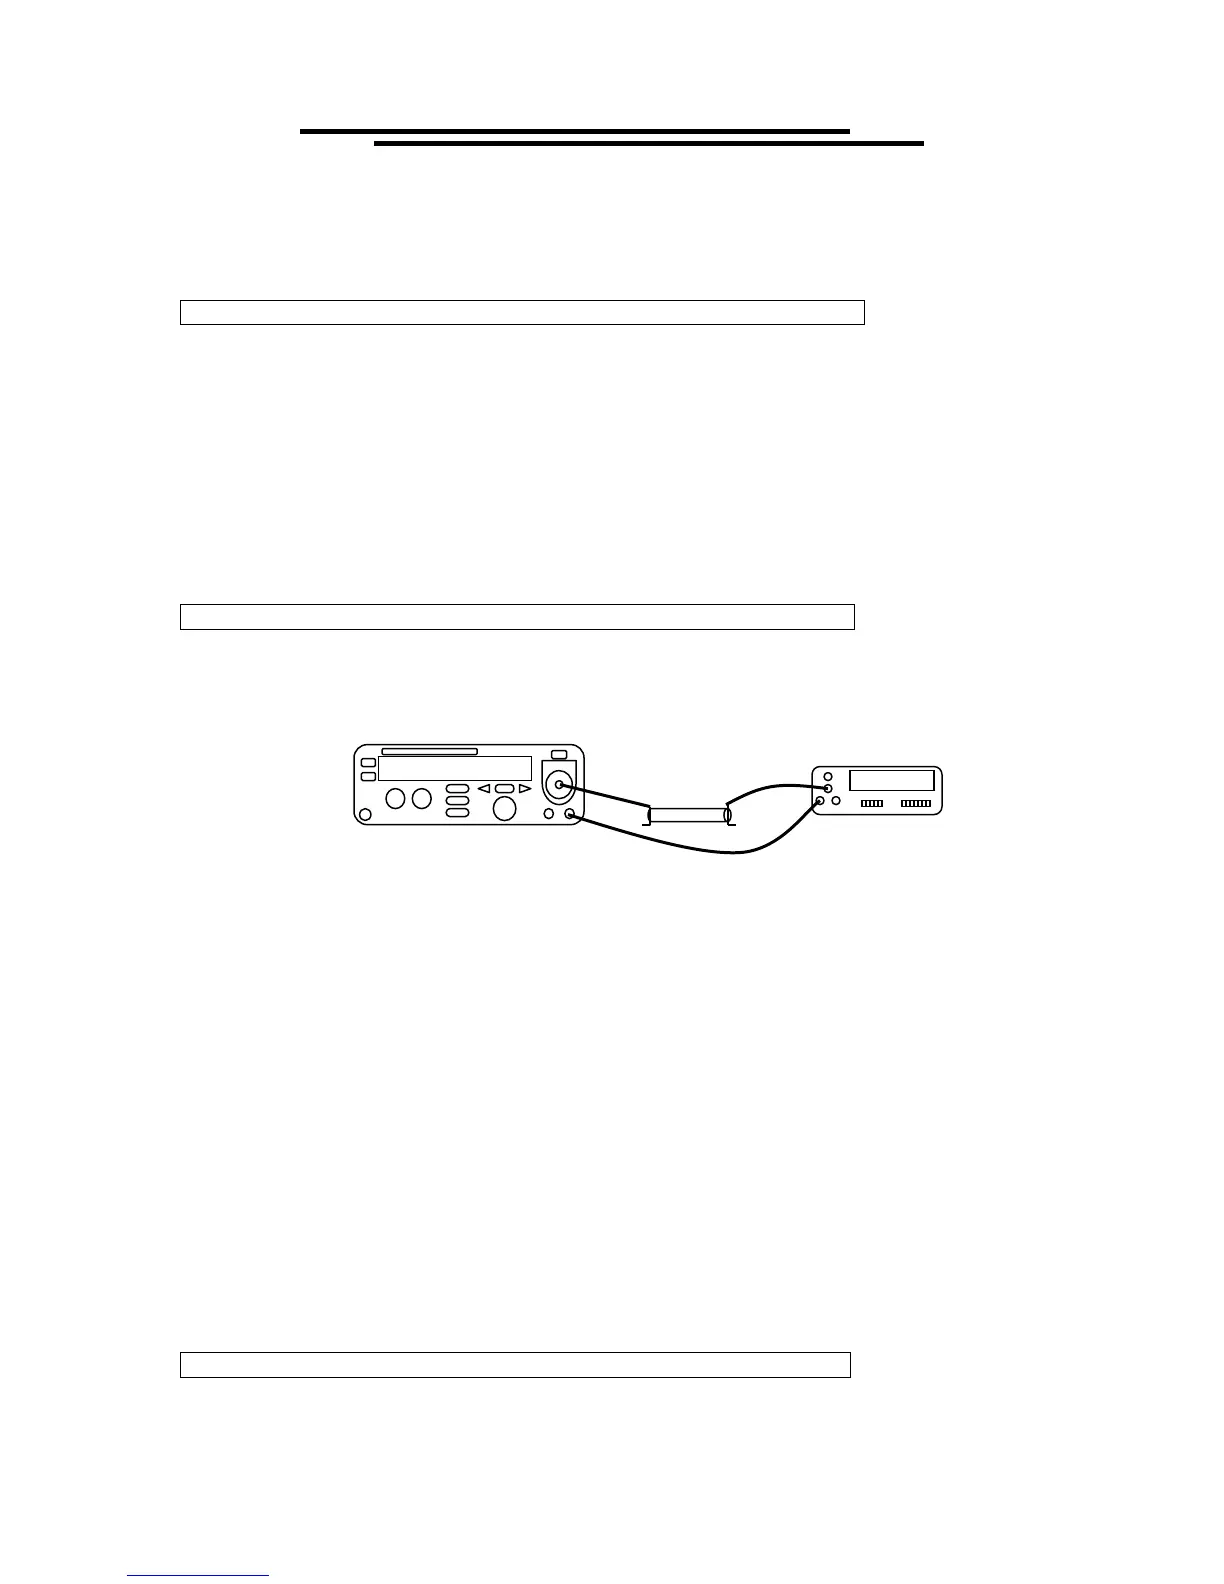
1. Connect a 150KΩ /150W resistor with DMM (on the range of AC True RMS current 20mA) and EST in
series.
2. Select the “STEP3: ACI” modules by pressing the left & right arrow key, and then START. Select the
desired frequency (50 or 60 Hz) with the left and right arrow keys. Press START key to begin calibration
procedures.
3. The “1mA” will be calibrated first. Use knob and left & right arrow key to adjust the value of the LCD
monitor. The readout of DMM shall be monitored in the same time. If the meter’s readout reach to
1.000mA (±0.005mA), wait for 3 seconds and press EDIT/SAVE key to “AUTO Calibration” mode. EST
series will send an output voltage and adjust the setting of cutting current automatically. If entire
calibration procedure is finished, the LCD monitor will display an “ADJ to 15mA” message. EST series is
going to next calibration procedure for “15mA”.
4. Repeat step 3 for “15mA”. If desired, you can repeat from step 2 with the other frequency (50 or 60 Hz).
5. After calibration of 2 sets current are finished, the LCD monitor will go back the orginal display. Press left
& right arrow key to select the next calibration procedure-“DC withstanding voltage- current
adjustment procedure”.
STEP4:DC withstanding voltage- current adjustment procedure (STEP4:DCI)
1. The calibrations of “DC withstanding voltage- current adjustment procedure” and “AC withstanding
DMM
150KΩ