14
DOCUMENT 19296
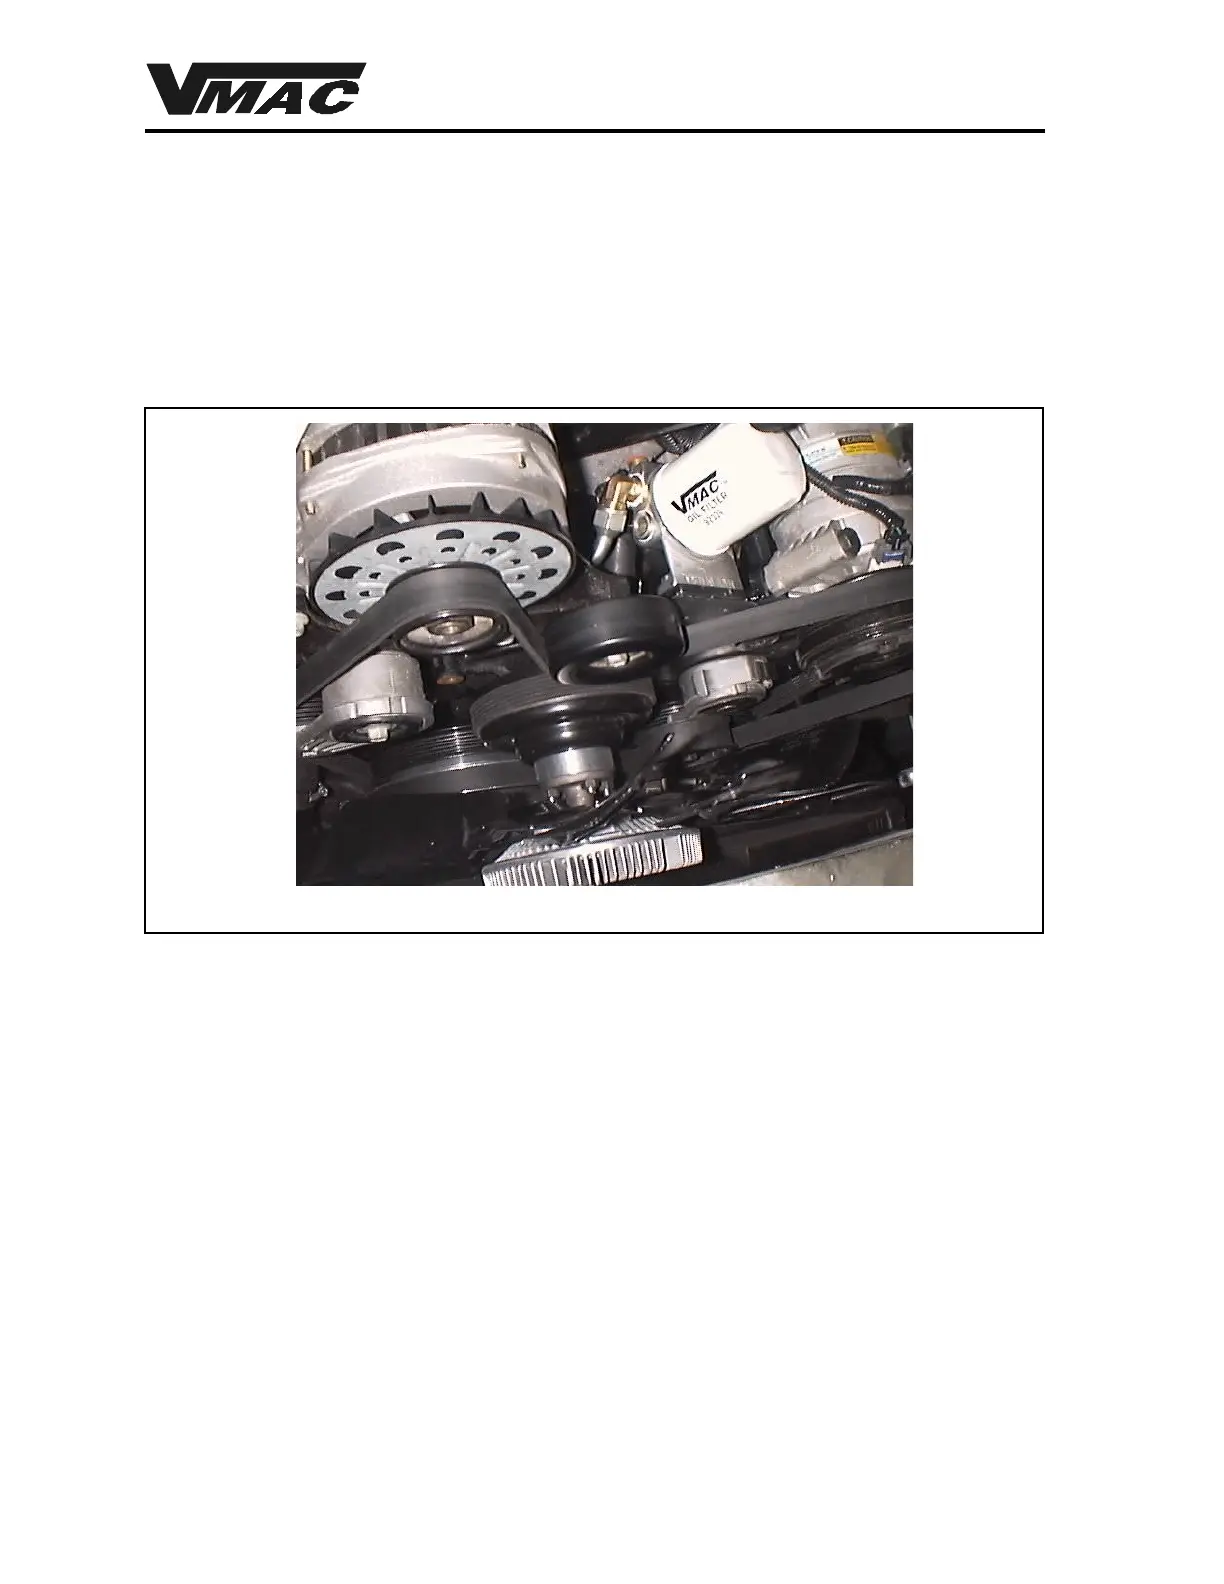
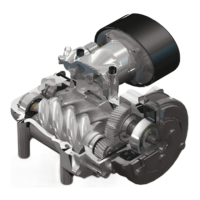
7. Install the air conditioning compressor using two (2) OEM hex head cap screws in the rear
holes and two (2) supplied 8 mm hex head cap screws in the front holes.
Figure 1.4
1.3 Installing the remote filter and regulator
1. Mount the remote filter assembly to the inside of the VR7000 mounting bracket in the
location between the air conditioning compressor and the alternator (Figure 1.4) using three
(3) 1/4 x 3/4 inch hex head cap screws with serrated washers. Make sure that the wire
harness is kept clear of the housing
1.4 Installing the oil cooler
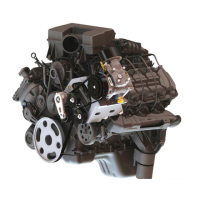
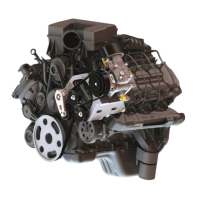
1. Before attempting to install the cooler, determine whether the vehicle is a standard model or
a heavy duty model.
2. Remove the OEM hex head cap screws which retain the radiator to the body.
3. Raise the radiator a few inches to provide better access to the crossmember under the
radiator.
1.4.1 For all standard models
1. Fit the cooler and mount bracket to the body section under the radiator, using the locations
indicated in Figure 1.5. Make sure that the cooler is fitted in the correct direction, with the
outlets facing toward the passenger side of the vehicle.
2. Attach the cooler and mount assembly to the body section using three (3) 1/4 x 1 inch
supplied hex head cap screws, flat washers and Nylok nuts through the holes shown in
Figure 1.5. Tighten the fasteners.