19
Set Base Ringer
• Press MENU until you hear “Set base ringer”.
• Press SELECT to toggle between ON and OFF. The Base Unit will display On or OF
(off) as you make your selection.
• Press TIME/SET to confirm your choice. The voice prompt will say:“ Base ringer is on
(or off)”.
• Press MENU to advance to the next programming function, or press PLAY/STOP to
exit programming mode.
Note:
The Base Ringer setting does not affect the Handset ringer.
Set Number of Rings
• Your gz 2456 can answer calls after 2 rings, 4 rings, 6 rings, or Toll Saver mode. In Toll
Saver mode, your gz 2456 will answer calls after 2 rings only if there are new, unplayed
messages in its memory. Otherwise, it will answer after 4 rings. This feature helps you
avoid long distance charges when checking for messages from a remote location.
Therefore, using Toll Saver, if you call your gz 2456, and it doesn’t pick up by the third
ring, hang up. There aren’t any new messages for you at this time.
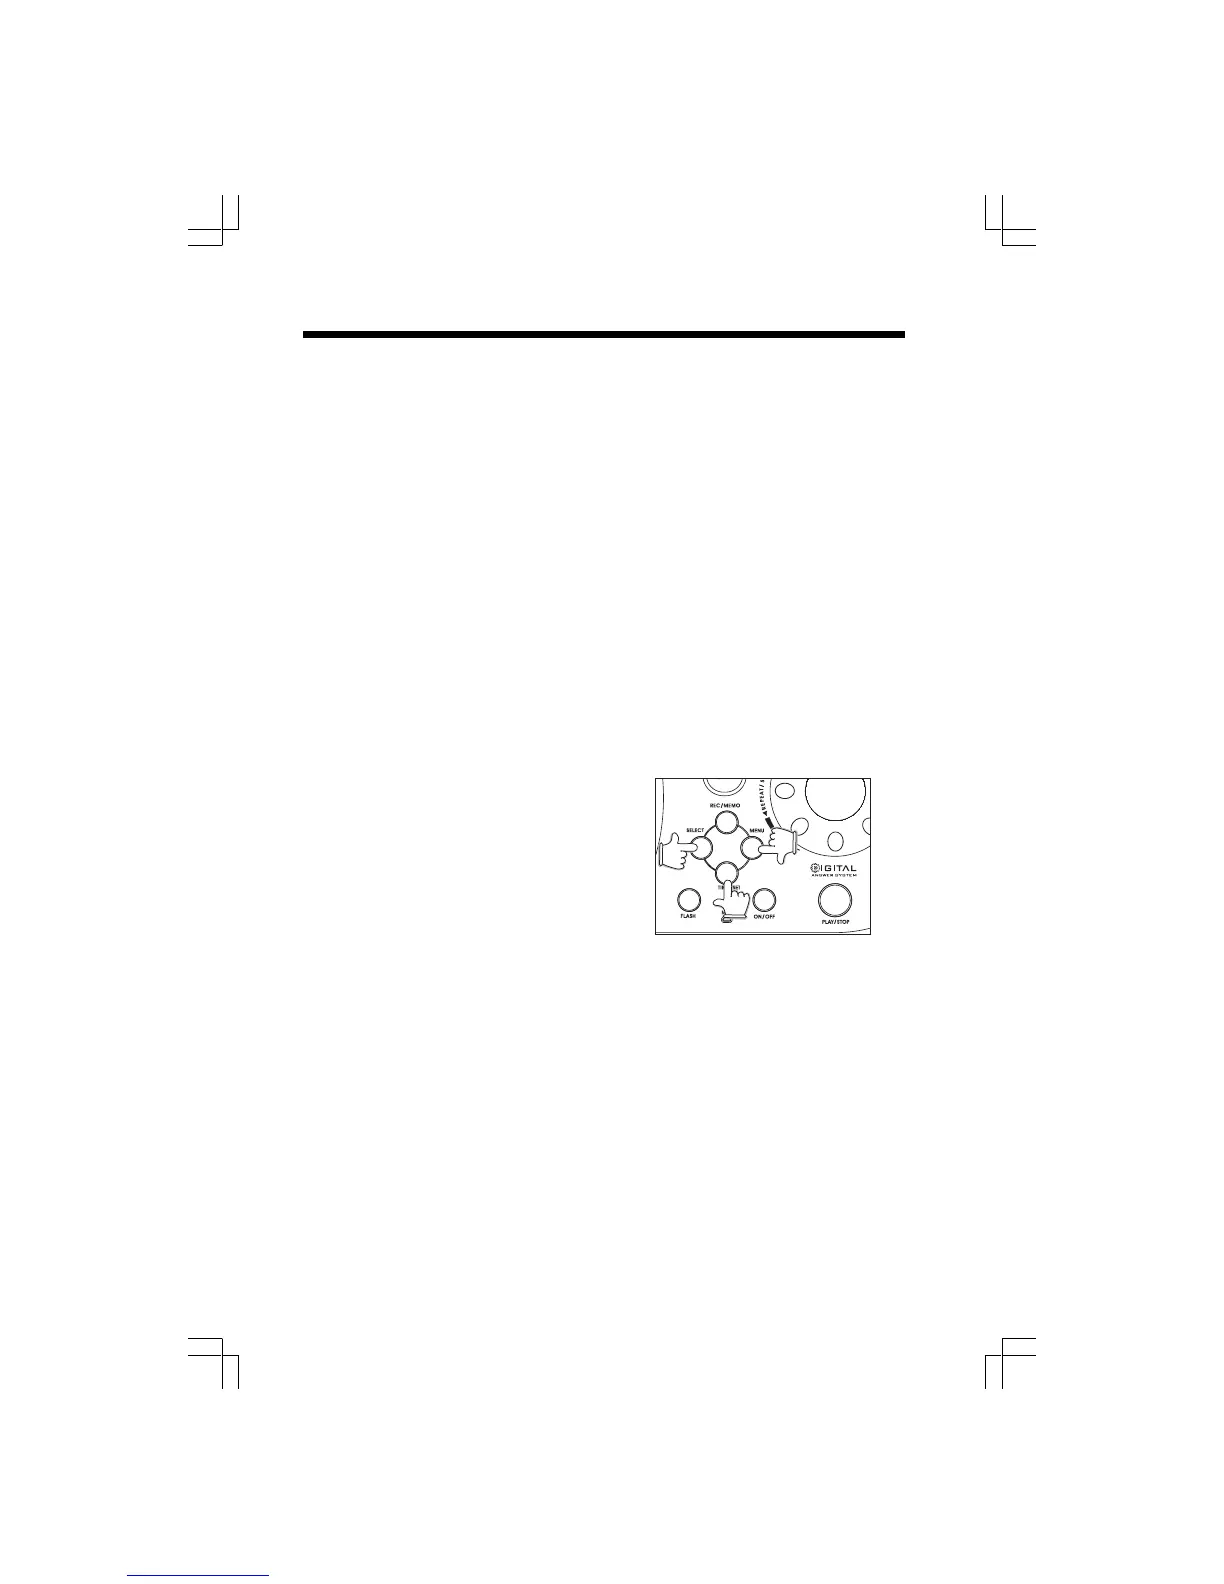
To Set the Number of Rings
• Press MENU until you hear “Set number of rings”.
• Press SELECT until you hear the desired setting
( 2,4,6, Toll Saver).
• Press TIME/SET to confirm your choice. The
voice prompt will say:“ Number of rings selected
is 2 (4,6, or Toll Saver)”.
• Press MENU to advance to the next
programming function, or press PLAY/STOP to
exit programming mode.
Setting up your gz 2456 Digital Answering System
Set Day and Time
• When you first power-up your gz 2456 (or after the Base Unit experiences a temporary
loss of power), the Message Window will flash CL, until the Day and Time is programming.
• Press MENU until you hear “ Set Day and Time”.
• Press SELECT until you hear the correct day of the week.
• Press TIME/SET to confirm your selection. The voice prompt will announce the hour.
• Press SELECT until you hear the correct hour.
• Press TIME/SET to confirm your selection. The voice prompt will announce the minute.
• Press SELECT to adjust the minute setting. Holding SELECT increases the minute
setting in increment of 10.
• Press TIME/SET to confirm. The voice prompt will repeat the corrent Day and Time, as
programmed by you.
• Press MENU to advance to the next programming function, or press PLAY/ STOP to
exit programming mode.