VWR Puranity TU+ | 31
Installation |
Chapter 7
Wall mounting
NOTE!
You can also mount your Puranity TU 3+/6+ or Puranity TU 12+ system on the wall. To do this,
use the wall-mounting fixture included in the accessories (purchased separately (171-1125)).
Before you begin mounting the system on the wall you must check the strength of the wall to
ensure that it is suitable for supporting the system (see “Dimensions and weight Puranity TU 3
+/6+” on page 14 and “Dimensions and weight of Puranity TU 12+” on page 15).
CAUTION
The screws and anchors supplied with the wall-mounting brackets are only suitable for
attaching the wall-mounting brackets to a concrete wall or a solid (masonry) wall.
Step Action Figure
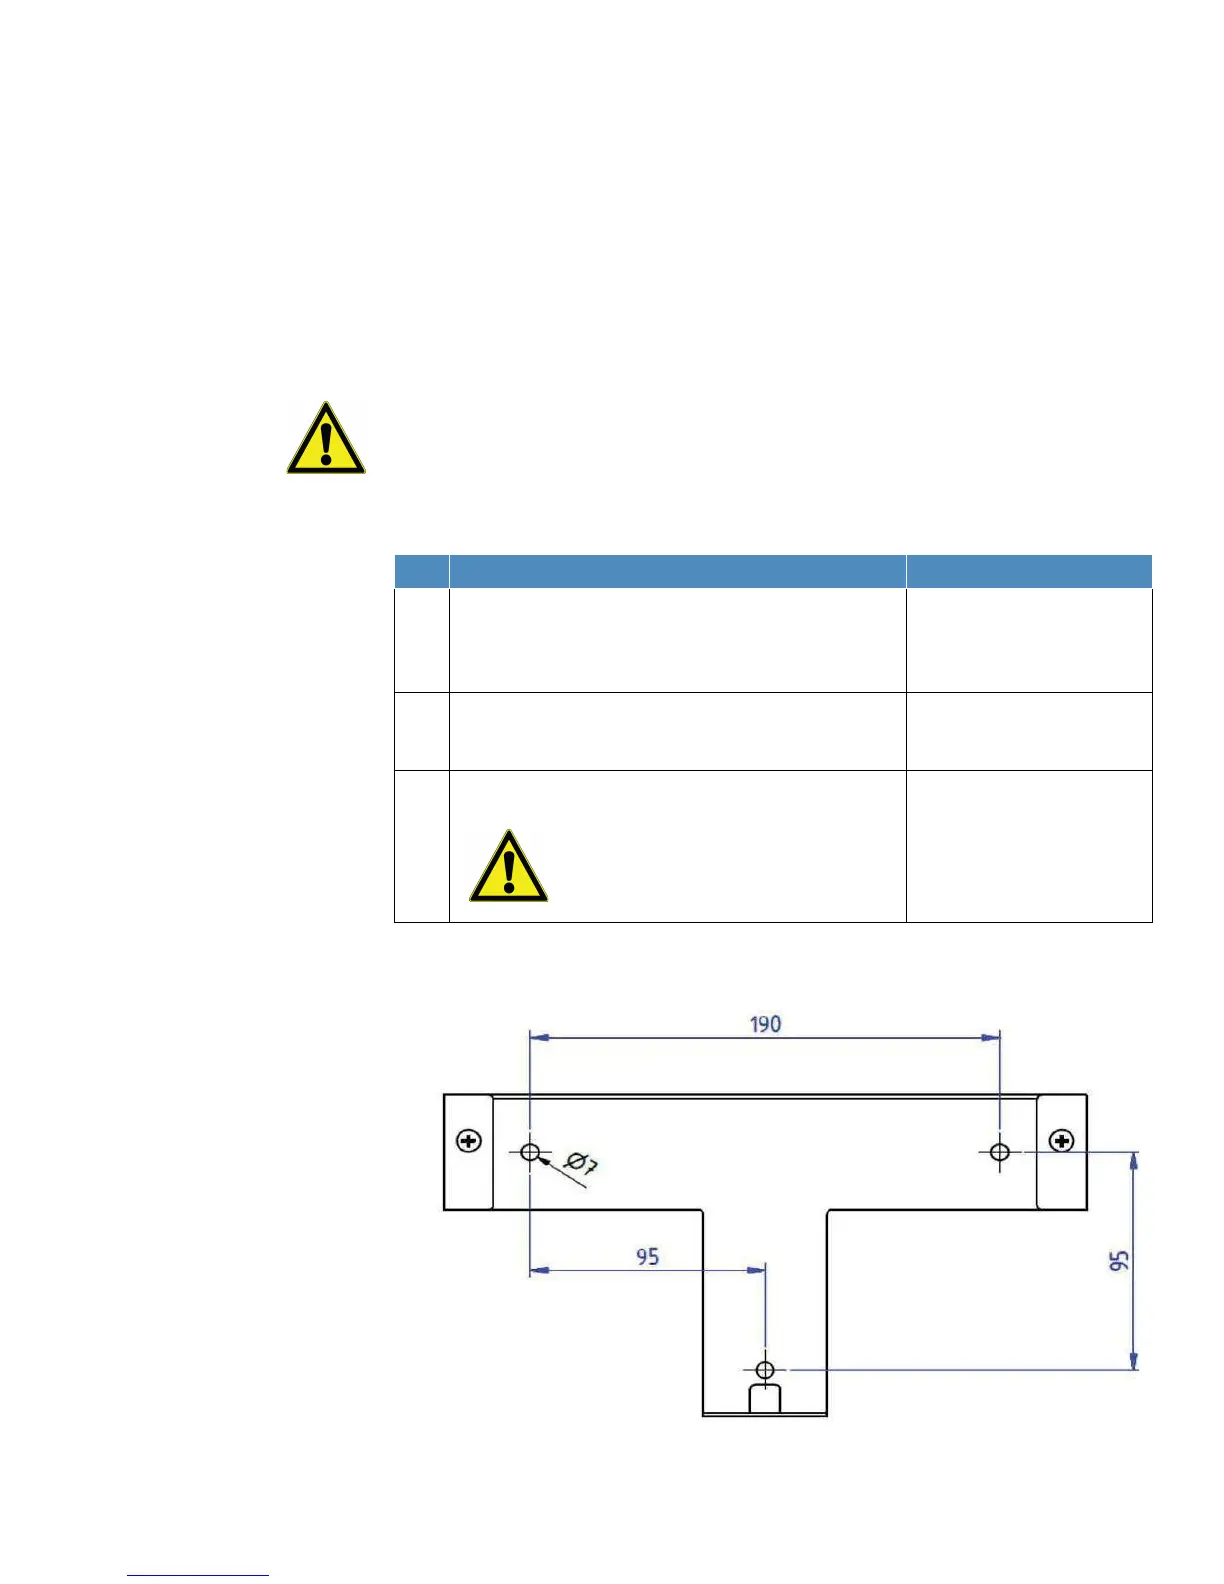
1 Use the wall-mounting brackets to mark the anchoring points with a
pen on the wall at the location where the holes are to be drilled for
the wall-mounting bracket.
Use an 8 mm/ 0.31 inch drill bit to drill the holes.
See figure below.
2 Insert the three S8 Nylon anchors into the holes and then use the
three wood screws to firmly screw the wall-mounting brackets into
place.
3 Lift the system and hang the back of it on the wall-mounting
brackets.
CAUTION
Always lift and carry the system in tandem (two
people), never alone. Lift the system at the two
bottom corners.