VWR Puranity TU+ | 59
Maintenance |
Chapter 13
Replacing the UV lamp
WARNING
Never look directly into a UV lamp when it is on. It could damage your sight!
Always wear safety gloves when changing the UV-lamp, in order to prevent that your skin comes in
contact with the UV-lamp glass.
Wear directly a breathing protector when you are seeing that the glass of the UV-lamp is broken
and ventilate the room well.
NOTE!
Contact your local Service organization to proceed as the proper disposal of the used UV-lamp.
Step Action Figure
1 Switch the Puranity TU+ system off. (Unplug
from main power supply)
2 Remove the cover for the ultrapure cartridge.
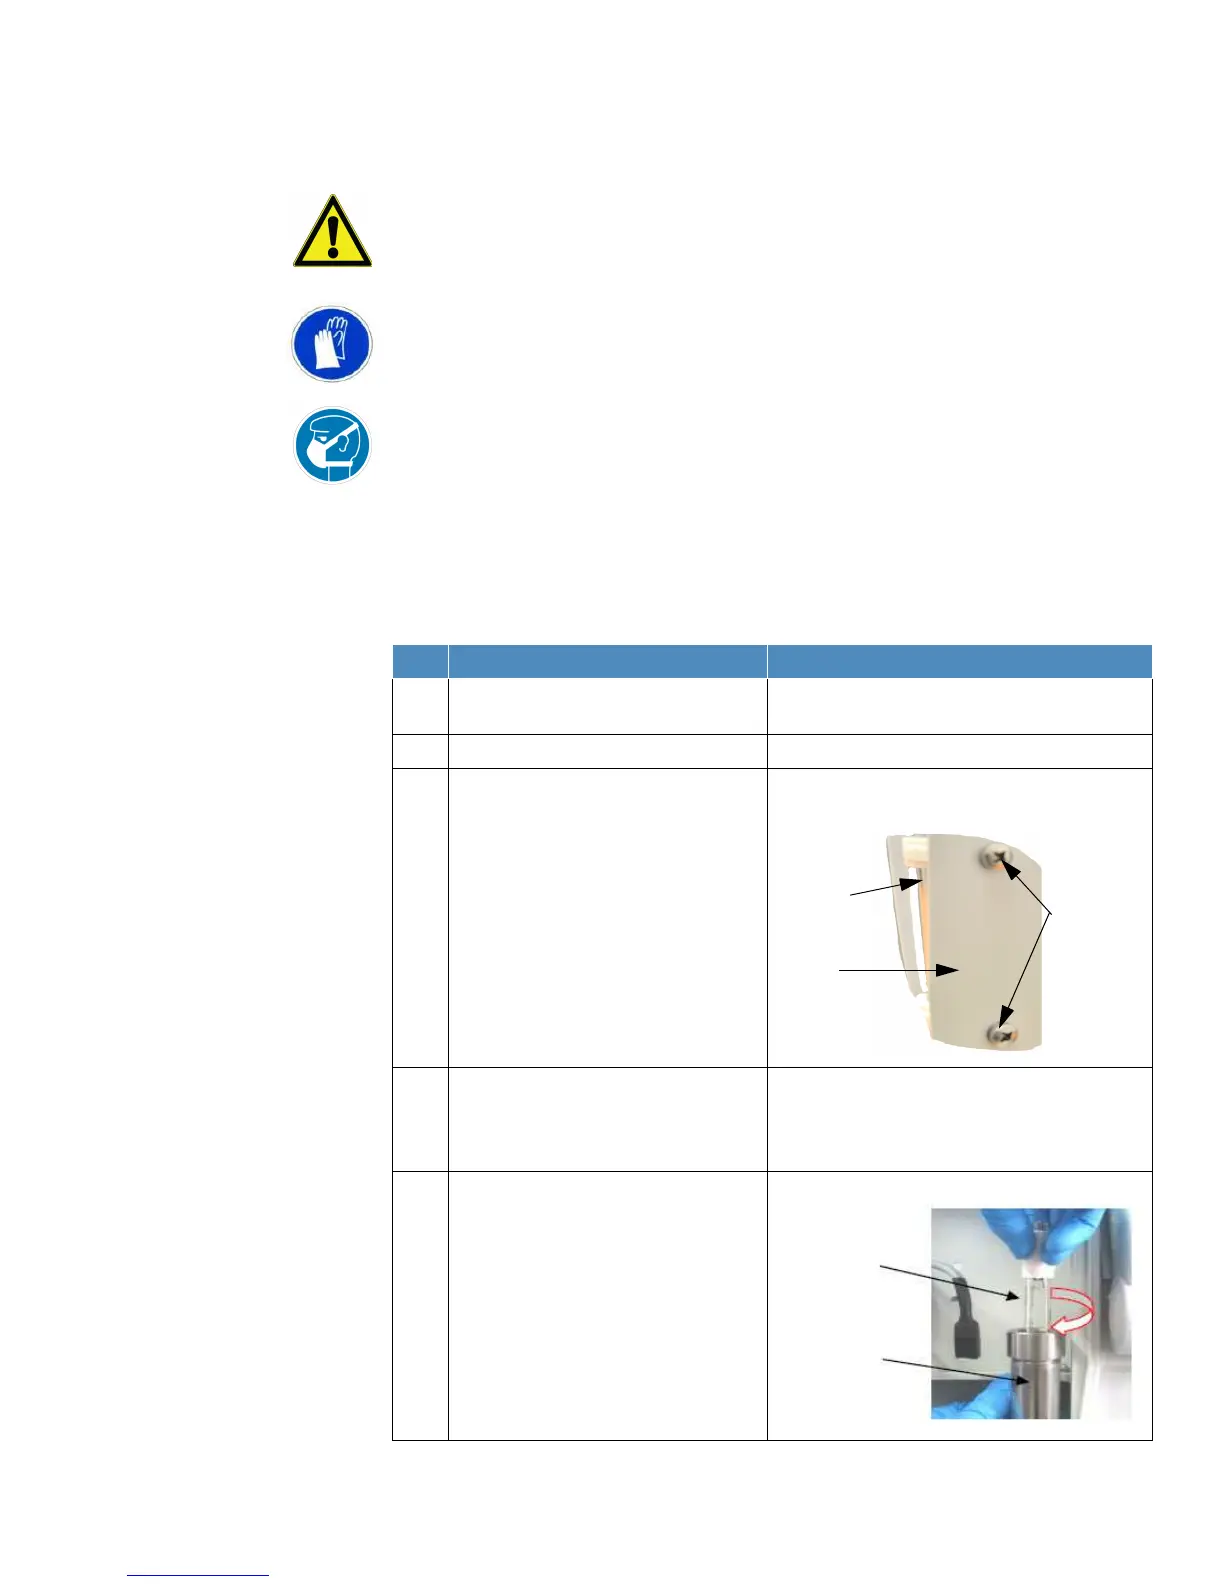
3 a. Take the ultrapure cartridge out of
the system (see “Replacing the
ultrapure cartridge” on page 50)
and the installed RO/pretreatment
cartridge (see “Replacing the
RO/pretreatment” on page 52).
b. Use the Phillips screwdriver to
unscrew the two screws from the
bracket for the UV assembly.
4 NOTE!
To more easily remove the UV lamp in the
next step, pull the UV lamp out by about 1cm
while still plugged in.
5 a. Carefully unplug the plug for the UV
lamp.
b. Now, carefully pull the UV lamp up
while turning it slightly in a
clockwise direction at the same
time.