6 ‒ Settings | P1PY201 ‒ Laser Distance Sensor ToF 20
6 Settings
The sensor can be adjusted via teach-in, IO-Link, wTeach2 and weCon. The different setting options are
outlined below.
6.1 Configuration with Push of Button / Teach-In
This section describes the settings that can be configured directly on the sensor using the button.
Switching Outputs
Teach-In
Different teach-in modes are available. These can be set via IO-Link (see section Parameters [}37]). Fore-
ground teach-in is used by default.
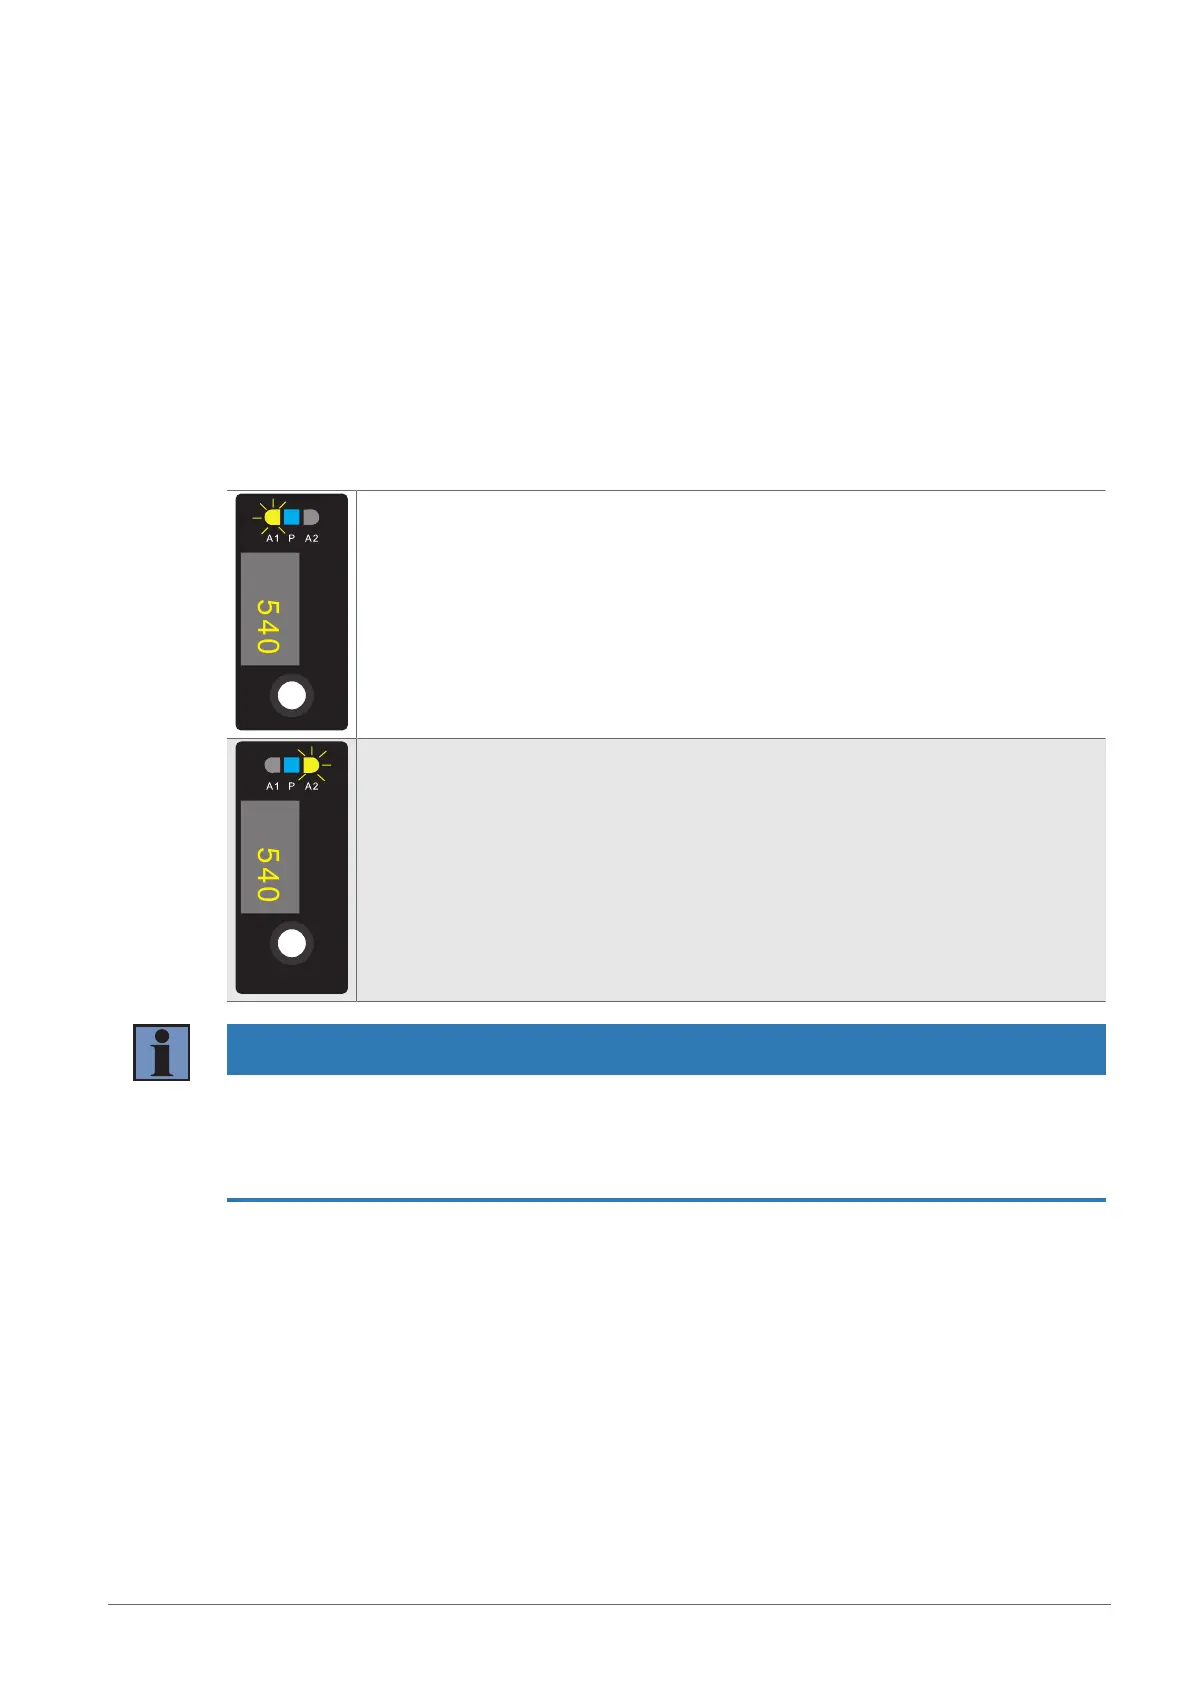
Teach-In for A1
1. Adjust the sensor so that the light spot strikes the object to be taught in.
2. Press and hold the Teach-in key or Enter key for 2seconds until LEDA1 starts to
flash
3. Release the Teach-in key or Enter key.
4. The distance is taught in, and LEDA1 flashes briefly twice to confirm successful
teach-in.
Teach-In for A2
1. Adjust the sensor so that the light spot strikes the object to be taught in.
2. Press and hold the Teach-in key or Enter key for 5seconds until LEDA2 starts to
flash.
3. Release the Teach-in key or Enter key.
4. The distance is taught in, and LEDA2 flashes briefly twice to confirm successful
teach-in.
INFORMATION
When teaching in, if there is no object or the object is too far from the sensor, the switching distance is
set to the end of the setting range. The Power LED lights up yellow, and the switching status LEDs for the
respective switching output flash twice. The same applies to an object that is too close; here, the switch-
ing distance is set to the start of the setting range. If there is an error during teach-in preventing it from be-
ing carried out, this is indicated by a red LED.
 Loading...