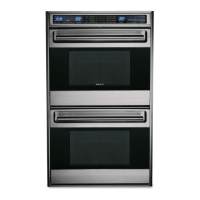
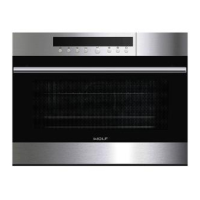
EE--SSeerriieess WWaallll OOvveenn
EE--SSeerriieess WWaallll OOvveenn
Electronic Control System
3-14
Self Clean
In Self-Clean Mode, the oven is heated in graduated stages to a preset high temperature. In Stage One, the bake
element cycles for 0 - 36 seconds and the broil element cycles for 18 - 60 seconds. The cycling of bake and broil
elements in Stage One last for twelve minutes. In Stage Two, the bake element cycles for 0 - 12 seconds and the
broil element cycles for 12 - 60 seconds. The cycling of the elements in Stage Two continues until the high preset
temperature of 850°F is obtained. During this process, food soil is burned off leaving some white ash residue.
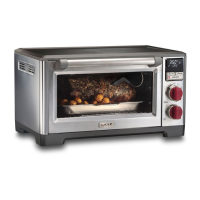
Once the Self-Clean Mode has been initiated the oven door locks, unless the Self-Clean Mode is used with the
Delayed Start Mode. The oven door will remain locked until the oven temperature drops below 300°F.
NOTE: If the Self-Clean Mode is stopped once it has been started, the door will remain locked until the temperature
inside has cooled below 300°F.
NOTE: The average time for the Self-Clean Mode is three hours plus one hour to cool down.
NOTE: Only one oven can be self-clean at a time, if using a double oven.
NOTE: If self-cleaning one oven of a double oven, other oven is non-functional until self-clean is finished.
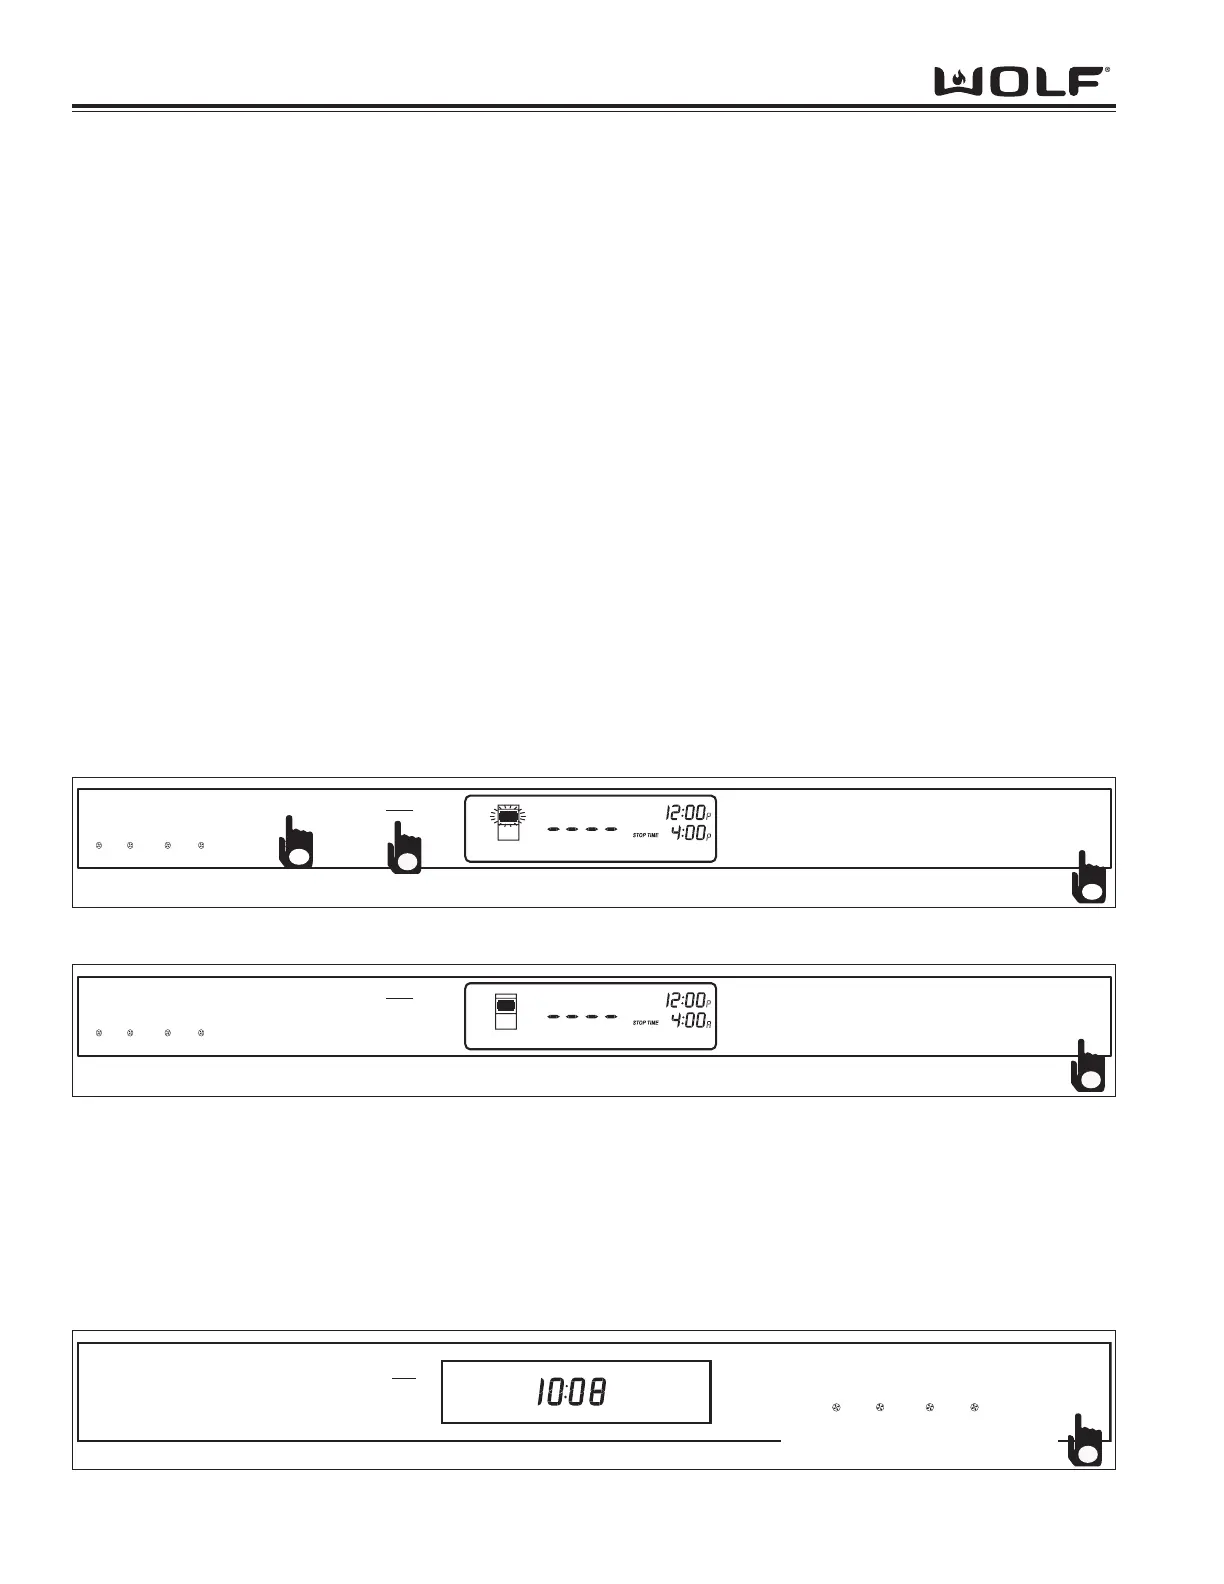
To initiate Self-Clean Mode, first the oven must be OFF. For lower oven operation, first press the Upper/Lower key
to select Lower Oven. Next, press the CLEAN key. Then, press the ENTER key. (See Figure 3-25 and Figure 3-
26). To exit the Self-Clean Mode, press the Oven OFF key. For Double Oven press the Upper Oven OFF key or
the Lower Oven OFF key.
NOTE: To use Self-Clean Mode with Delayed Start Mode, follow the instruction for Delayed Start Mode.
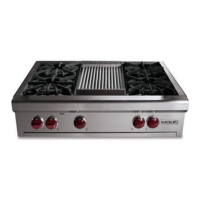
To change the Self-Clean time for 2 to 4 hours. Press the CLEAN key. Then, press the TIMED COOK key. Now,
using the number keys enter the desired self-cleaning time. (Example: 3 hours 15 minutes). As long as the self-
clean time is between 2 to 4 hours, the time can be entered. Then, press ENTER to begin.
Figure 3-25. Clean Mode (Default Time Accepted)