DocuMate 250 Scanner Installation Guide 9
Installation
3. Turn on the power switch, located on the back of the scanner to
the left of the power port.
The status light comes on and flashes indicating that the
scanner is receiving power.
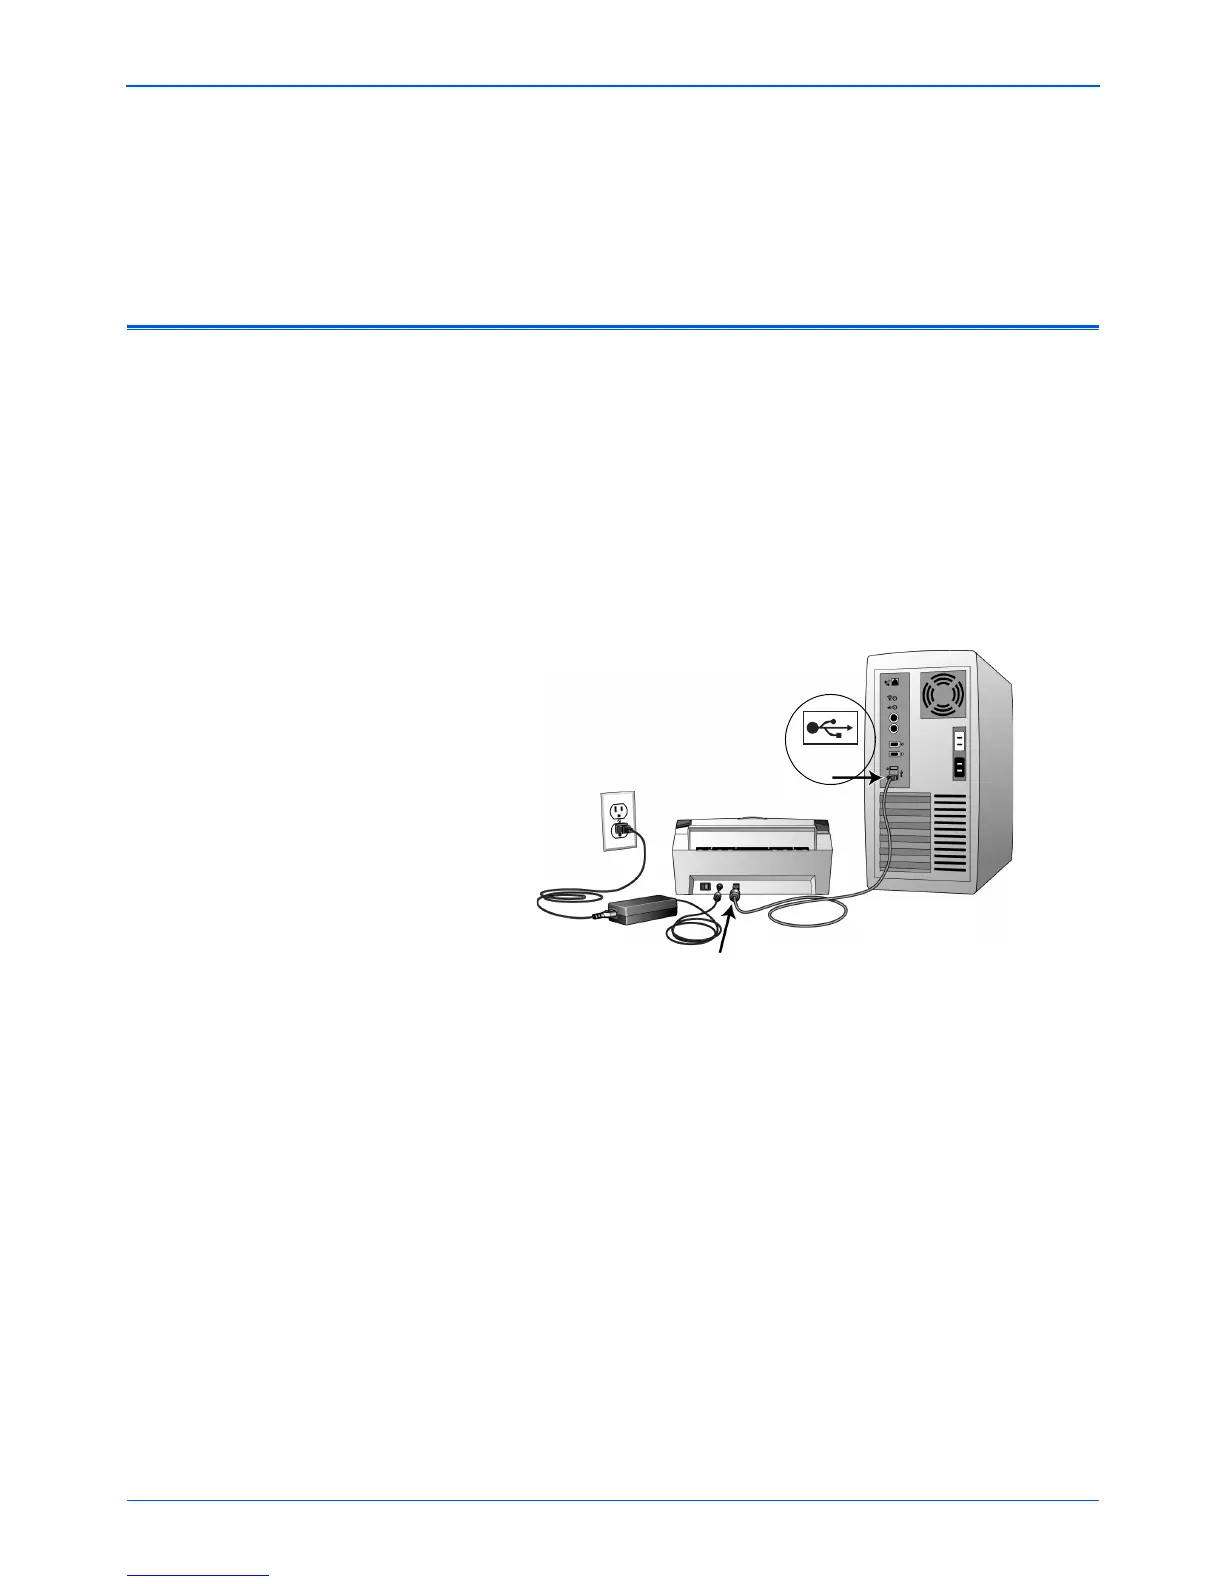
Step 4: Connect the USB Cable
The DocuMate 250 scanner connects to any available USB port.
Check your computer’s manual for USB port locations.
1. Plug the USB cable into the USB port on the scanner and then
a USB port on the computer. The ports are identified USB
symbols.
NOTE: You can connect the scanner to your computer while the
computer is running. You do not have to shut down your
computer.
NOTE: You can also connect the scanner to a USB port on the
computer’s keyboard if it has one, or to a USB hub. If you use a
USB hub, it must have its own power supply already plugged
into an electrical outlet.
NOTE: If you have not installed the software, unplug the USB
cable from the computer and install the software now. When the
software installation is complete, a message tells you to connect
the scanner.
USB
 Loading...