Scanning with the Scanner Button
12 DocuMate 250 Scanner Installation Guide
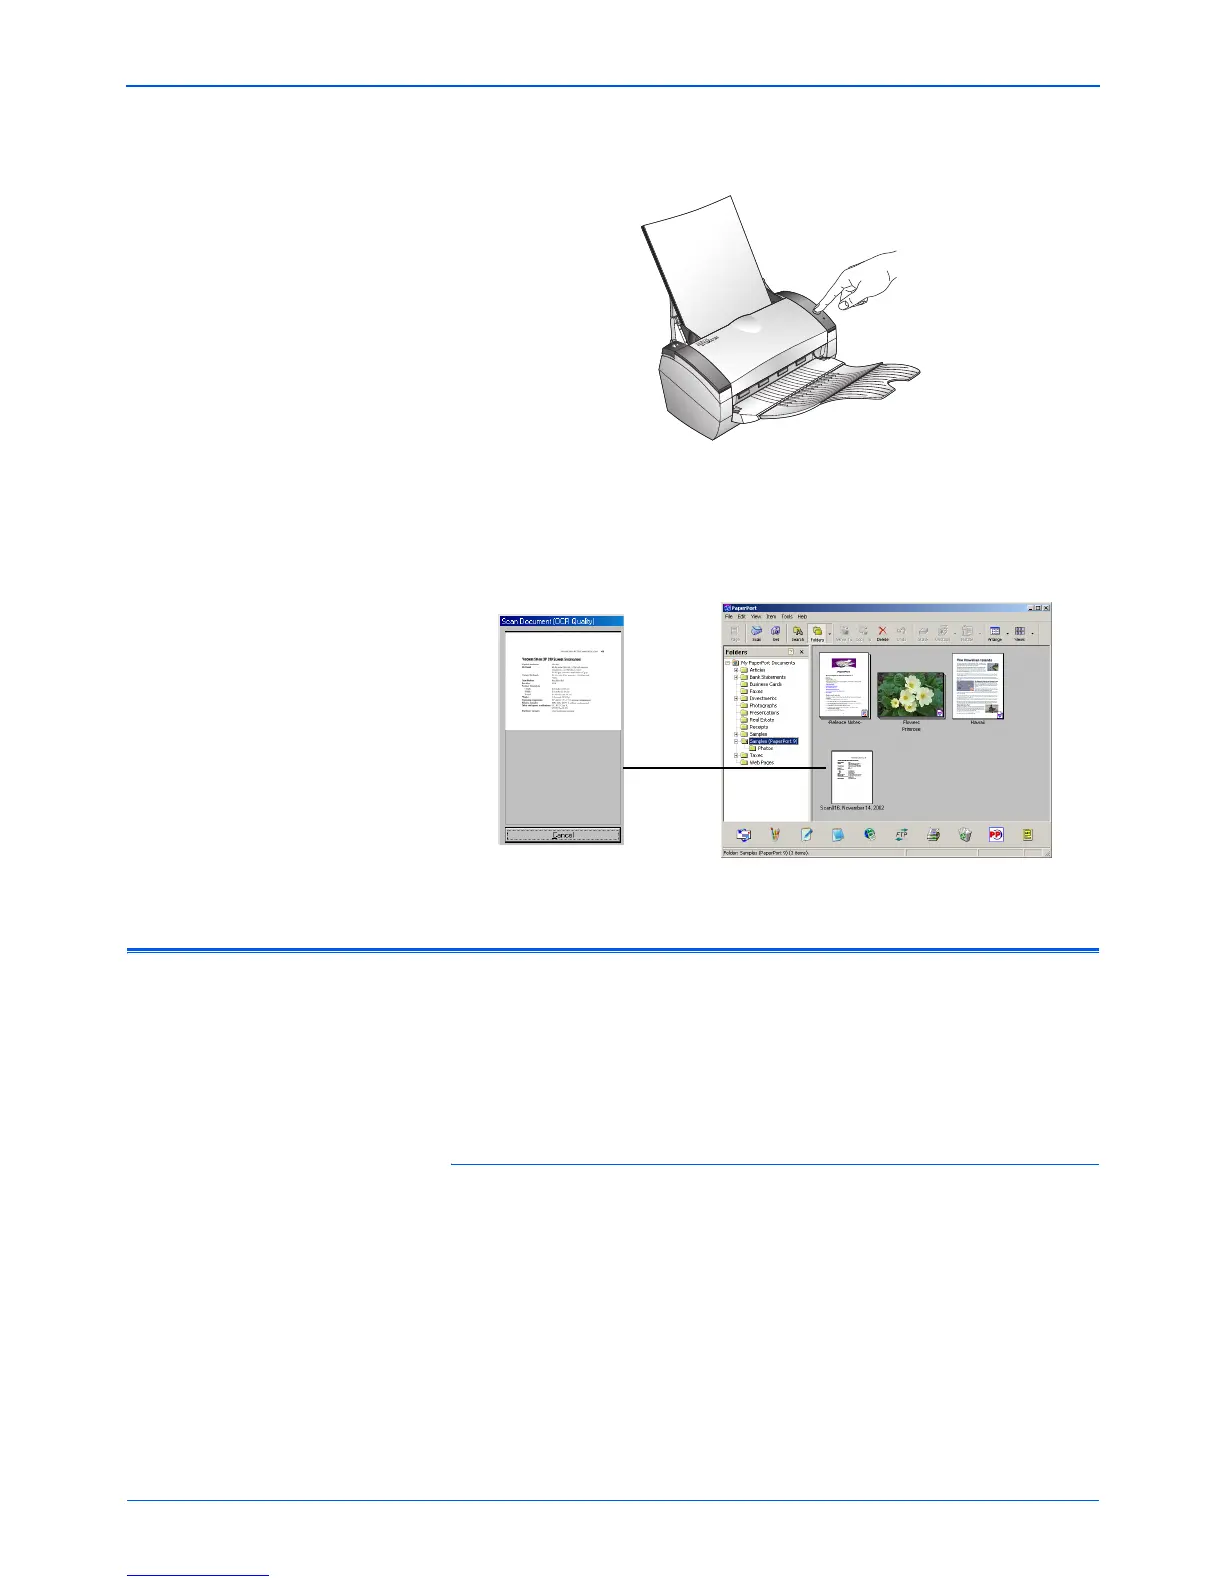
4. Press the button on the scanner.
A scan progress window opens and then a thumbnail of the
scanned image appears in the destination software. In the
following example, the destination software is the PaperPort
desktop.
Configuring the Scanner Button
When you first connect your scanner to a computer, the scanner’s
DocuMate software is configured to scan in black and white and
send the scanned image to the PaperPort desktop. You can
change the settings by selecting new options from the
Configuration dialog box.
To open the Configuration dialog box:
1. On the Windows taskbar, click Start, point to Programs, point
to ScanSoft PaperPort 9.0, and then click DocuMate
Configure.
2. If not already selected, click the Scan tab on the Configuration
dialog box to display available scanning configurations.
 Loading...