154 7 Maintenance
To Enable Data Encryption
The following explains how to create a certificate on CentreWare Internet Services and set
various settings required to enable data encryption. For more information, refer to the online
help provided for CentreWare Internet Services.
Note
• If you install the network expansion card (optional) used on this printer to another printer, the certificate
created for this printer will be deleted and the settings for SSL/TLS server communication will become
invalid. If using the network expansion card on another printer, create a certificate again for the new
printer.
1. Launch your web browser and access CentreWare Internet Services.
Note
• For information on how to access CentreWare Internet Services, refer to "Configuring the Printer Using
CentreWare Internet Services" (P. 12).
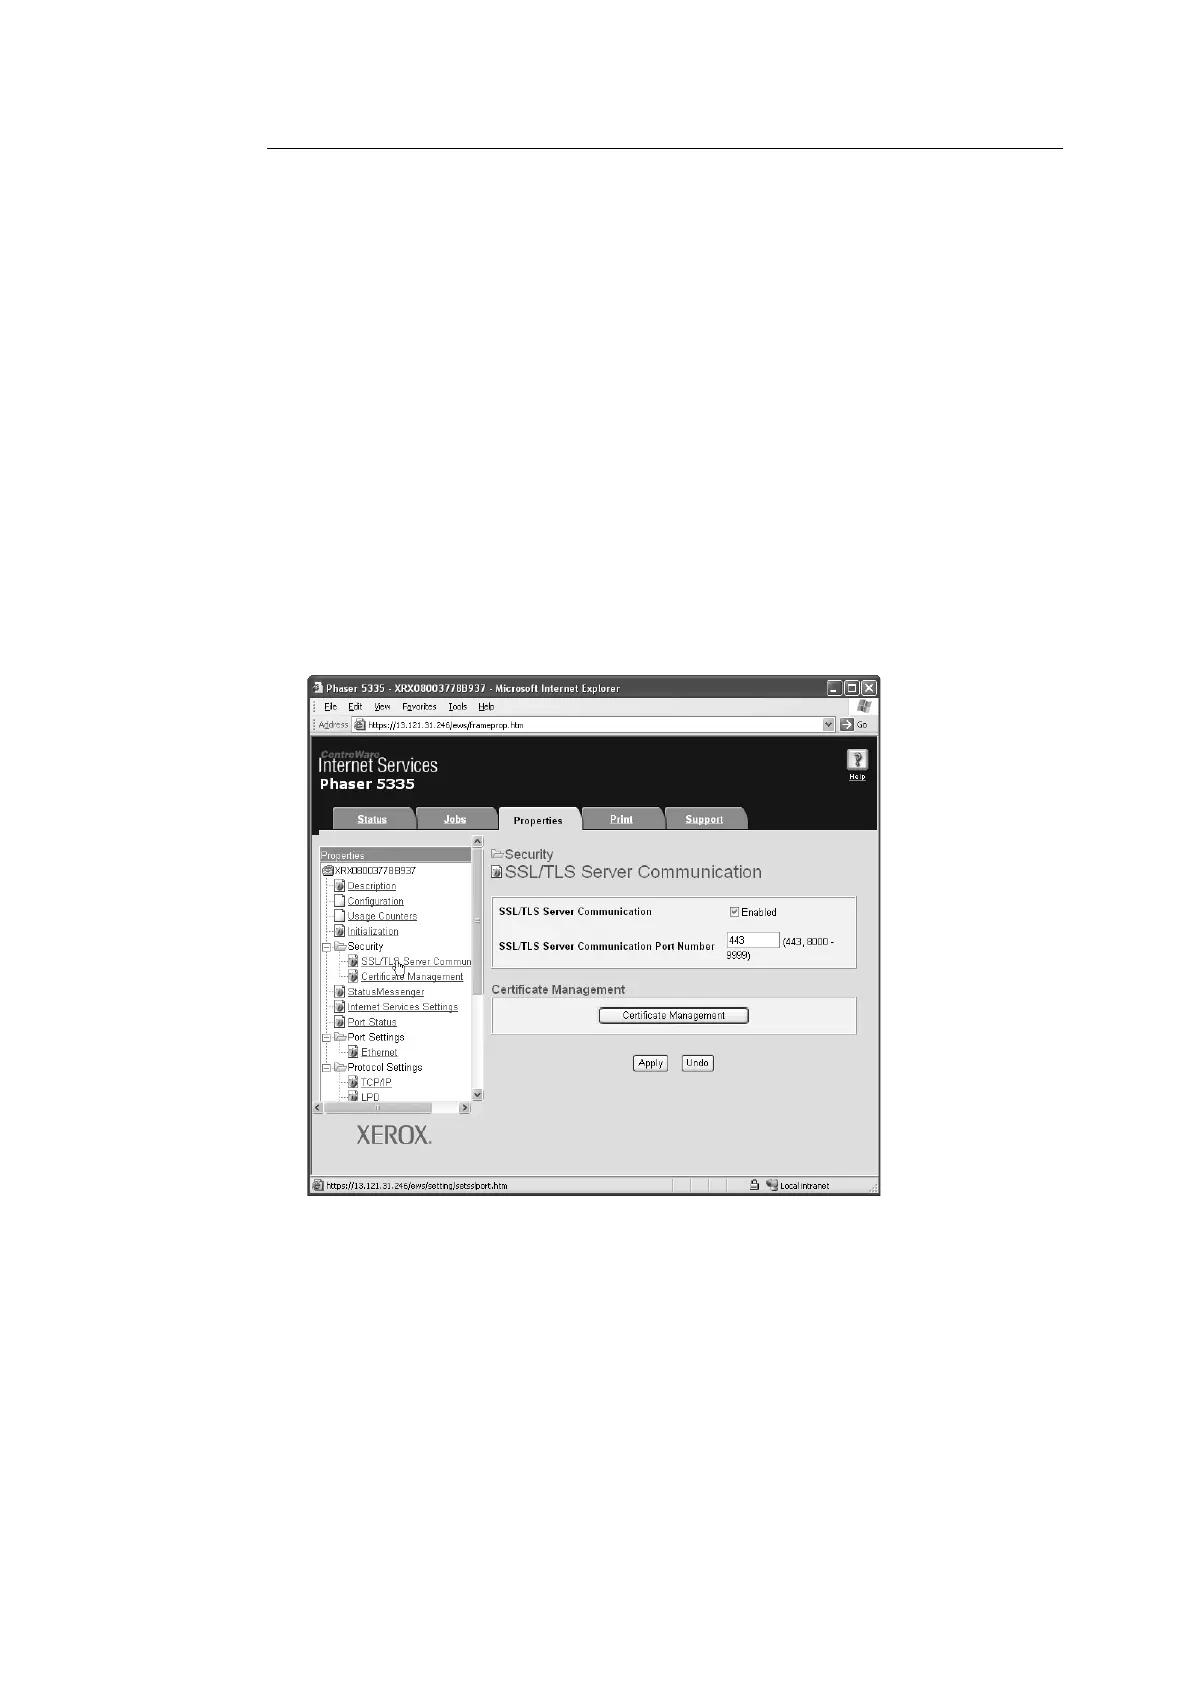
2. Click the [Properties] tab.
3. From the menu displayed on the left, click [SSL/TLS Server Communication] under
[Security].
The [SSL/TLS Server Communication] page is displayed.
4. Click [Generate Self-Signed Certificate] to create a certificate.
5. A window that prompts you to enter a user ID and password appears. Enter the
administrator's user ID and password and click [OK].
Note
• The default user ID and password are "11111" and "x-admin", respectively.