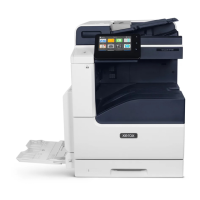
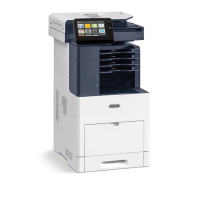
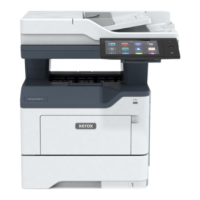
to connect to a network. If you are using a network connection, it is important to understand how
your computer is connected to the network.
Note: Hardware and cabling requirements vary for the different connection methods. Routers,
network hubs, network switches, modems, Ethernet cables, and USB cables are not included
with your printer and must be purchased separately.
USB
If you connect the printer to one computer and do not have a network, use a USB connection. A
USB connection offers fast data speeds, but typically not as fast as a network connection.
Note: To access the Embedded Web Server, a network connection is required.
Network
If your computer is connected to an office network or home network, use an Ethernet cable to
connect the printer to the network. You cannot connect the printer directly to the computer via
Ethernet. A connection through a router or network switch is required. An Ethernet network can be
used for one or more computers and supports many printers and systems simultaneously. An
Ethernet connection is typically faster than USB and allows you direct access to the settings of the
printer using the Embedded Web Server.
Wireless Network
If your environment includes a wireless router or wireless access point, you can connect the printer
to the network with a wireless connection. A wireless network connection provides the same access
and services as a wired connection. A wireless network connection is typically faster than USB and
allows direct access to the settings of the printer using the Embedded Web Server.
Telephone
To send and receive faxes, the multifunction printer must be connected to a dedicated telephone
line.
Connecting to a Computer Using USB
• Windows 7, Windows 8.1, Windows Server 2008, Windows 10, Windows Server 2008 R2, Windows
Server 2012, Windows Server 2012 R2, Windows Server 2016, and Windows Server 2019.
• macOS 10.15 and later.
• UNIX and Linux: Your printer supports connection to various UNIX platforms through the network
interface.
To connect the printer to the computer using a USB cable:
1. Connect the B end of a standard A/B USB 2.0 or USB 3.0 cable to the USB Port on the back of the
printer.
2. Connect the A end of the USB cable to the USB port on the computer.
3. If the Found New Hardware Wizard appears, close the window.
4. Install the print driver.
For more information, refer to Installing the Software.
58

 Loading...


