Using Your Printer in Linux
28
9 Using Your Printer in Linux
You can use your machine in a Linux environment.
This chapter includes:
• Getting Started
• Installing the Unified Linux Driver
• Using the Unified Driver Configurator
• Configuring Printer Properties
• Printing a Document
• Scanning a Document
Getting Started
The supplied CD-ROM provides you with Xerox’s Unified Linux Driver
package for using your machine with a Linux computer.
Xerox’s Unified Linux Driver package contains printer and scanner
drivers, providing the ability to print documents and scan images. The
package also delivers powerful applications for configuring your machine
and further processing of the scanned documents.
After the driver is installed on your Linux system, the driver package
allows you to monitor a number of machine devices via the USB port.
The acquired documents can then be edited, printed on the same local
or network machine devices, sent by e-mail, uploaded to an FTP site, or
transferred to an external OCR system.
The Unified Linux Driver package is supplied with a smart and flexible
installation program. You don't need to search for additional components
that might be necessary for the Unified Linux Driver software: all required
packages will be carried onto your system and installed automatically;
this is possible on a wide set of the most popular Linux clones.
Installing the Unified Linux Driver
Installing the Unified Linux Driver
1
Make sure that you connect your machine to your computer. Turn
both the computer and the machine on.
2
When the Administrator Login window appears, type in
root
in the
Login field and enter the system password.
N
OTE
: You must log in as a super user (root) to install the printer
software. If you are not a super user, ask your system administrator.
3
Insert the printer software CD-ROM. The CD-ROM will
automatically run.
If the CD-ROM does not automatically run, click the icon at the
bottom of the desktop. When the Terminal screen appears, type in:
If the CD-ROM is secondary master and the location to mount is /
mnt/cdrom,
[root@localhost root]#mount -t iso9660 /dev/hdc /mnt/cdrom
[root@localhost root]#cd /mnt/cdrom/Linux
[root@localhost root]#./install.sh
If you still failed to run the CD-ROM, type the followings in
sequence:
[root@localhost root]#umount /dev/hdc
[root@localhost root]#mount -t iso9660 /dev/hdc /mnt/cdrom
N
OTE
: The installation program runs automatically if you have an
autorun software package installed and configured.
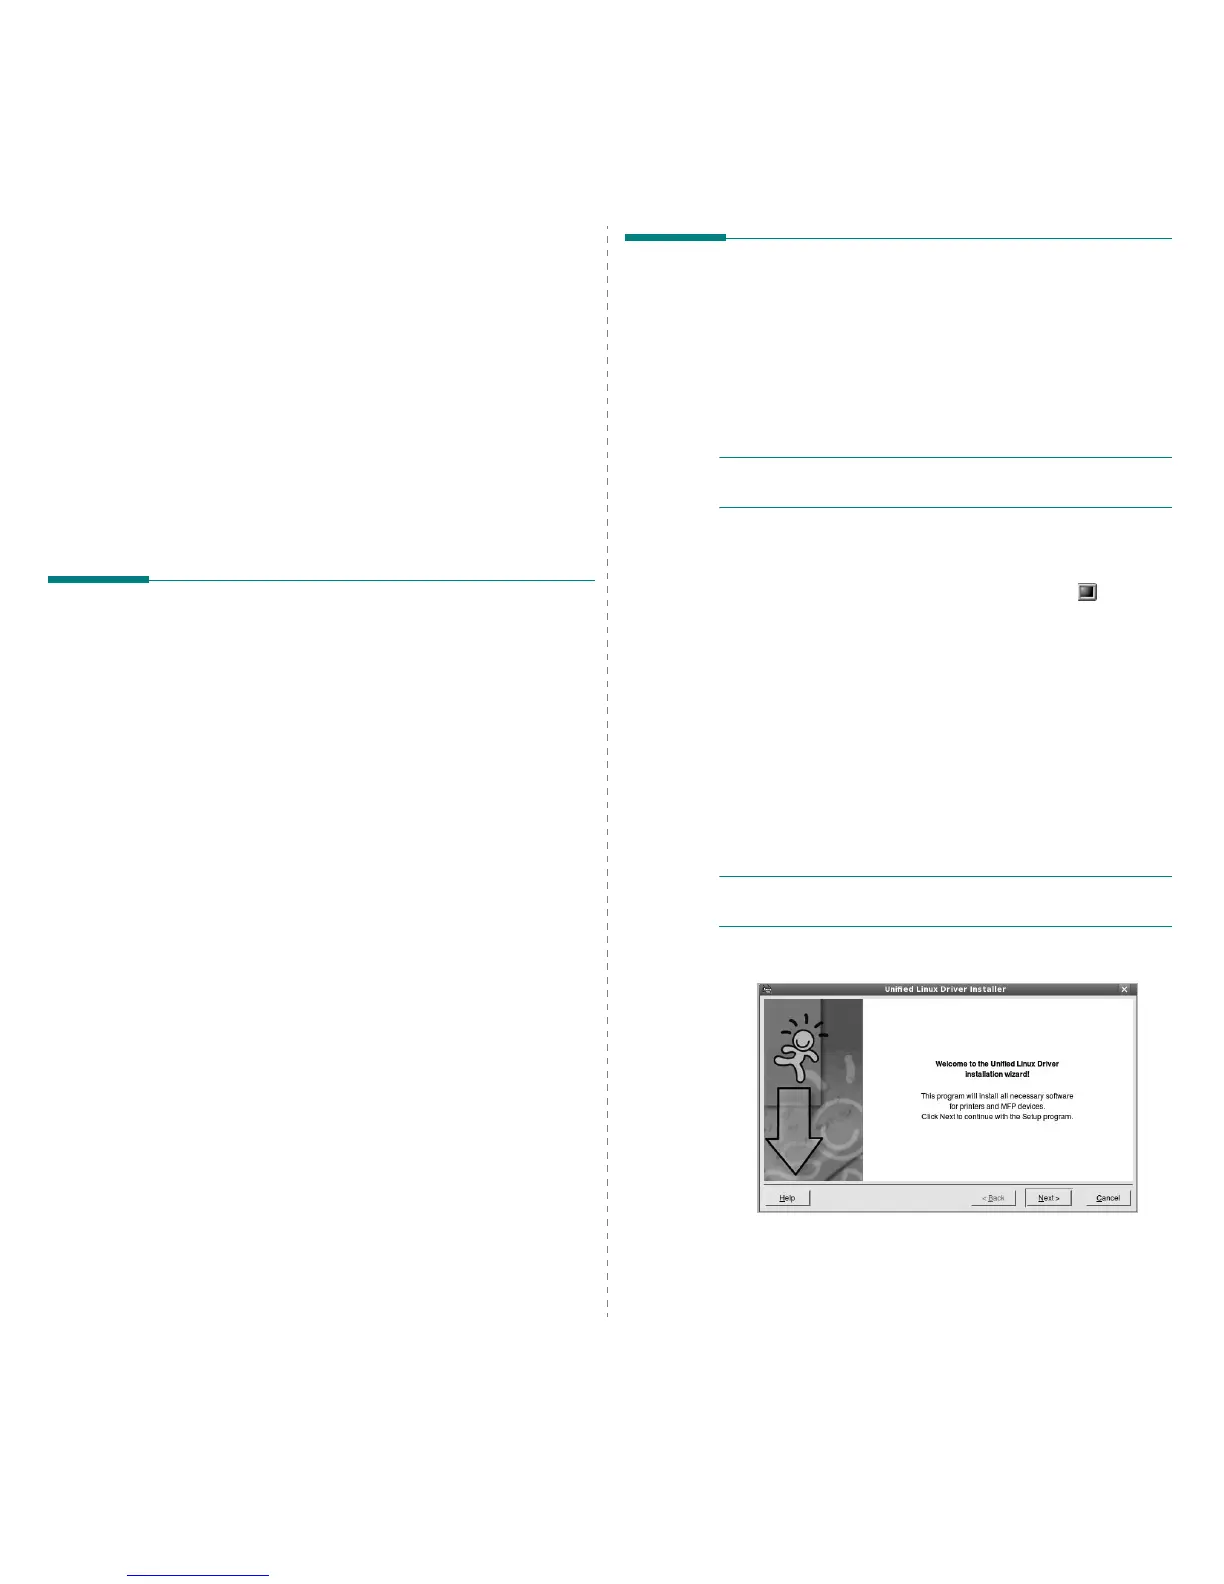
4
When the welcome screen appears, click
Next
.

 Loading...