Installing accessories_84
installing accessories
Your machine is a full-featured model that has been optimized to meet most of your printing needs. Recognizing that each user
may have different requirements, however, Xerox makes several accessories available to enhance your machine’s capabilities.
This chapter includes:
• Precautions to take when installing accessories • Upgrading a memory module
PRECAUTIONS TO TAKE WHEN INSTALLING
ACCESSORIES
• Disconnect the power cord
Never remove the control board cover while the power is turned on.
To avoid the possibility of an electrical shock, always disconnect the
power cord when installing or removing ANY internal or external
accessories.
• Discharge static electricity
The control board and internal accessories (memory module) are
sensitive to static electricity. Before installing or removing any internal
accessories, discharge static electricity from your body by touching
something metal, such as the metal back plate on any device plugged
into a grounded power source. If you walk around before finishing the
installation, repeat this procedure to discharge any static electricity
again.
UPGRADING A MEMORY MODULE
Your machine has a small outline dual in-line memory module (SODIMM).
Use this memory module slot to install additional memory.
When you are expanding the memory capacity, you can add a memory
module to the vacant memory slot. Your machine has 128 MB memory, and
you can add a 256 MB memory module.
Order information is provided for optional memory module. (see "Memory
module" on page 83.)
Installing a memory module
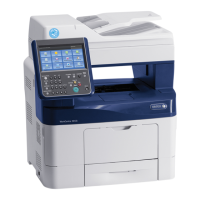
1. Turn the machine off and unplug all cables from the machine.
2. Open the control board cover.
3. Take out a new memory module from the plastic bag.
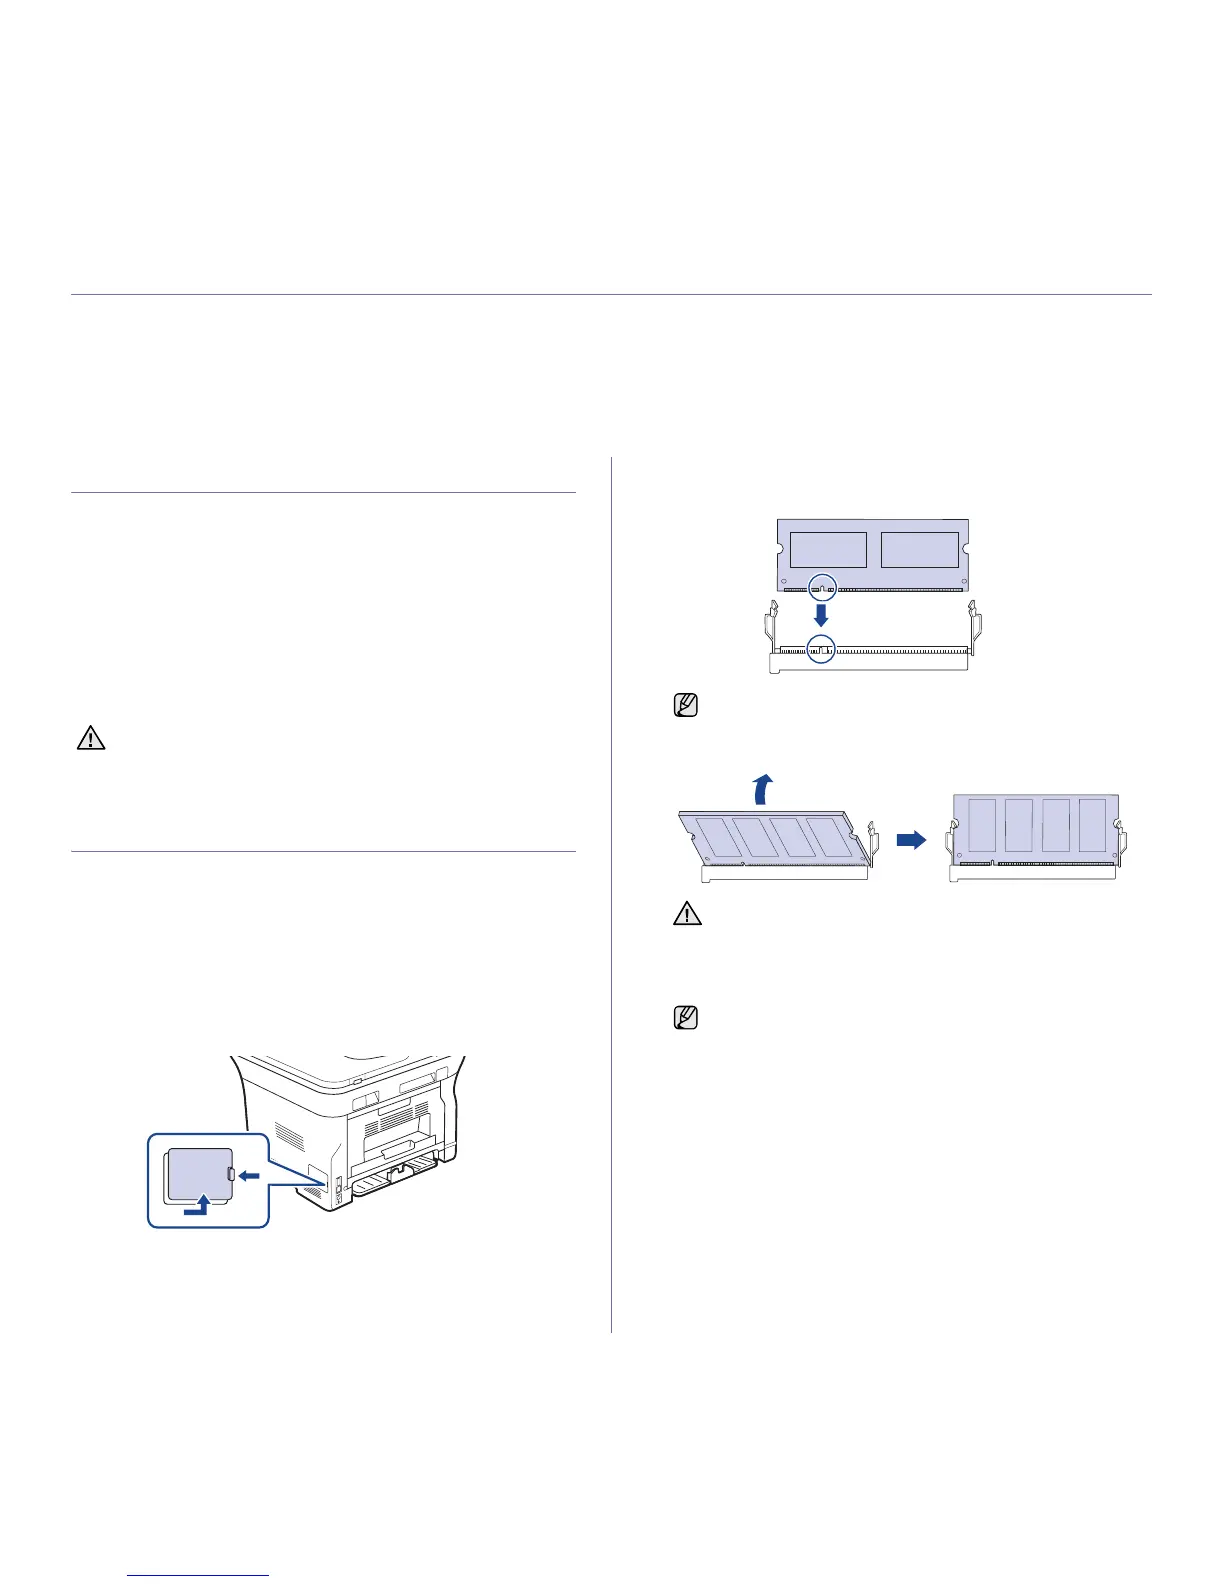
4. Holding the memory module by the edges, align the memory module on
the slot at about a 30-degree tilt. Make sure that the notches of the
module and the grooves on the slot fit each other.
5. Press the memory module into the slot with care until you hear a 'click'.
6. Replace the control board cover.
7. Reconnect the power cord and printer cable, and turn the machine on.
When installing accessories, battery inside the machine is a service
component. Do not change it by yourself.
Risk of explosion if battery is replaced by an incorrect type. Dispose
used batteries according to the instructions.
The notches and grooves illustrated above may not match those
on an actual memory module and its slot.
Do not press the memory module strongly or the module may be
damaged. If the module does not seem to fit into the slot properly,
carefully try the previous procedure again.
To release the memory module, pull the two tabs on the sides of
the slot outwards, then the module springs out.

 Loading...