Virtex-6 FPGA Connectivity Kit Getting Started www.xilinx.com 27
UG664 (v1.4) July 6, 2011
Getting Started with the Connectivity Targeted Reference Design Demo
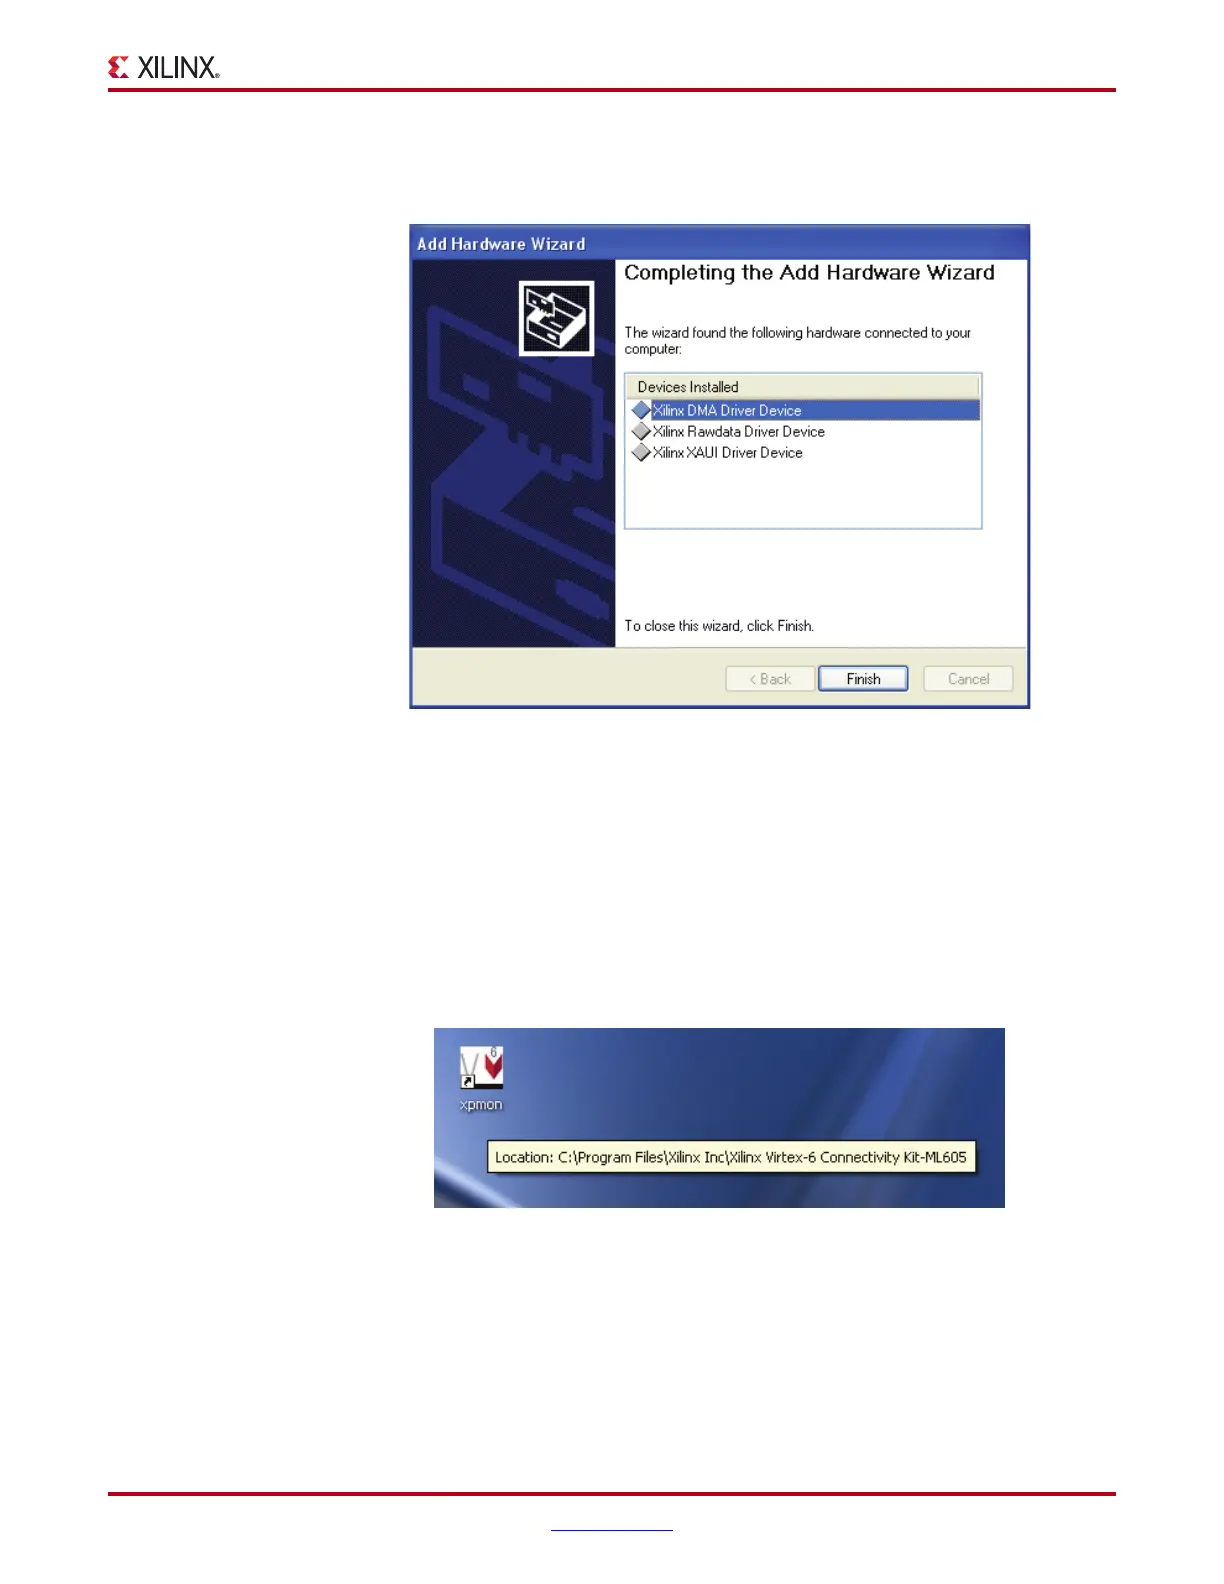
All the drivers required to run the Virtex-6 FPGA Connectivity TRD are successfully
installed. Click Finish to exit the Add Hardware Wizard (Figure 18).
Note:
After the drivers are installed, x_v6_trd_setup.exe need not be run until the user makes
modifications to the software source code. Running x_v6_trd_setup.exe again causes drivers to
uninstall and clean the install folders.
11. Launch the GUI:
a. Double-click on the xpmon icon on the desktop to launch the Performance Monitor
application (Figure 19). Proceed to step 16 to run the application GUI.
The xpmon icon can also be found in the C:\Program Files\Xilinx
Inc\Virtex6 folder.
Install Linux Driver
12. Configure the desktop PC to boot from the CD ROM:
a. Power the PC system on and watch the initial BIOS screen for a prompt that
indicates which key to use for either:
X-Ref Target - Figure 18
Figure 18: All Drivers Installed Successfully
X-Ref Target - Figure 19
Figure 19: Launch GUI
 Loading...