ADPROPROE by Xtralis Installation Guide
27386_05 27
3 Detector Alignment
WARNING:
Ensure that the three screws that attach the detector to the detector arm are not tightened but
kept loose.
Never align the detector by pressing down such that the field of view ends at the perimeter
boundary (0 m. object height).
To ensure detector efficiency, the object height must be configured to be 1.5 m at the perimeter
boundary.
Shadow nets or fence sheeting can be used to avoid detection of targets beyond the desired
range. The width of this terminating material depends on the nominal width of the respective
detector.
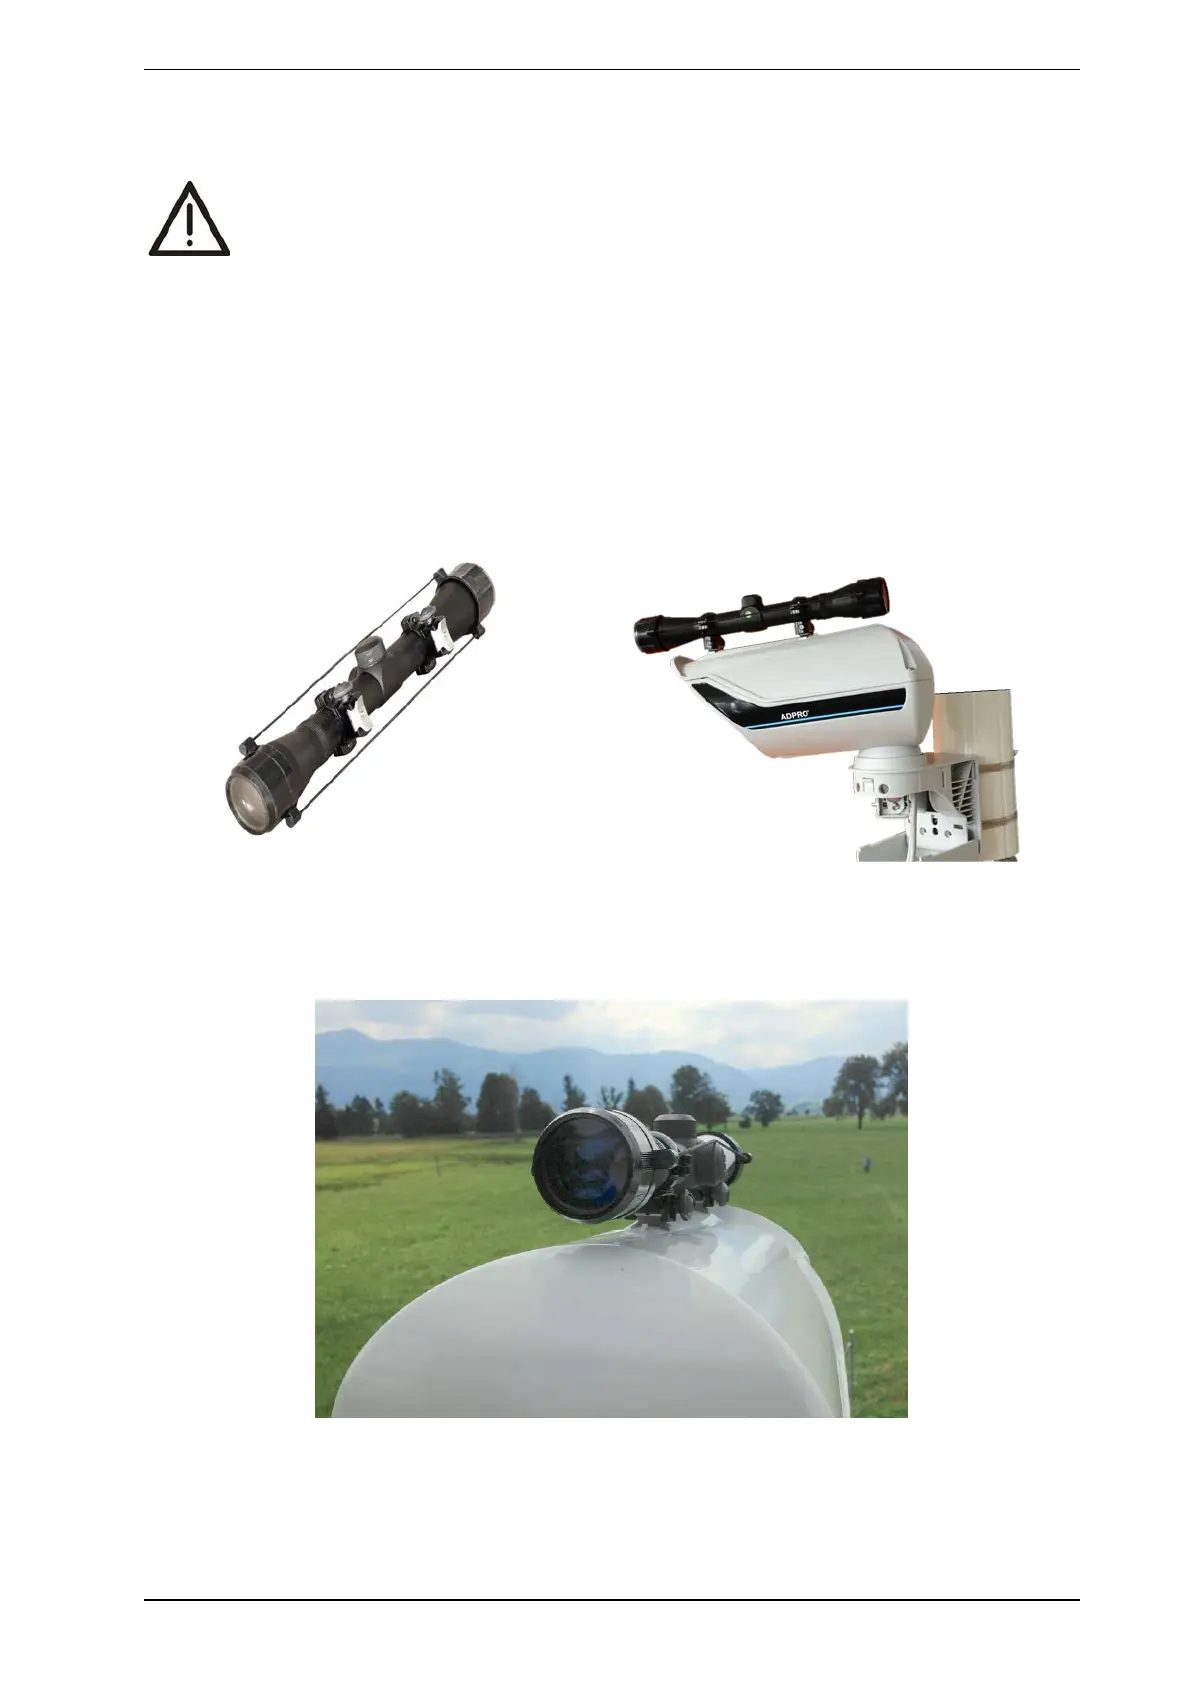
3.1 Installation of the telescope
1. Install the adaptor supplied with the telescope as shown on the housing cover and slip on the telescope.
2. Attach the telescope to the adaptor with the help of the straining screws.
3.2 Alignment with the help of the telescope
1. Take a bearing on the perimeter area to be monitored using the rear and front sight on the detector cover,
or optimally use the optional telescope, as shown.