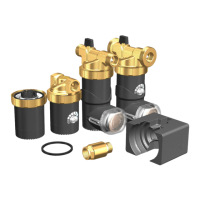
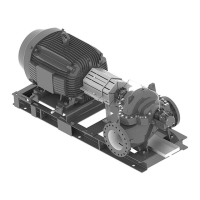
1. Plug the stuffing box flush line inlet port.
2. Lubricate and roll O-rings into the grooves along the outer diameter of the stuffing
box.
3. Screw flush line fitting into its port located on the cartridge seal gland.
4. Fasten the cartridge seal to the stuffing box; ensure the flush line inlet port of the
cartridge seal is oriented upwards and aligned with the stuffing box fin.
Alternatively, the cartridge seal may be fastened onto the stuffing box after the stuffing
box has been placed around the shaft.
5. Slide the stuffing box assembly onto the shaft. Install cautiously to prevent damage to
the seal.
6. Degrease the cartridge seal set screws and fasten them with (1) drop of thread locker
such as Loctite(R) 243. Fasten the M10 set screws to a torque value of 20 N*m (14.75 ft-
lbs). Remove the three or four setup screws and their carriage clips from the back of
the seal.
Note: Set screws should never be reused.
Note: Retain the setup screws and clip carriage for future seal maintenance.
7. Repeat steps 1-6 for the inboard side of the pump.
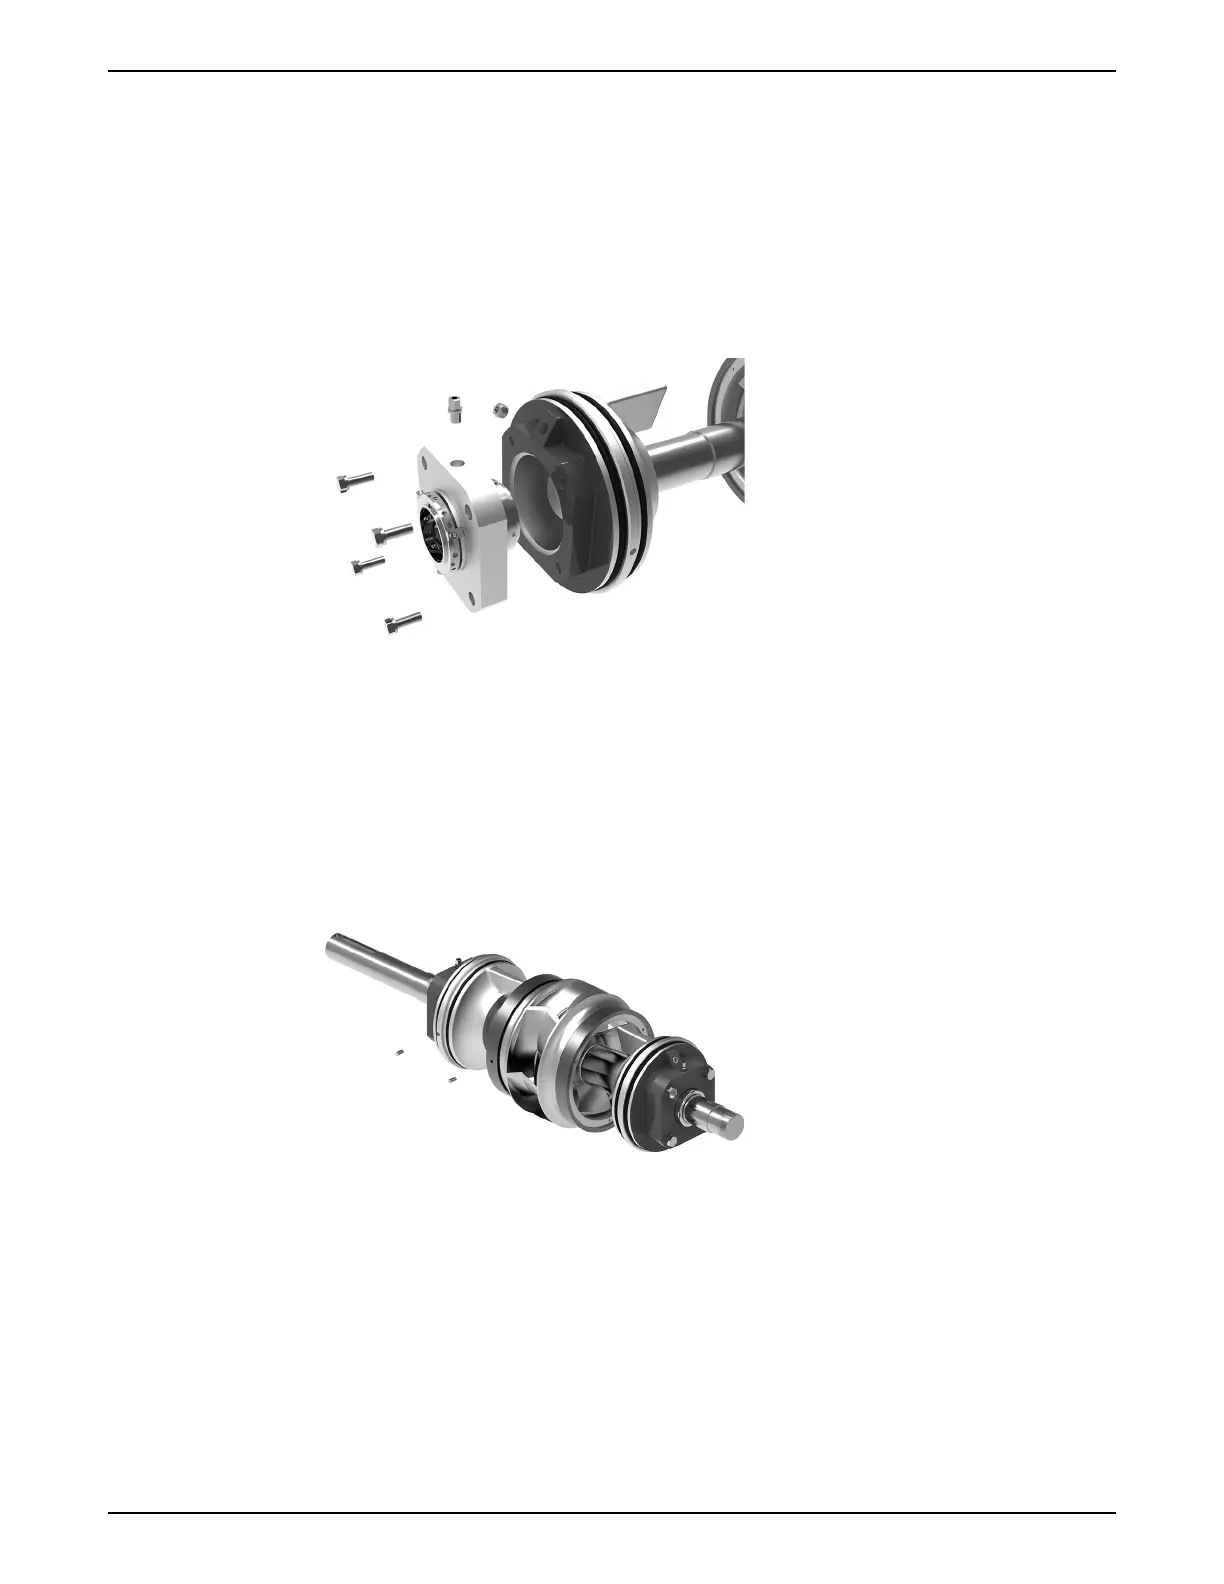
8. Install stuffing box pins into each stuffing box.
9. Ensure pins are installed into each casing wear ring. Align casing wear ring pins to
their respective grooves within the lower casing.
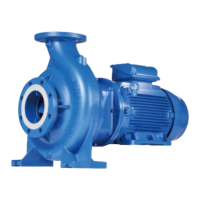
10.NOTE: If pump is removed from operating area and disconnected from piping,
proceed to step 10. If the pump is not disconnected from its piping, follow Bearing
and bearing housing assembly on page 79 and lower the entire rotating assembly,
including bearing housings, into the pump. Once lowered into the pump, fasten the
bearing housing to the pump casing. See the next two images for rotating assembly
installation with bearing housings.
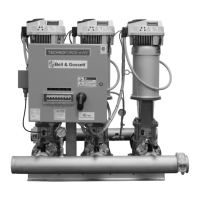
6 Maintenance
e-XC INSTRUCTION MANUAL 89