en - Original instructions
e-SV series - Installation, Operation and Maintenance Manual 27
5.2 Filling - Priming
WARNING:
In the case of liquids that are excessively hot or cold, pay attention to the risk of injury.
NOTICE:
The unit must be filled and vented properly before it can be started.
5.2.1 Positive suction head installation
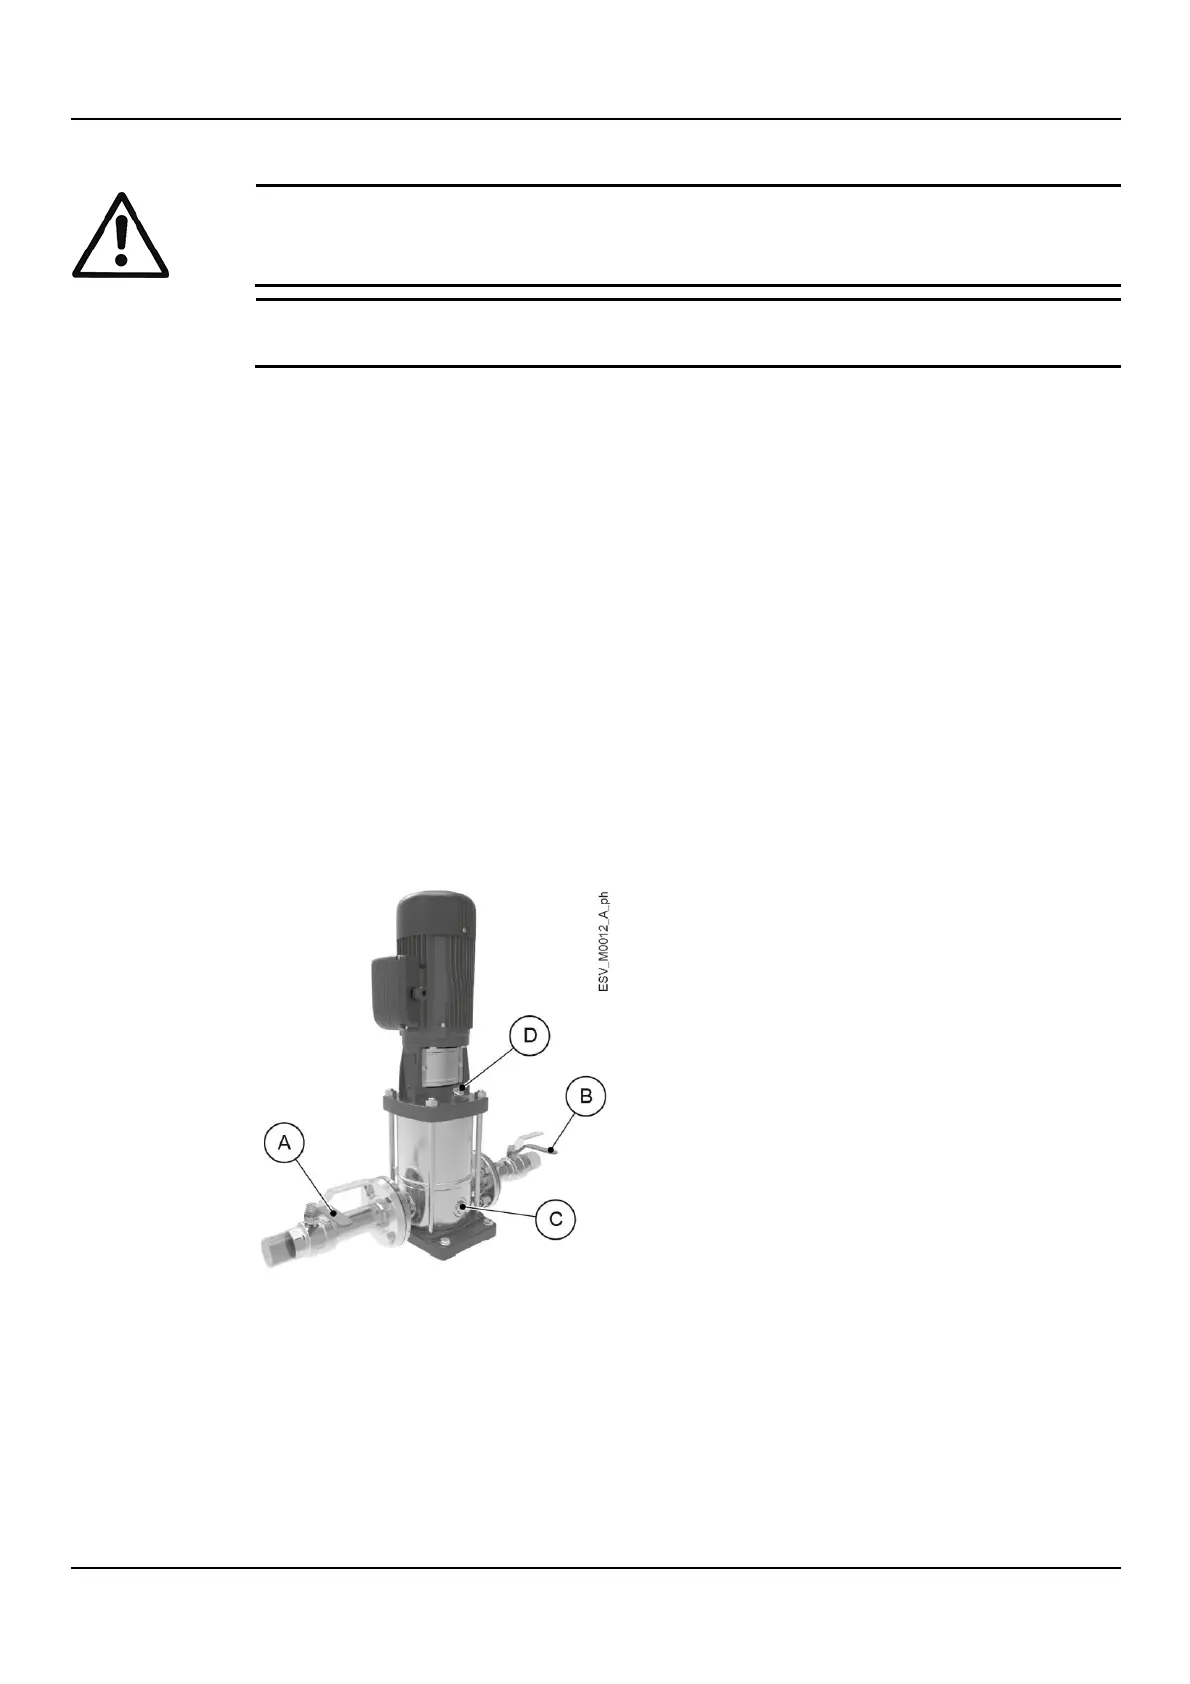
See the figure below.
Models 1, 3 and 5SV
1. Close the on-off valves on the suction (A) and discharge (B) sides.
2. Loosen the drain plug (C).
3. Loosen the filling plug (D).
4. Slowly open the on-off valve (A) until the liquid regularly comes out from the hole; if
necessary, loosen the plug further (D).
5. Tighten the plug (C).
6. Tighten the plug (D).
7. Open both the on-off valves slowly and fully.
Models 10, 15, 22, 33, 46, 66, 92 and 125SV
1. Close the on-off valves on the suction (A) and discharge (B) sides.
2. Loosen the filling plug (D).
3. Slowly open the on-off valve (A) until the liquid regularly comes out from the hole; if
necessary, loosen the plug further (D).
4. Tighten the plug (D).
5. Open both the on-off valves slowly and fully.
Figure 15: Positive suction head installation priming
5.2.2 Suction lift installation
See the figure below.
Models 1, 3 and 5SV
1. Open the on-off valves on the suction (A) and discharge (B) sides.
2. Loosen the drain plug (C).
3. Remove the filling plug (D).
4. Fill the pump unit until the liquid comes out of the hole.
5. Tighten the plug (C).

 Loading...