CL Editor Owner’s Manual
81
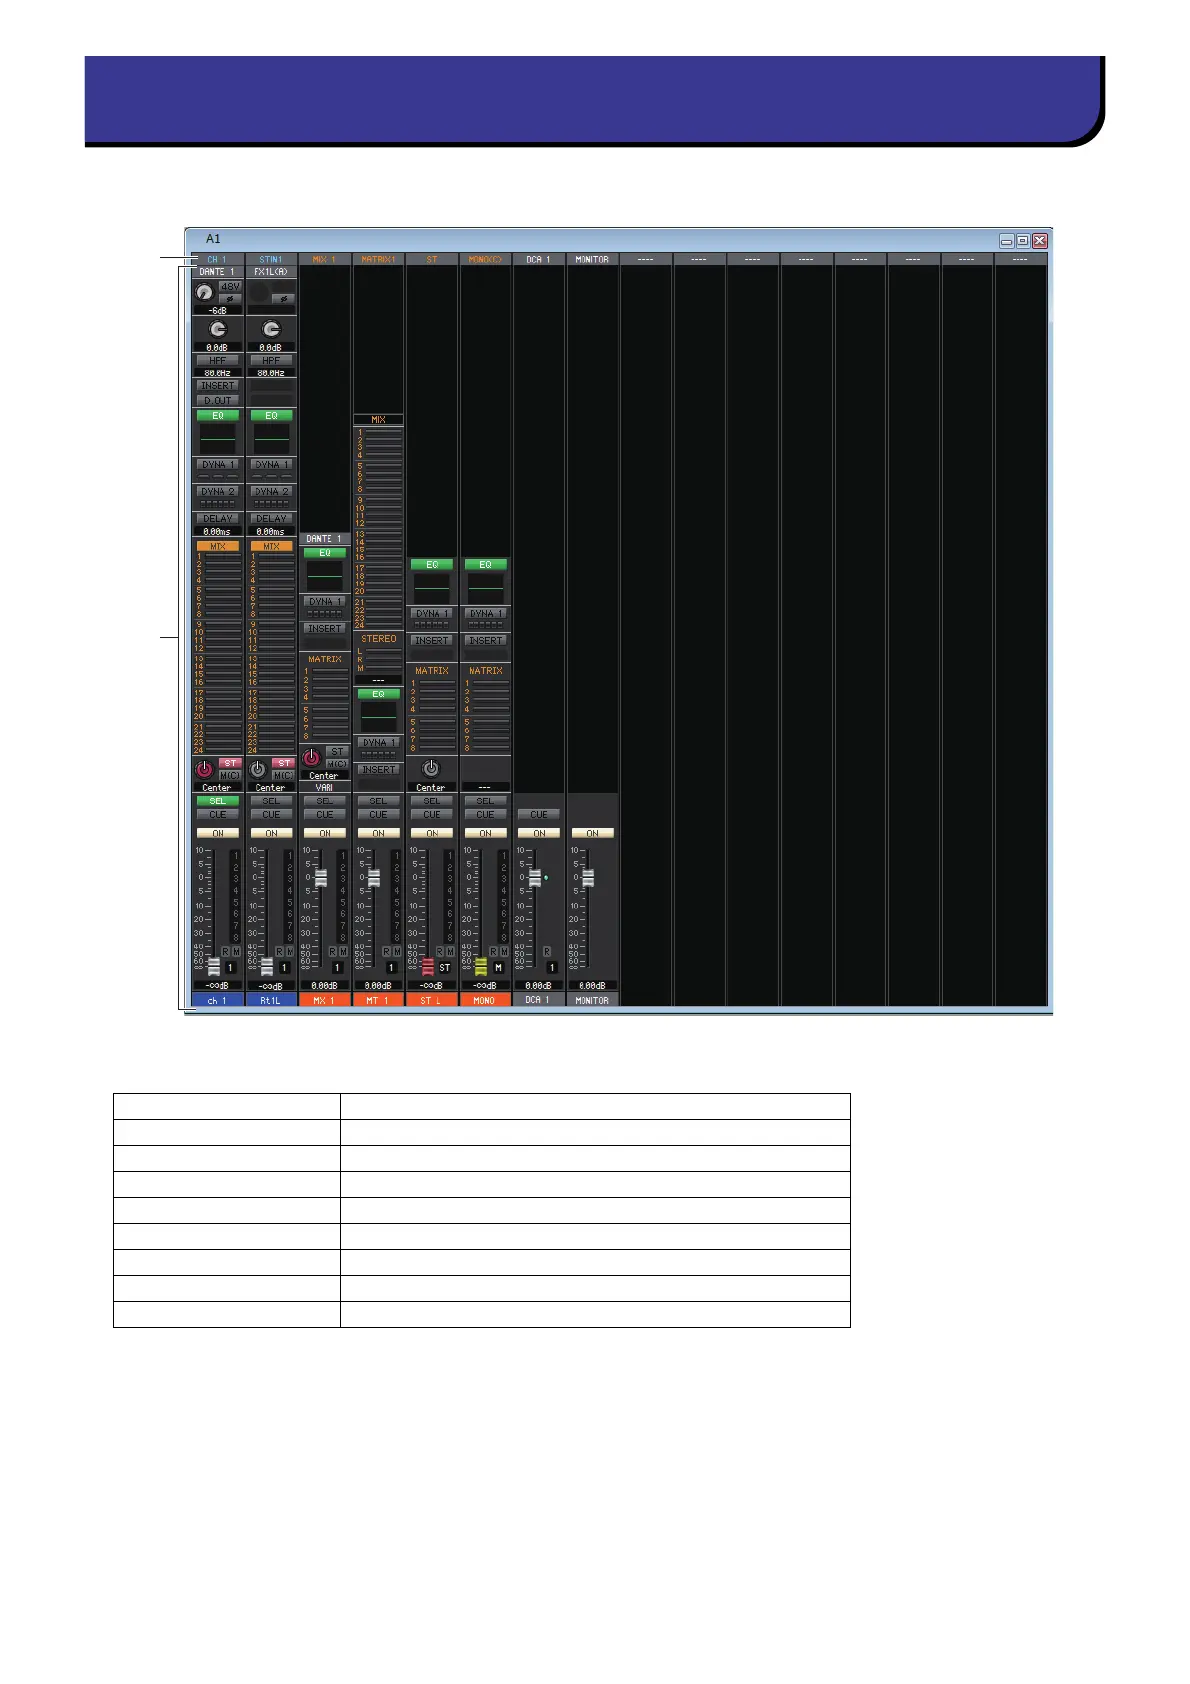
This window shows the channels of the custom fader bank setup. To open this window, choose [Custom Fader Bank] from
[Windows] menu and then choose one of the pages.
1 Channel Patch
Click here to select the channel that will be assigned to the channel strips, from the following choices.
(*) CL3: 1-64, CL1: 1-48
This patch is color-coded and indicates the type of channel as follows:
Blue: Input channels
Orange: Output channels
White: Other channels.
2 Channel Strip
Shows the channel strip that is assigned to the channel patch. This is the same as the channel strip in the Overview win-
dow. Indicates only L or R channel for the ST IN and ST channel. You can switch between L and R by clicking the [SEL]
button.
CH 1–72(*) INPUT CH 1–72(*)
STIN1L-STIN8R ST IN channel 1–8 (L/R)
MIX 1–24 MIX channel 1–24
MTRX1–8 MATRIX channel 1–8
ST L, ST R, MONO(C) STEREO channel L/R or MONO(C) channel
DCA 1–16 DCA channel 1–-16
MONITOR MONITOR channel
STIN 1–8 ST IN channel 1–8
ST STEREO channel