29
RX-V1800/HTR-6190/DSP-AX1800
RX-V1800/HTR-6190/
DSP-AX1800
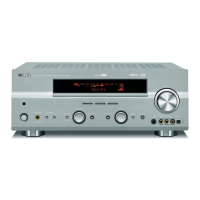
6. 本機のMASTERON/OFFキーを押して、ON
の状態にします。(Fig.13)
7. 本機のA/B/C/D/Eキーを押しながら、本機の
電源コードをACコンセントに接続します。
(Fig.13)
このとき、本機のA/B/C/D/Eキーを3秒以上押
し続けてください。
6. Press the “MASTER ON/OFF” key of the main
unit to turn it on. (Fig. 13)
7. While pressing the “A/B/C/D/E” key of the main
unit, connect the power cable of the main unit to
the AC outlet. (Fig. 13)
At this time, press and hold “A/B/C/D/E” key for
3 seconds or longer.
Fig. 13
"A/B/C/D/E" key
"MASTER ON / OFF" key
Fig. 12
Select the port of RS-232C to use and press the [connect] button
接続しているRS-232Cポートを選択し[connect]ボタンを押します
Press [open] button to open the window
[open]ボタンを押すとウィンドウが開きます
Select “Vx800a_data1_verxxxxx.hex”
Vx800adata1verxxxxx.hexを選択します
5. [RDY]ボタンを押します。(Fig.12)
書き込み待機の状態になります。
5. Press the [RDY] button. (Fig. 12)
The writing ready state will be set.
 Loading...