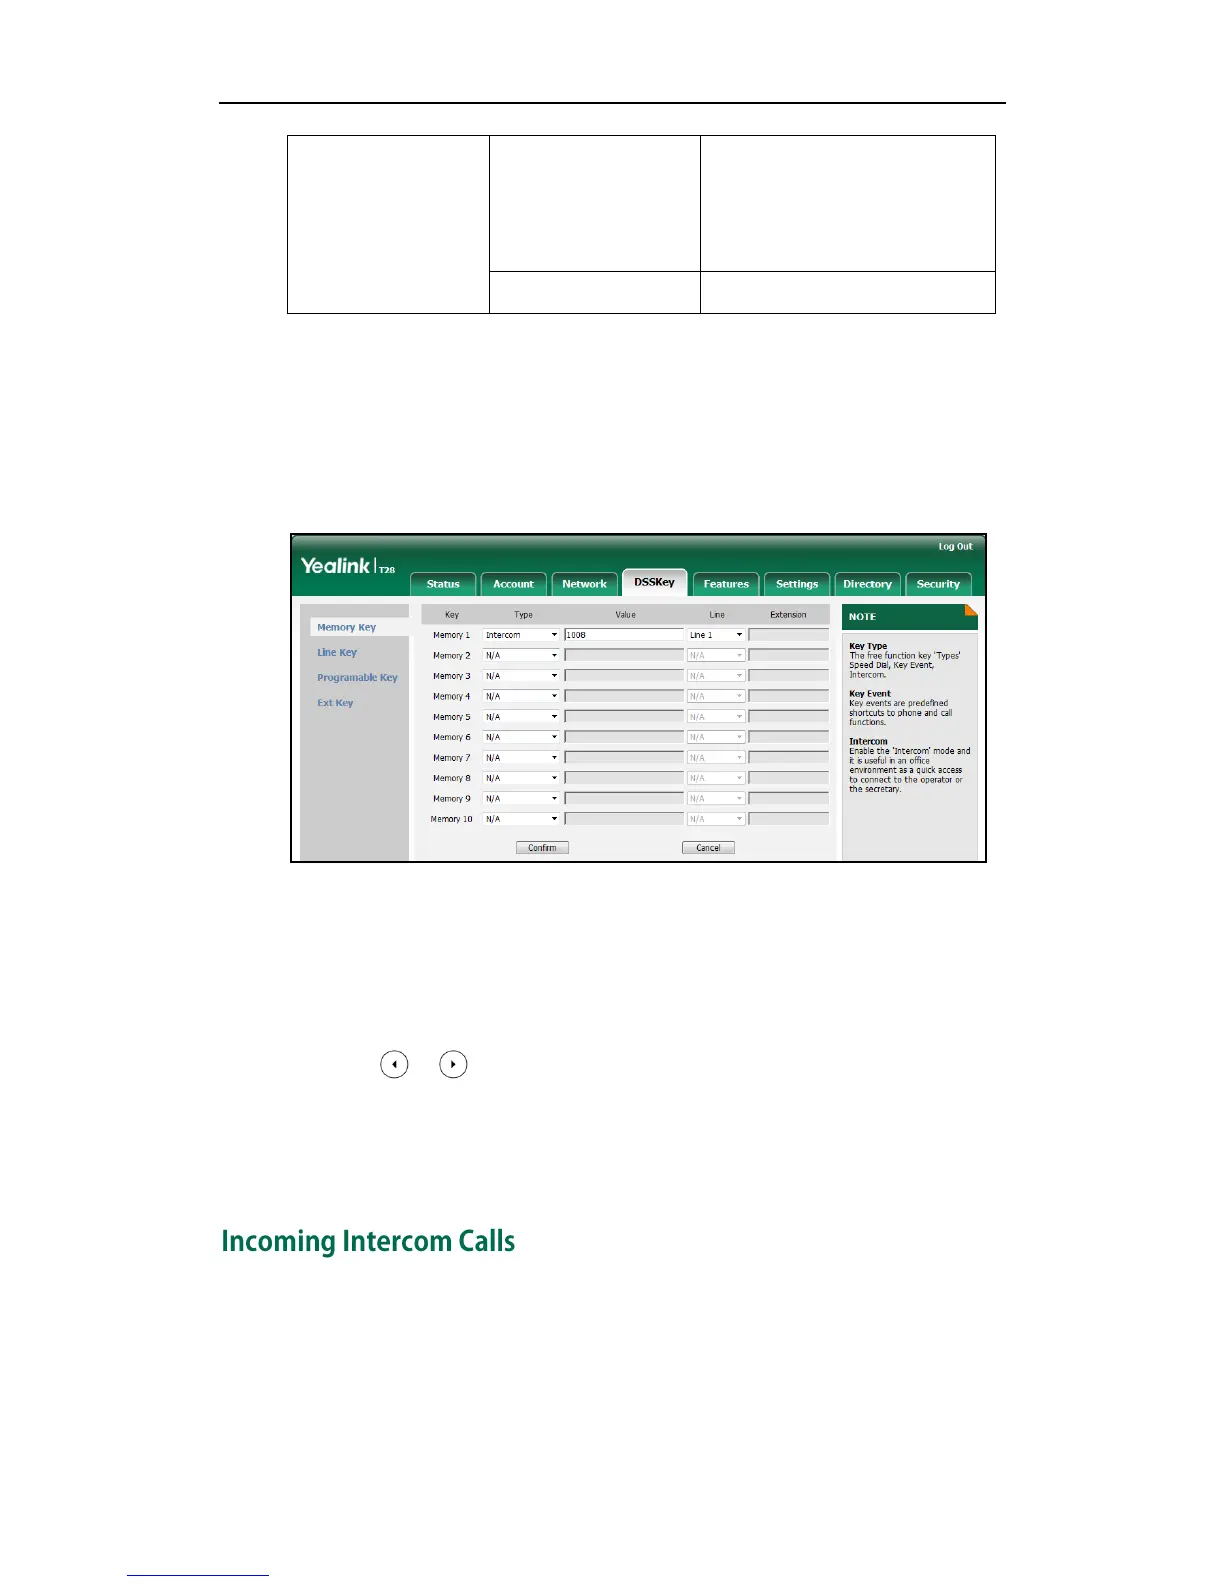
To configure an intercom key via web user interface:
1. Click on DSSKey->Memory Key (or Line Key).
2. In the desired DSS key field, select Intercom from the pull-down list of Type.
3. Enter the remote extension number in the Value field.
4. Select the desired line from the pull-down list of Line.
5. Click Confirm to accept the change.
To configure an intercom key via phone user interface:
1. Press Menu->Features->DSS Keys->Memory Keys (or Line Keys).
2. Select the desired DSS key.
3. Press or , or the Switch soft key to select Intercom from the Type field.
4. Select the desired line from the Account ID field.
5. Enter the remote extension number in the Value field.
6. Press the Save soft key to accept the change.
The IP phone can process incoming calls differently depending on settings. There are
four configuration options for incoming intercom calls:
Accept Intercom
Accept Intercom allows the IP phone to automatically answer an incoming intercom call.
 Loading...