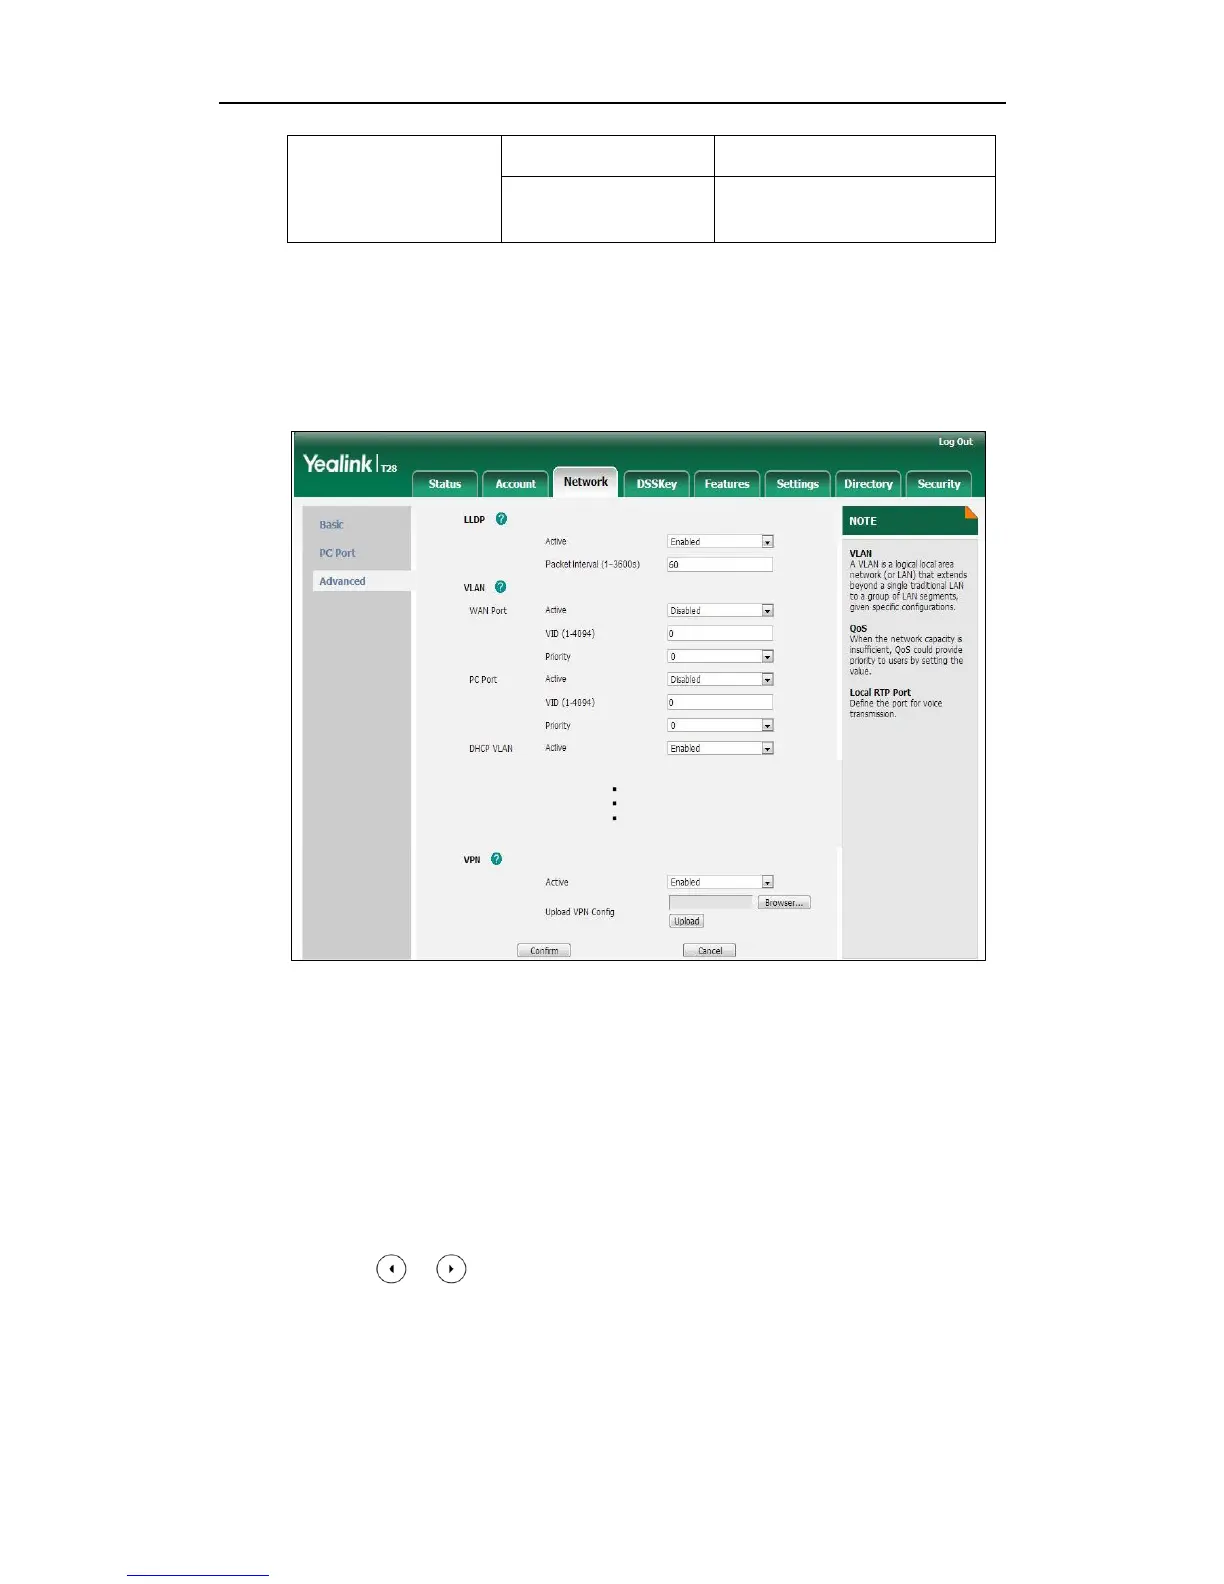
To upload a TAR file and configure VPN via web user interface:
1. Click on Network->Advanced.
2. Click Browse to locate the TAR file from the local system.
3. Click Upload to upload the TAR file.
The web user interface prompts the message “Import config…”.
4. In the VPN block, select the desired value from the pull-down list of Active.
5. Click Confirm to accept the change.
A dialog box pops up to prompt that settings will take effect after a reboot.
6. Click OK to reboot the IP phone.
To configure VPN via phone user interface after uploading a TAR file:
1. Press Menu->Settings->Advanced Settings (password: admin) ->Network->VPN.
2. Press or , or the Switch soft key to select the desired value from the VPN
Active field.
You must upload the OpenVPN TAR file using configuration files or via web user
interface in advance.
3. Press the Save soft key to accept the change.
The IP phone reboots automatically to make settings effective after a period of

 Loading...