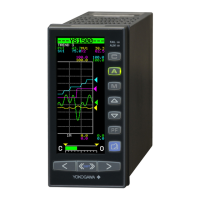
<3. Installation>
3-1
IM 02M04B01-01EN
3. Installation
When installing the controller, refer to 1.3 “Selecting
the Installation Location” and 2.2 “Standard
Specications.”
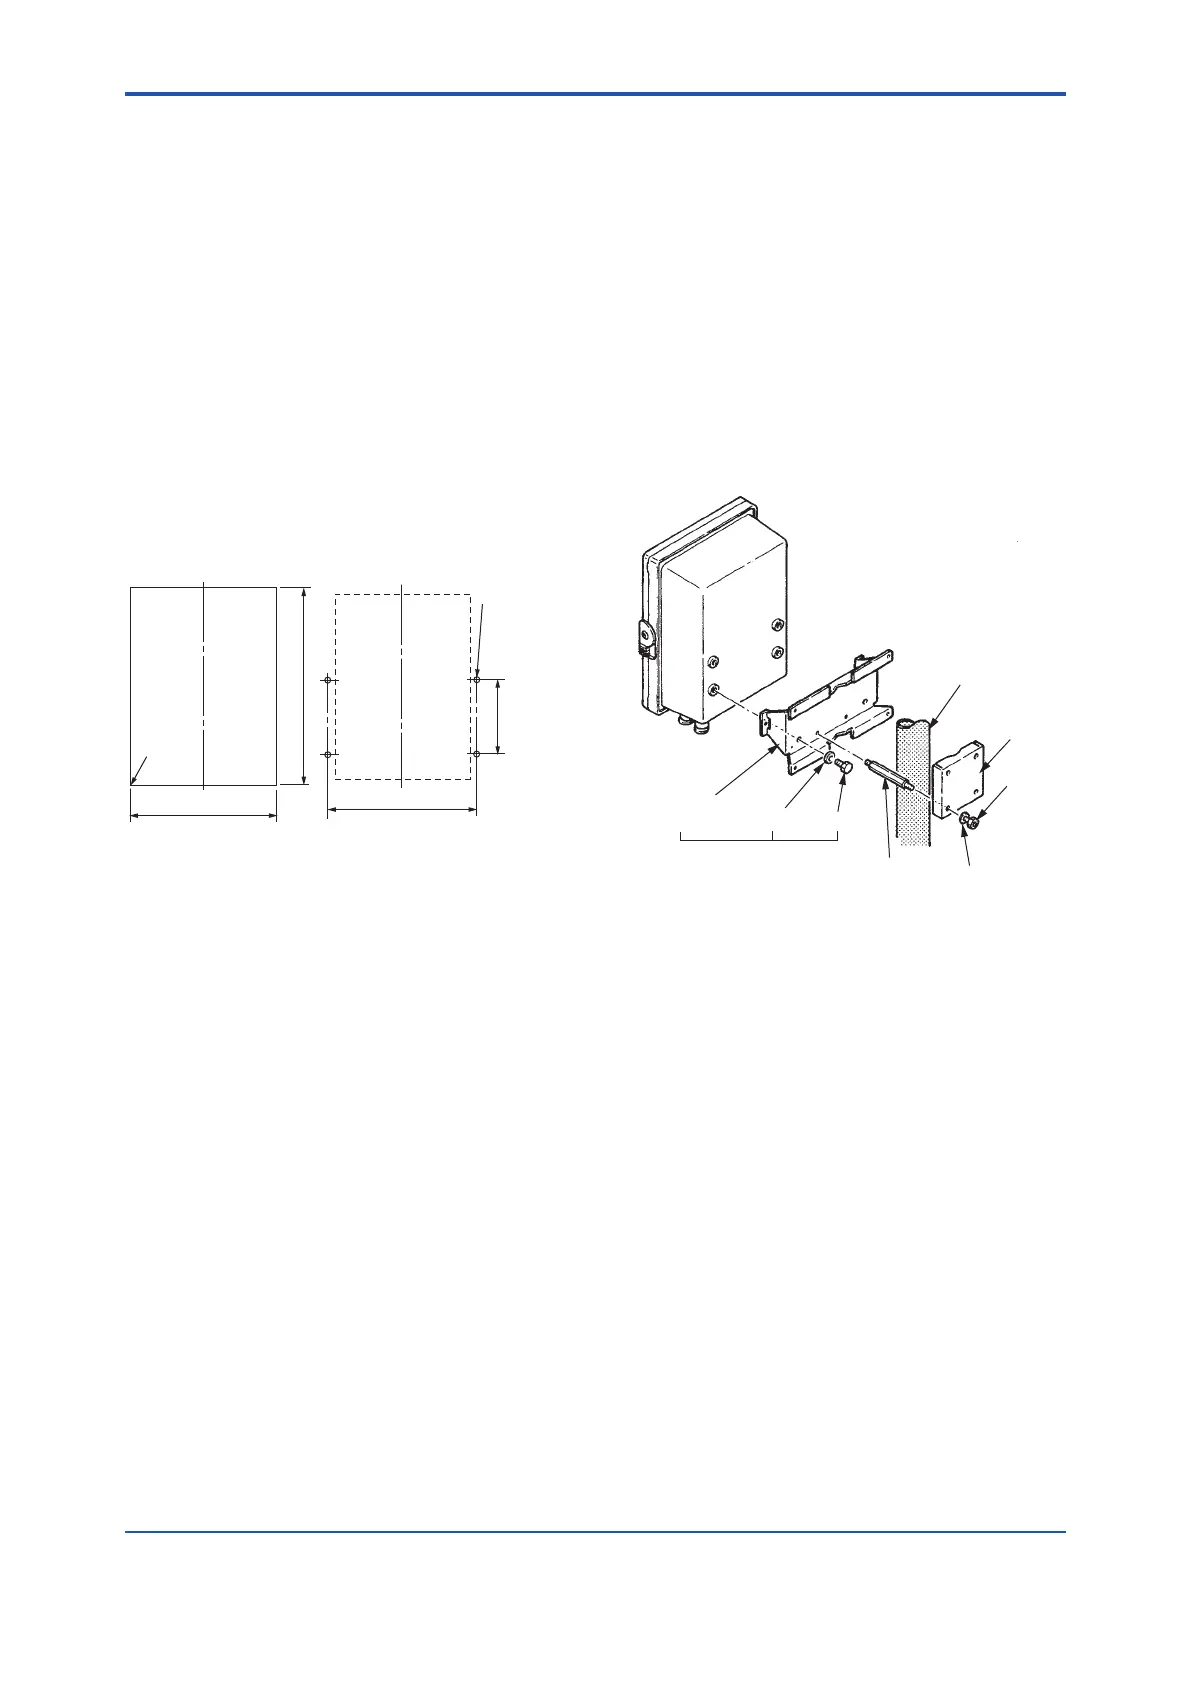
3.1 Mounting
Three mounting methods - 2-inch pipe mounting,
panel mounting and surface mounting methods -
are selectable according to installation area.
Refer to Figure 3.1 for dimensions for panel and
surface mounting.
F0301.ai
Panel Cutout
Surface Mouting
Holes
Unit: mm (inch)
R8 Max.
4-ø6.5
(ø0.26)
Holes,
M5 or No.
10-24UNC
Threads
126.5
(4.98)
238 (9.37)
237
+3
0
(9.33 )
+0.12
0
322
+4
0
(12.68 )
+0.16
0
Figure3.1 DimensionsforPanelandSurface
Mounting.
2-inch Pipe Mounting Procedure
(1) Screw four bolts into the mounting hardware
holes.
(2) Using the bracket and nuts, put 2-inch pipe
between the mounting hardware and the
bracket.
(3) Fasten nuts to x the instrument in an
appropriate position. For 2-inch pipe mounting,
clamp screws supplied with the instrument are
not necessary.
F0302.ai
2-inch pipe
Bracket
Nut
Washer
Bolt
Mounting
hardware
These are fixed to mainframe
when shipping.
Washer Screw
Figure 3.2 2-inch Pipe Mounting.
 Loading...