Installation
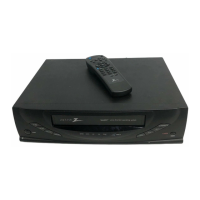
Unpack The VCR
and All Accessories
(VCR, remote control and
hookup cable. If any parts are
missing notify your nearest
Zenith Dealer.)
Disconnect antenna from your
TV or other units. Position
VCR in desired location away
from any interfering wiring.
Turn the VCR around so you
are looking at the back side and
locate the connections panel.
Note: It is important to place
the VCR where you plan on
using it. After setting the Clock
and completing the Channel
Search, if you disconnect the
VCR power cord all
programmed information will
be erased. (This will also occur
if there is a power failure.)
Antenna Connections
Connect the antenna to the
VCR and the VCR to the TV.
If you have CATV (Cable TV)
use the connections detailed on
page 4-3.
Notes:
1. If you are replacing an ex-
isting VCR, disconnect
your old VCR and connect
the new VCR in the same
way.
2. If this is your first VCR in-
stallation refer to Connec-
tions 4-2 for hookup
procedures.
3. For basic first-time con-
nections, proceed as shown
in Diagram A.
26O9-0
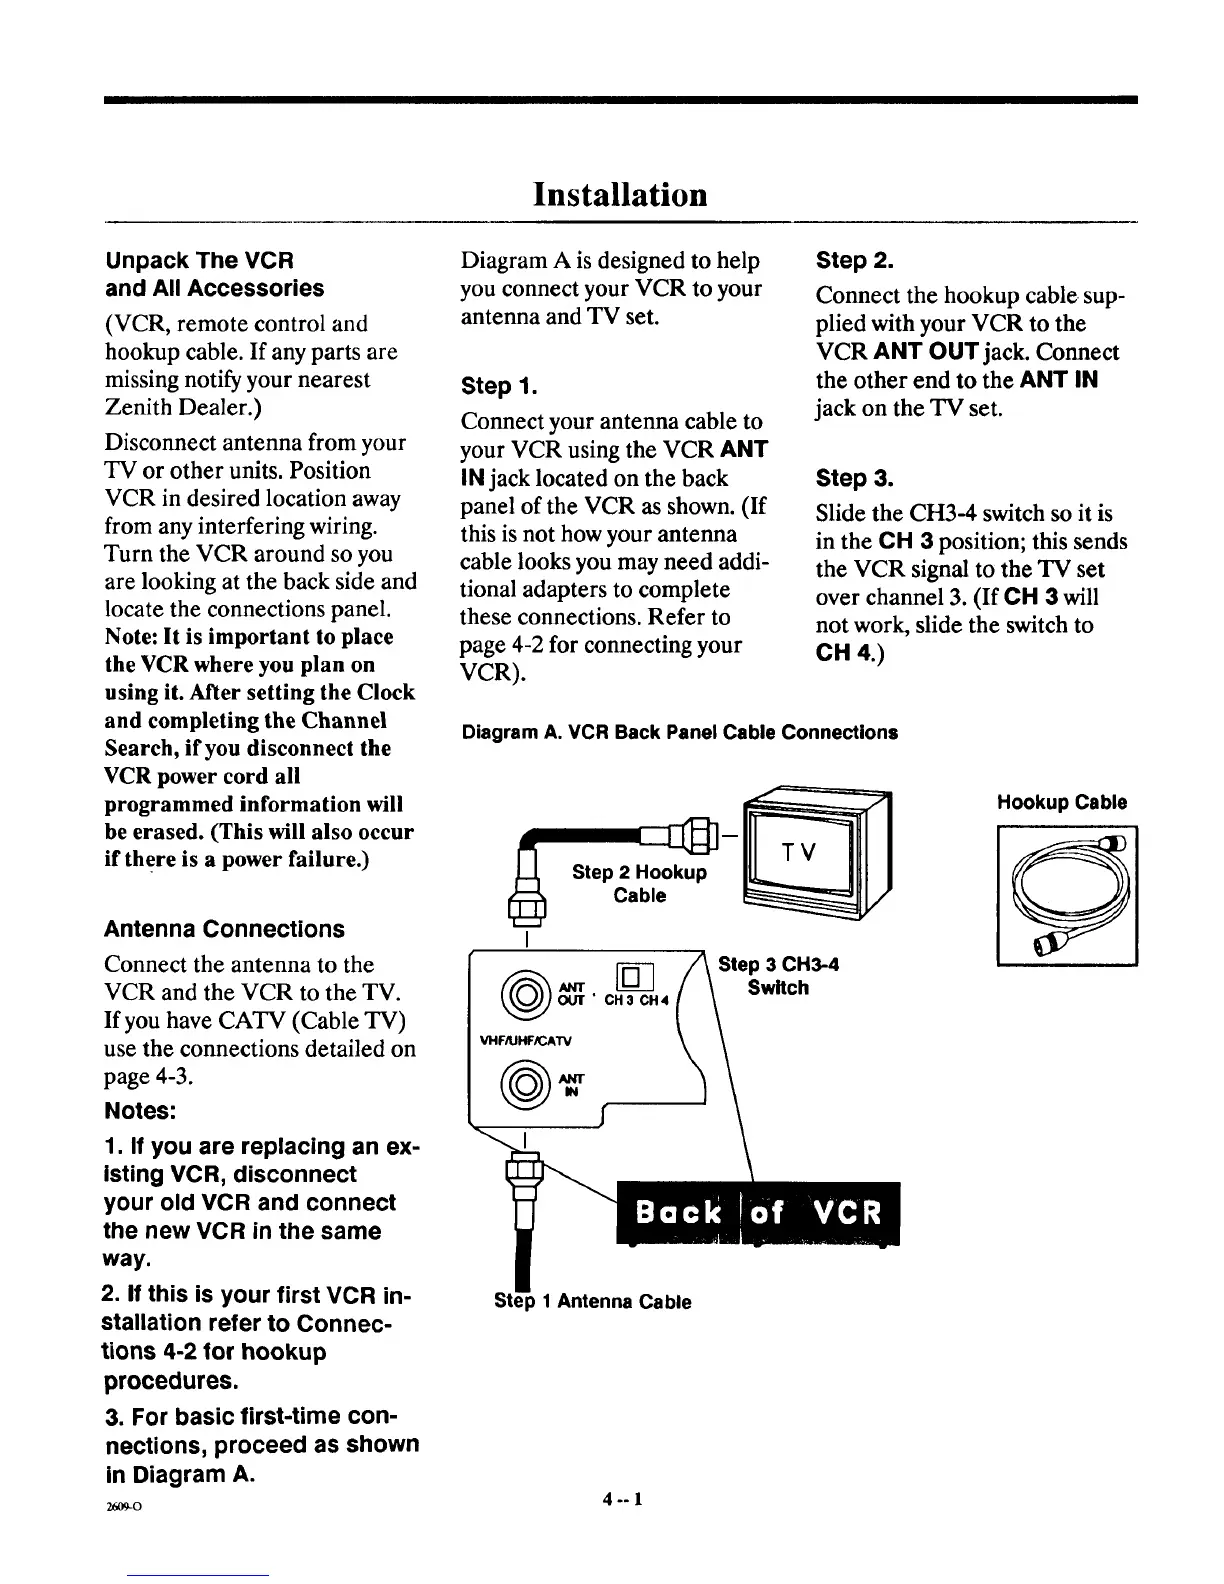
Diagram A is designed to help
you connect your VCR to your
antenna and TV set.
Step 1.
Connect your antenna cable to
your VCR using the VCR ANT
IN jack located on the back
pane] of the VCR as shown. (If
this is not how your antenna
cable looks you may need addi-
tional adapters to complete
these connections. Refer to
page 4-2 for connecting your
VCR).
Step 2.
Connect the hookup cable sup-
plied with your VCR to the
VCR ANT OUT jack. Connect
the other end to the ANT IN
jack on the TV set.
Step 3.
Slide the CH3-4 switch so it is
in the CH 3 position; this sends
the VCR signal to the TV set
over channel 3. (If CH 3 will
not work, slide the switch to
CH 4.)
Diagram A. VCR Back Panel Cable Connections
Step 2 Hookup
Cable
[_ Step 3 CH3-4
rr Switch
OUT" CH3 CH4
VHFIIJHF_AW
Hookup Cable
p 1 Antenna Cable
4°-1