R SERIES — NON-INVASIVE BLOOD PRESSURE (NIBP) OPTION INSERT
10 www.zoll.com 9650-0914-01 Rev. C
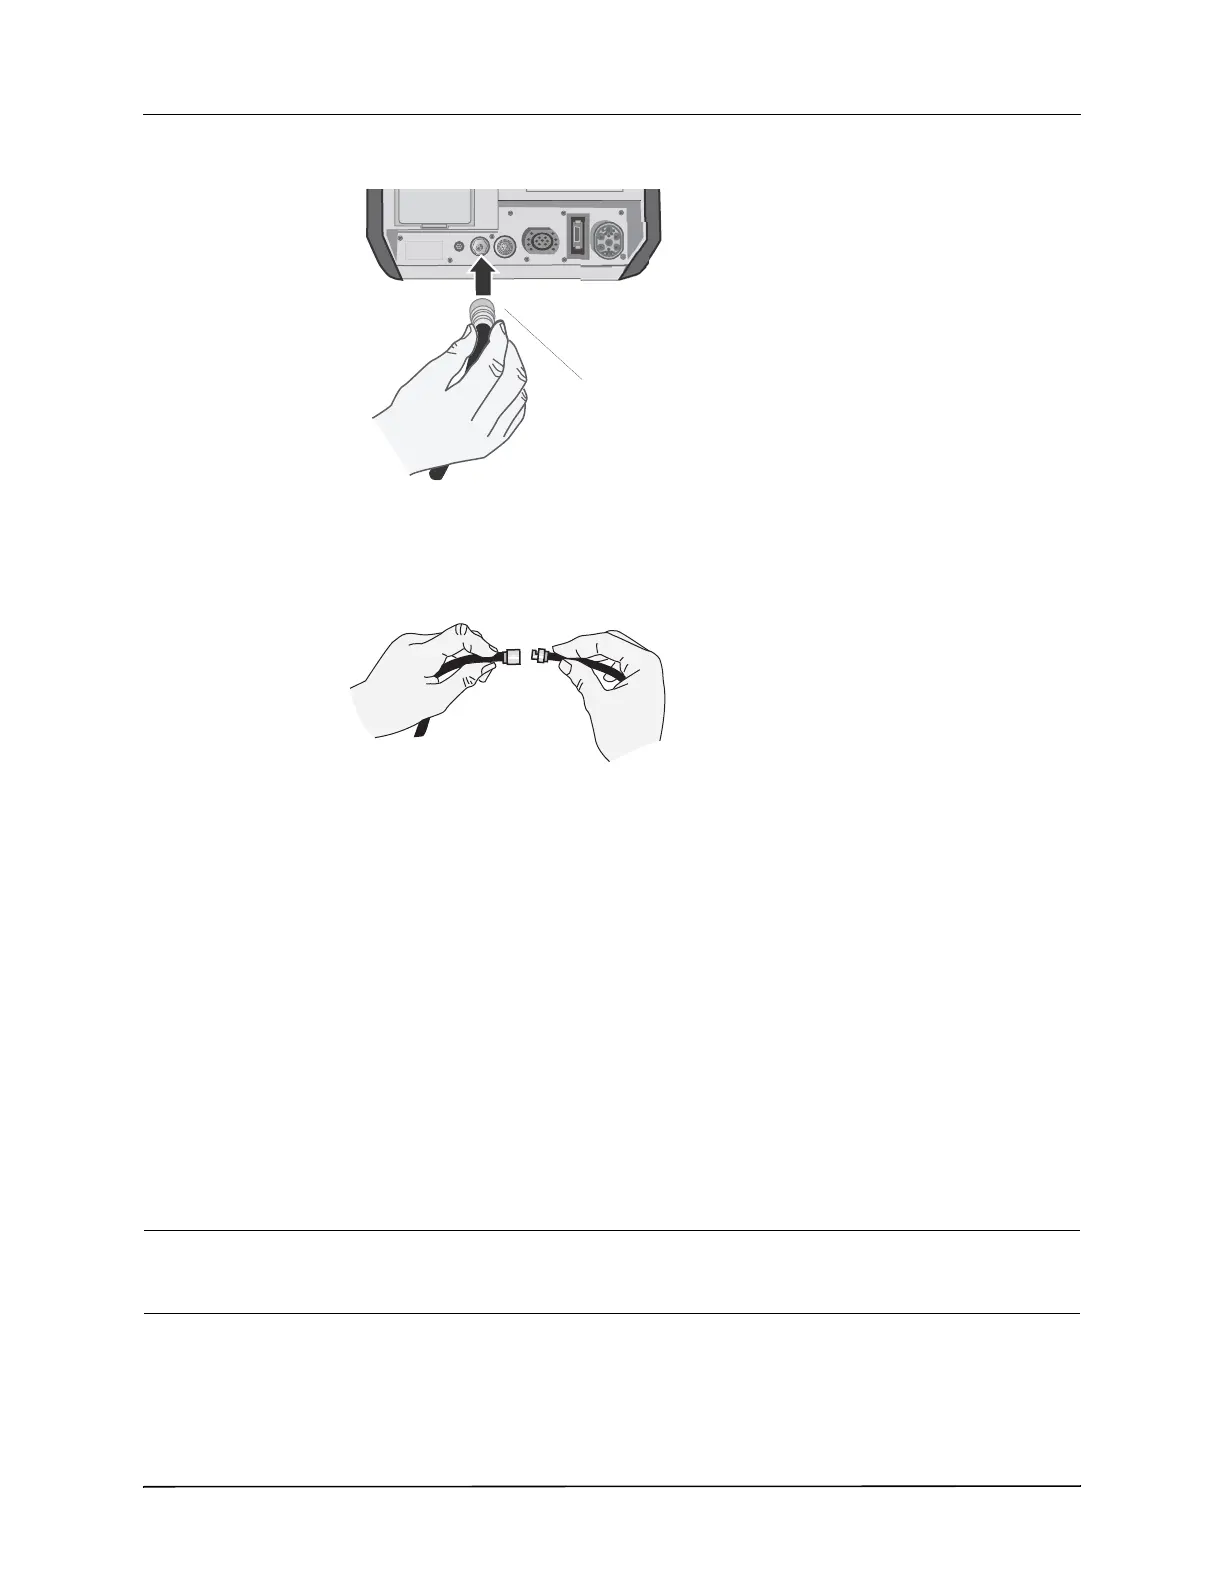
1. Insert the metal connector on the NIBP hose into the NIBP connector at the back of the
R Series unit and push the connector until it snaps into place.
2. Insert the plastic connector on the NIBP hose into the cuff hose connector, and twist the
connectors until they lock into place.
You can now apply the cuff to the patient.
Applying the Cuff to the Patient
Using a cuff that is too small or is loosely applied results in values higher than the patient’s
actual blood pressure. Using a cuff that is too large results in values lower than the patient’s
actual blood pressure.
To apply the cuff to the patient:
1. Ensure the patient is sitting or lying down with the limb relaxed, extended, and placed on a
smooth surface for support. If the patient is seated, they should have legs uncrossed, feet flat
on the floor and back and arms supported. The patient should be comfortable, relaxed as
much as possible and not talking during the NIBP measurement.
2. Place the cuff 2 to 5 cm above the elbow crease or 5 to 10 cm (1.9 to 3.9 in.) above the knee
crease. The middle of the cuff should be at the level of the right atrium of the heart (heart
level).
Caution Do not place the NIBP cuff on the same arm/leg as an SpO
2
sensor. Inflation of the cuff causes
the SpO
2
monitor to read incorrectly. Also, do not attach the cuff to a limb being used for IV
infusion. Cuff inflation might block the infusion, causing harm to the patient.
 Loading...