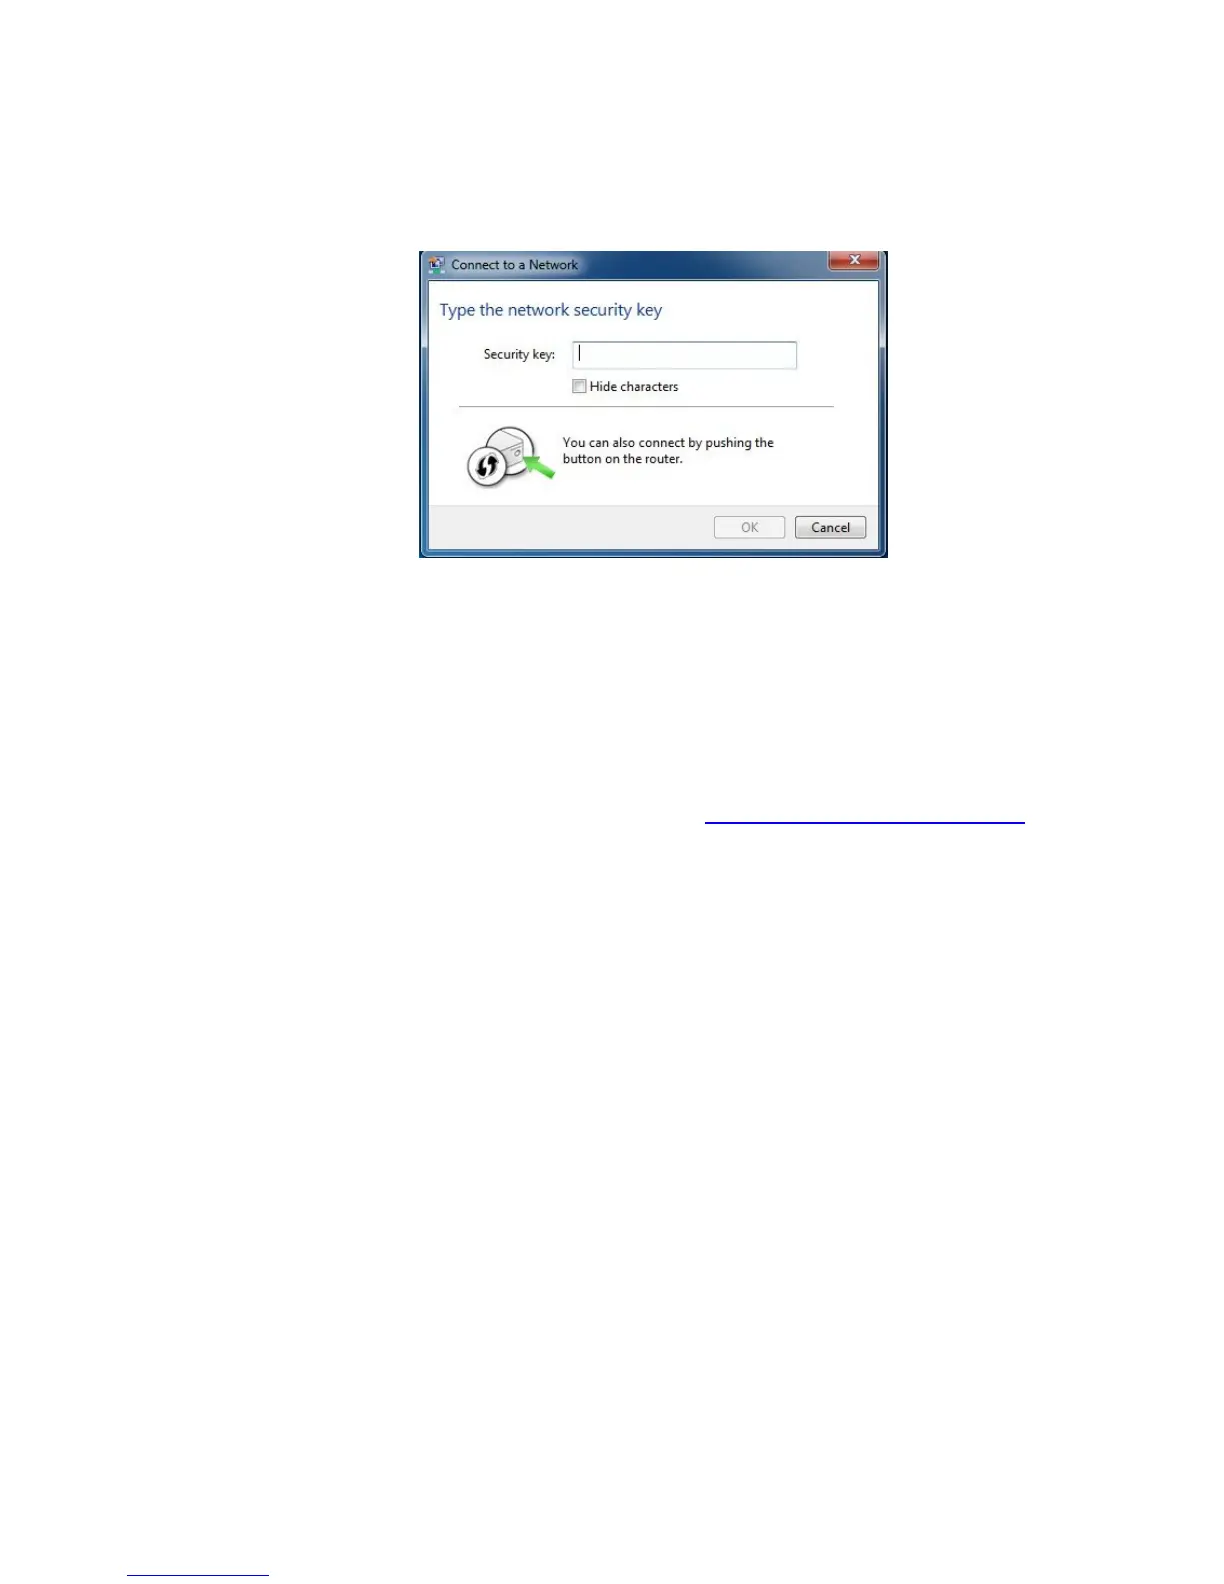
Press the Wi‑Fi Protected Setup (WPS) button on the router for 5 seconds. (You do not
need to type a security key or passphrase in the Security key text box on your Windows
machine). The cable modem/router will automatically set up the computer to connect to
the network and apply the network's security settings. Then click OK on the Connect to
a Network dialog box.
3 Congratulations! You should now have a secure connection between your cable modem/router
and a device. Now is a good time to check that your device’s Internet connection is working.
Open your browser and go to a familiar Web site. If you are able to connect, continue with the
next step below.
If you are not able to connect to the Internet, please see
AppendixB: Troubleshooting Tips.
4 If you have other devices whose WPS security you need to set, repeat steps 1 through 3 for each
device. When they are all set, go to step 5.
5 Your basic setup for local wireless devices is complete.
Note: If you want to change the default SSID and Pre-Shared Key, please refer to page 15 for
instructions.
Read This Only if You Are Connecting Additional Computers and/or Other Devices to the
Cable Modem/Router’s Ethernet/LAN ports
You can plug up to four computers, game consoles, or other Ethernet-capable devices into the cable
modem/router’s LAN ports. For information about your specific device, please refer to the
documentation that came with that device. Follow the instructions below for each computer or other
device.
1 If you connected the cable modem/router to a computer using a wired connection when setting
up the cable modem/router, unplug the computer now if you don’t want it to stay connected to
the cable modem/router.
2 To connect a computer or other Ethernet-capable device, plug one end of an Ethernet cable into
an available Ethernet (GE 1, 2, 3, or 4) port on the cable modem/router and plug the other end
of the Ethernet cable into the Ethernet port of the additional device you want to connect to the
12