Page 14
Step 8 Attach the cuff to the patient. Refer to "Attaching the Cuff
and Recorder".
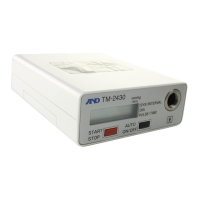
Step 9 Attach the carrying case to patient and insert the recorder.
Refer to "Attaching the Cuff and Recorder".
Step10 Start the automatic measurement. The recorder displays
an "A". Refer to "Automatic Measurement".
Step11 The recorder starts the automatic measurement sequence.
Check the recorder using the manual measurement with
relaxed, but correct posture. Refer to "Manual Blood Pressure
Measurement".
Step12 When using automatic measurement, consider the following.
Consider the sections "Patient instructions" and "Notes
on the Blood Pressure Recorder".
When the patient uses mode II of automatic
measurement, press the AUTO ON/OFF key with each
rising and going to bed.
Step13 When the automatic measurement sequence is finished,
turned off "A" sign. Refer to "Automatic Measurement".
Step14 Detach the cuff and recorder from the patient.
Step15 Transfer the patient’s data and save it to other media.
Refer to "Data transfer".
Step16 Clean the cuff and recorder and place in storage. Refer to
the sections "Before use" and "Maintenance".
Previous page
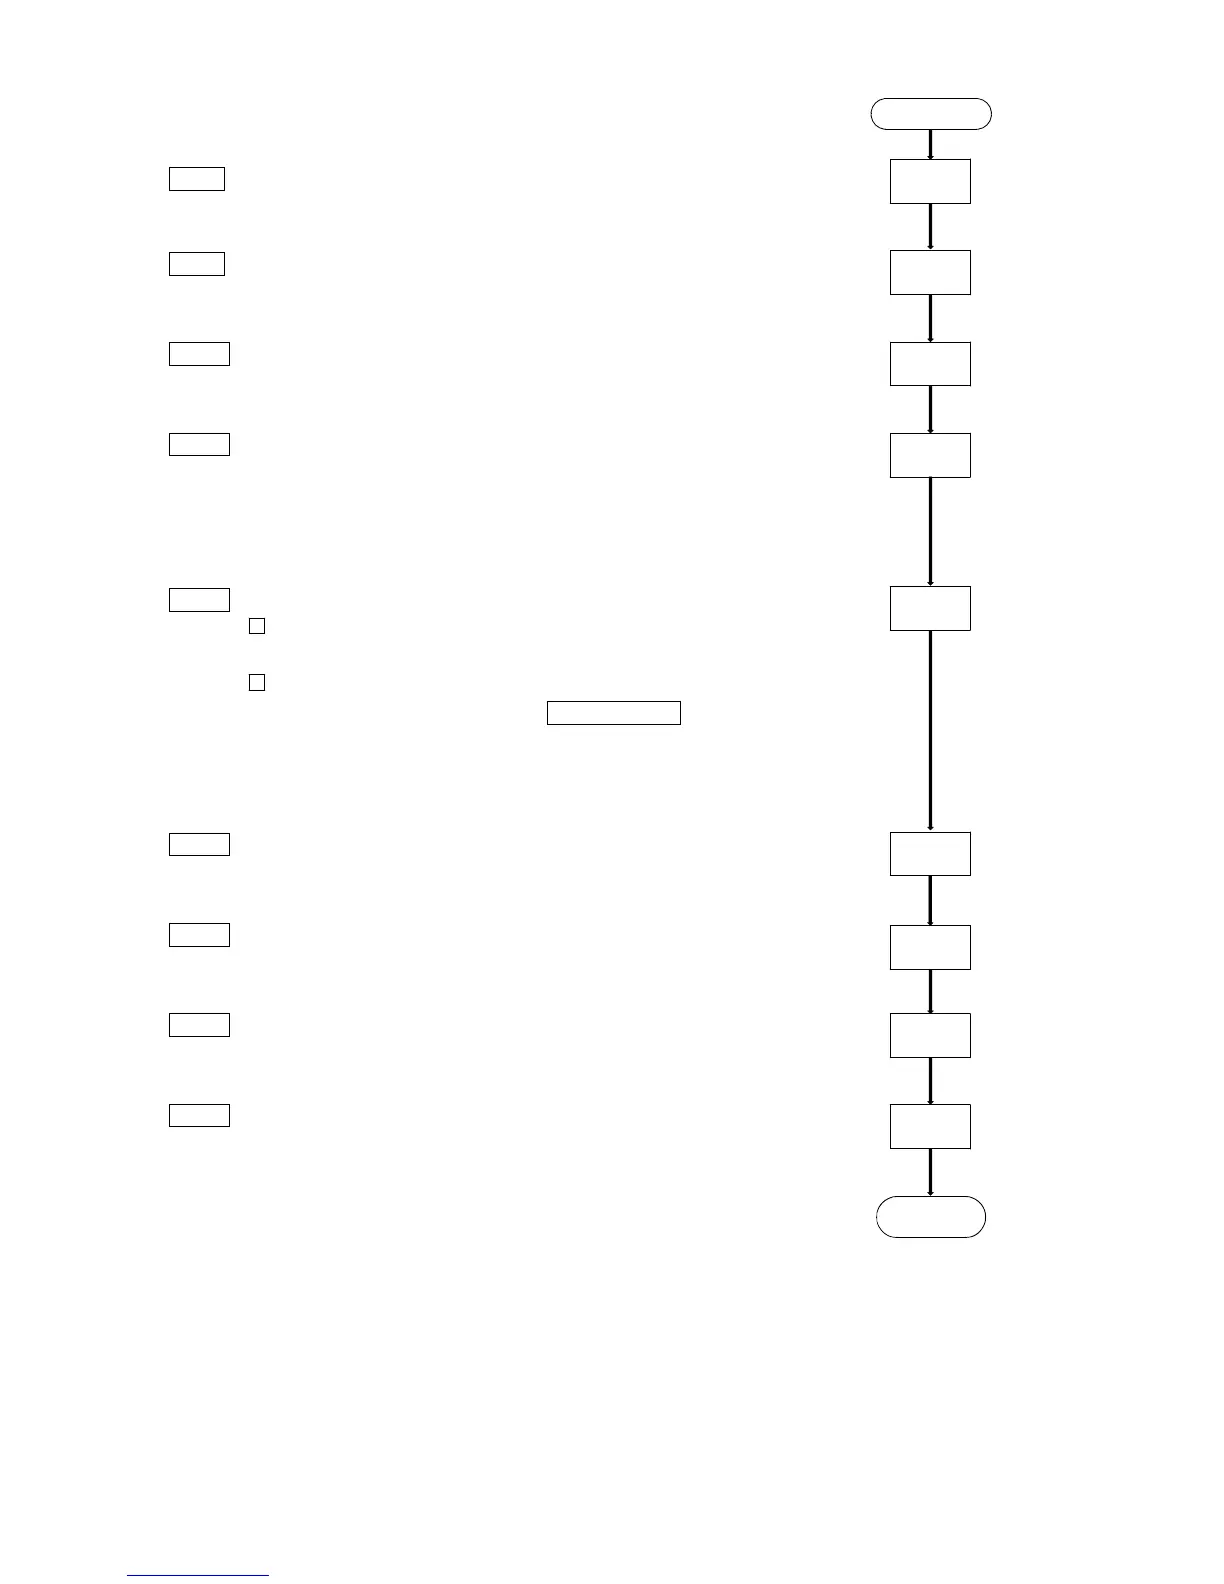
Step 8
Step 9
End
Step 10
Step 11
Step 16
Step 12
Step 13
Step 14
Step 15