Page 27
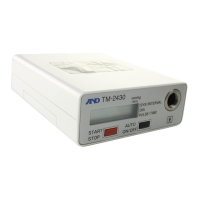
Operation
Automatic Measurement
Caution
Automatic measurement uses the internal clock and parameters of automatic
measurement. Refer to section "Parameters for the Display and Clock" and
"Selection for the automatic measurement" for setting these parameters.
Press and hold the AUTO ON/OFF key for approx. 3 seconds so as to turn off "A" sign,
when the patient stops the automatic measurement or detaches the cuff. If "A" sign is
leaved, when the next automatic measurement starts, it damages the cuff.
Starting or re-starting automatic measurement
Step 1 Confirm the parameters for automatic measurement. Refer to "Selection for the
automatic measurement".
Step 2 Press and hold the AUTO ON/OFF key for about 3 seconds. Then the "A" is displayed
and the recorder starts an automatic measurement based on the internal clock and
the parameters for automatic measurement.
Operation using mode II
Step 1 Press the AUTO ON/OFF key turning off the "S" when the patient wakes up.
Step 2 Press the AUTO ON/OFF key turning on the "S" when the patient goes to bed.
Stopping or canceling automatic measurement
Step 1 Press and hold the AUTO ON/OFF key for about 3 seconds. "A" is not displayed
and the recorder stops automatic measurement.
Manual Measurement
Step 1 Press the START STOP key. The recorder starts a measurement at once. The
results are displayed and stored in memory.
To stop a Current Measurement
Step 1 Press the START STOP key during measurement. The recorder will stop the
measurement at once and releases the air from the cuff.