Page 17
Steps for setting the display and clock
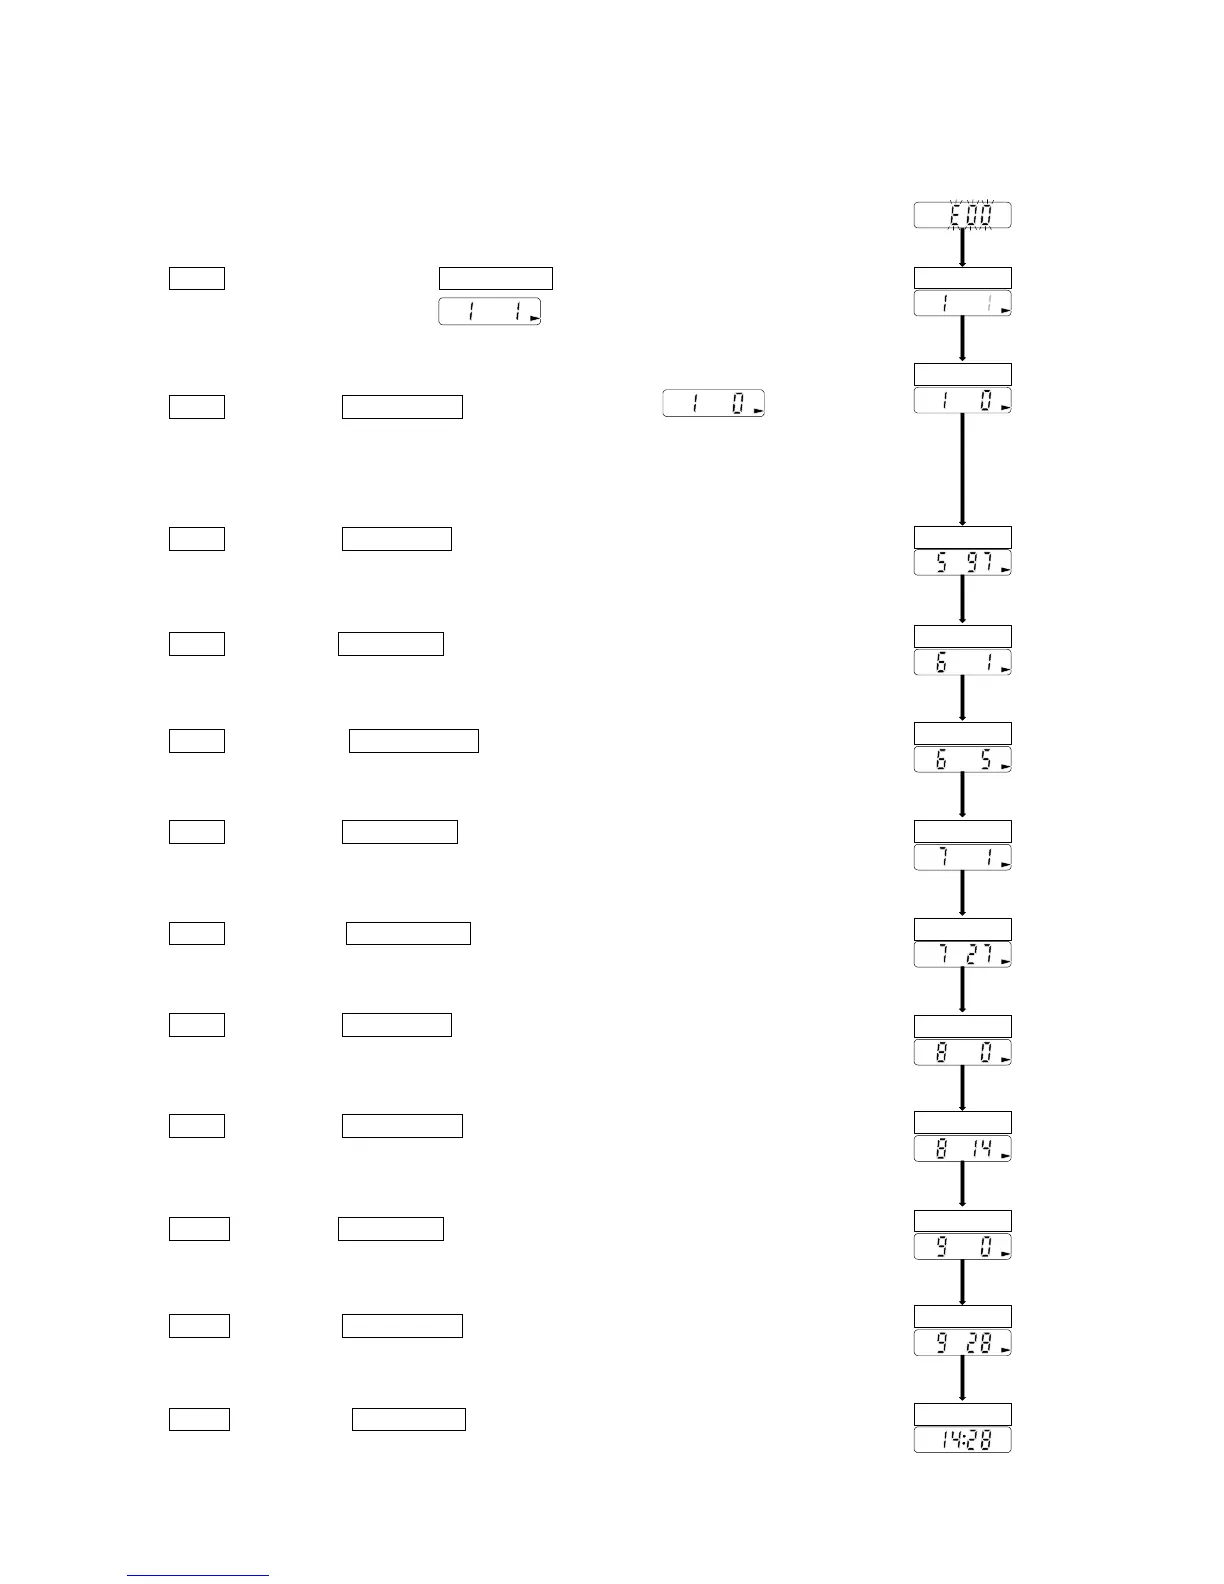
This explanation uses the following examples.
ex. After reset, the measurement value is not displayed.
The clock is adjusted to 1997/ 05/ 27 14:28.
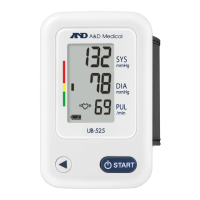
Step 1 Press and hold the START STOP key for approx. 6 seconds. The
recorder displays for adjusting the display and
clock.
Step 2 Press the AUTO ON/OFF key so as to display .
(A selection where a clock is displayed only in automatic
measurement)
Step 3 Press the START STOP key. The current year is displayed.
Step 4 Press the START STOP key. The current month is displayed.
Step 5 Press the AUTO ON/OFF key to display 5 (for May).
Step 6 Press the START STOP key. The current day is displayed.
Step 7 Press the AUTO ON/OFF key to display 27 (27th day).
Step 8 Press the START STOP key. The current hour is displayed.
Step 9 Press the AUTO ON/OFF key to display 14 (14th hour).
Step10 Press the START STOP key. The current minute is displayed.
Step11 Press the AUTO ON/OFF key to display 28 (28th minute).
Step12 Press the START STOP key to save these parameters. Then the
recorder displays the clock.
AUTO ON/OFF
START STOP
START STOP
START STOP
AUTO ON/OFF
START STOP
AUTO ON/OFF
START STOP
AUTO ON/OFF
START STOP
AUTO ON/OFF
START STOP